Contemplating your next adventure? Do you find joy in pushing your limits and exploring depths of the earth few have seen? The world-renowned Laugavegur Trail in southern Iceland is an outdoor enthusiast’s dream! Glaciers, volcanoes, turquoise lakes, rolling snow-capped hills, steamy lava fields, black sand deserts…there is no shortage of diverse breathtaking landscapes! The Laugavegur Trail is one of the most challenging but rewarding treks of my lifetime! If you want to independently hike the Laugavegur trail, read on to learn more!
What to Expect:
Total Distance: 34 miles / 55km
Difficulty: moderate to difficult
Time: 4 days
Route Type: point to point
Accommodation: Huts and/or tent camping. Restrooms and showers at campsites
Availability: June-August
Weather: prepare for all conditions
Unique Gear Considerations: water shoes
Table of contents
Day 1: Landmannalaugar to Hrafntinnusker
Getting there: Due to the rugged roads and water crossings, the trail starting point at Landmannalaugar can solely be reached by a 4×4 vehicle or via a bus service. Since the trail begins and ends at different locations, I recommend booking two one-way bus tickets. This includes a bus ticket from Reykjavík to Landmannalaugar then a second ticket from the end of the trail (Þórsmörk) back to Reykjavík. Here are a couple options for busing companies: Reykjavík Excursions and Trex. Relax and enjoy the bumpy ride!
Distance: 7.5mi / 12km
Ascent: 1,541ft / 470m
Duration: 5-6 hours
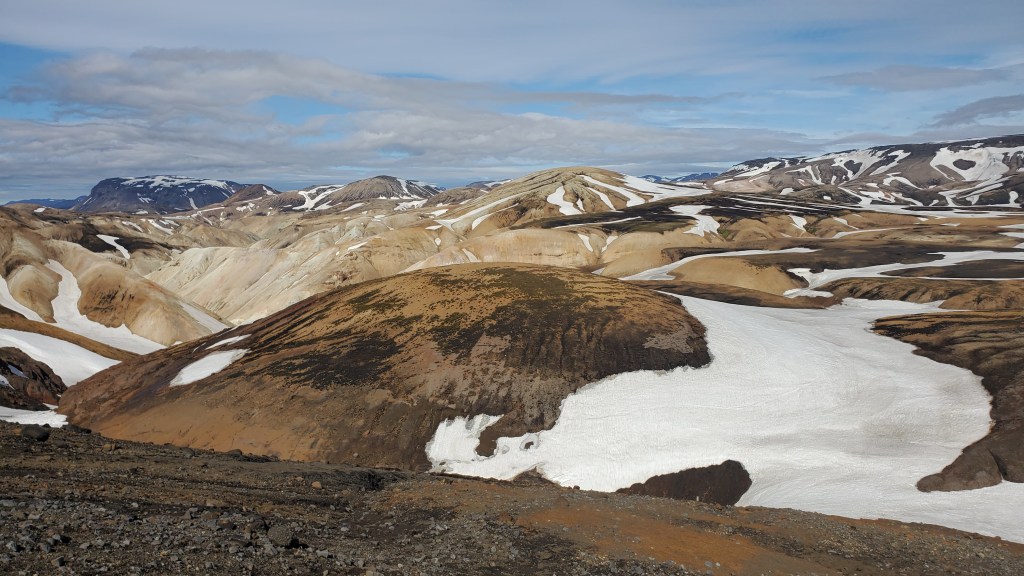
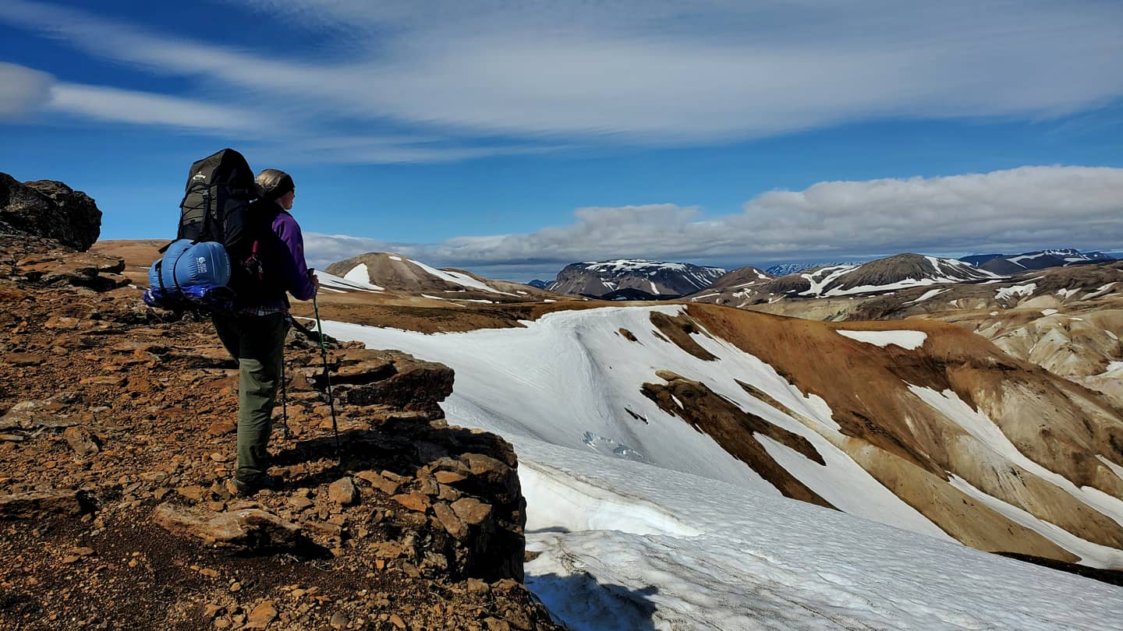
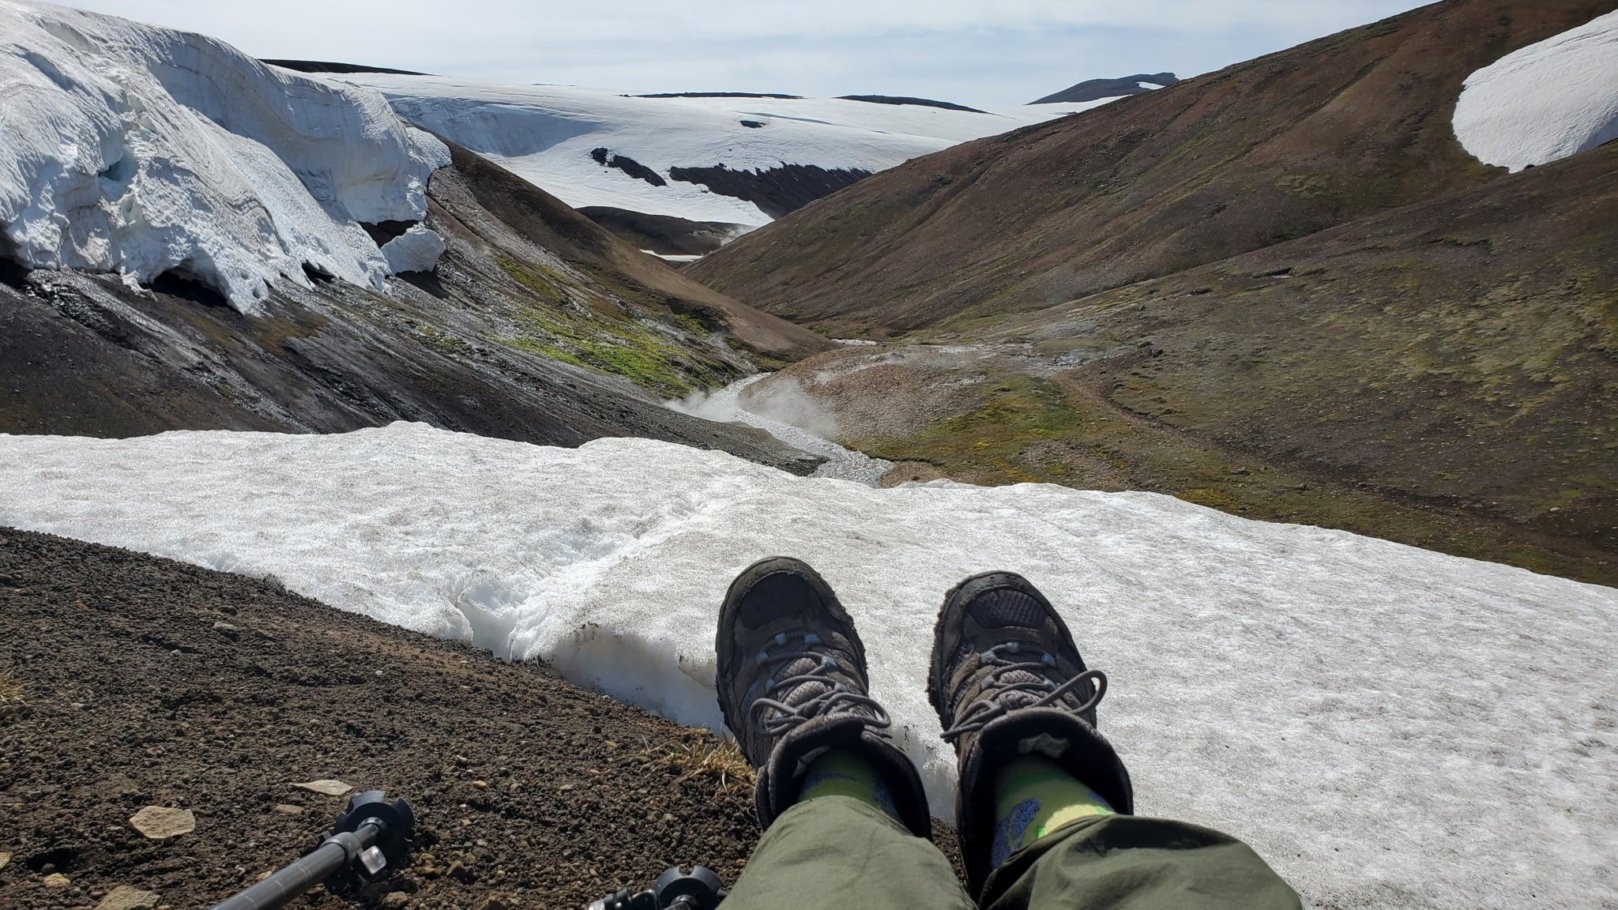
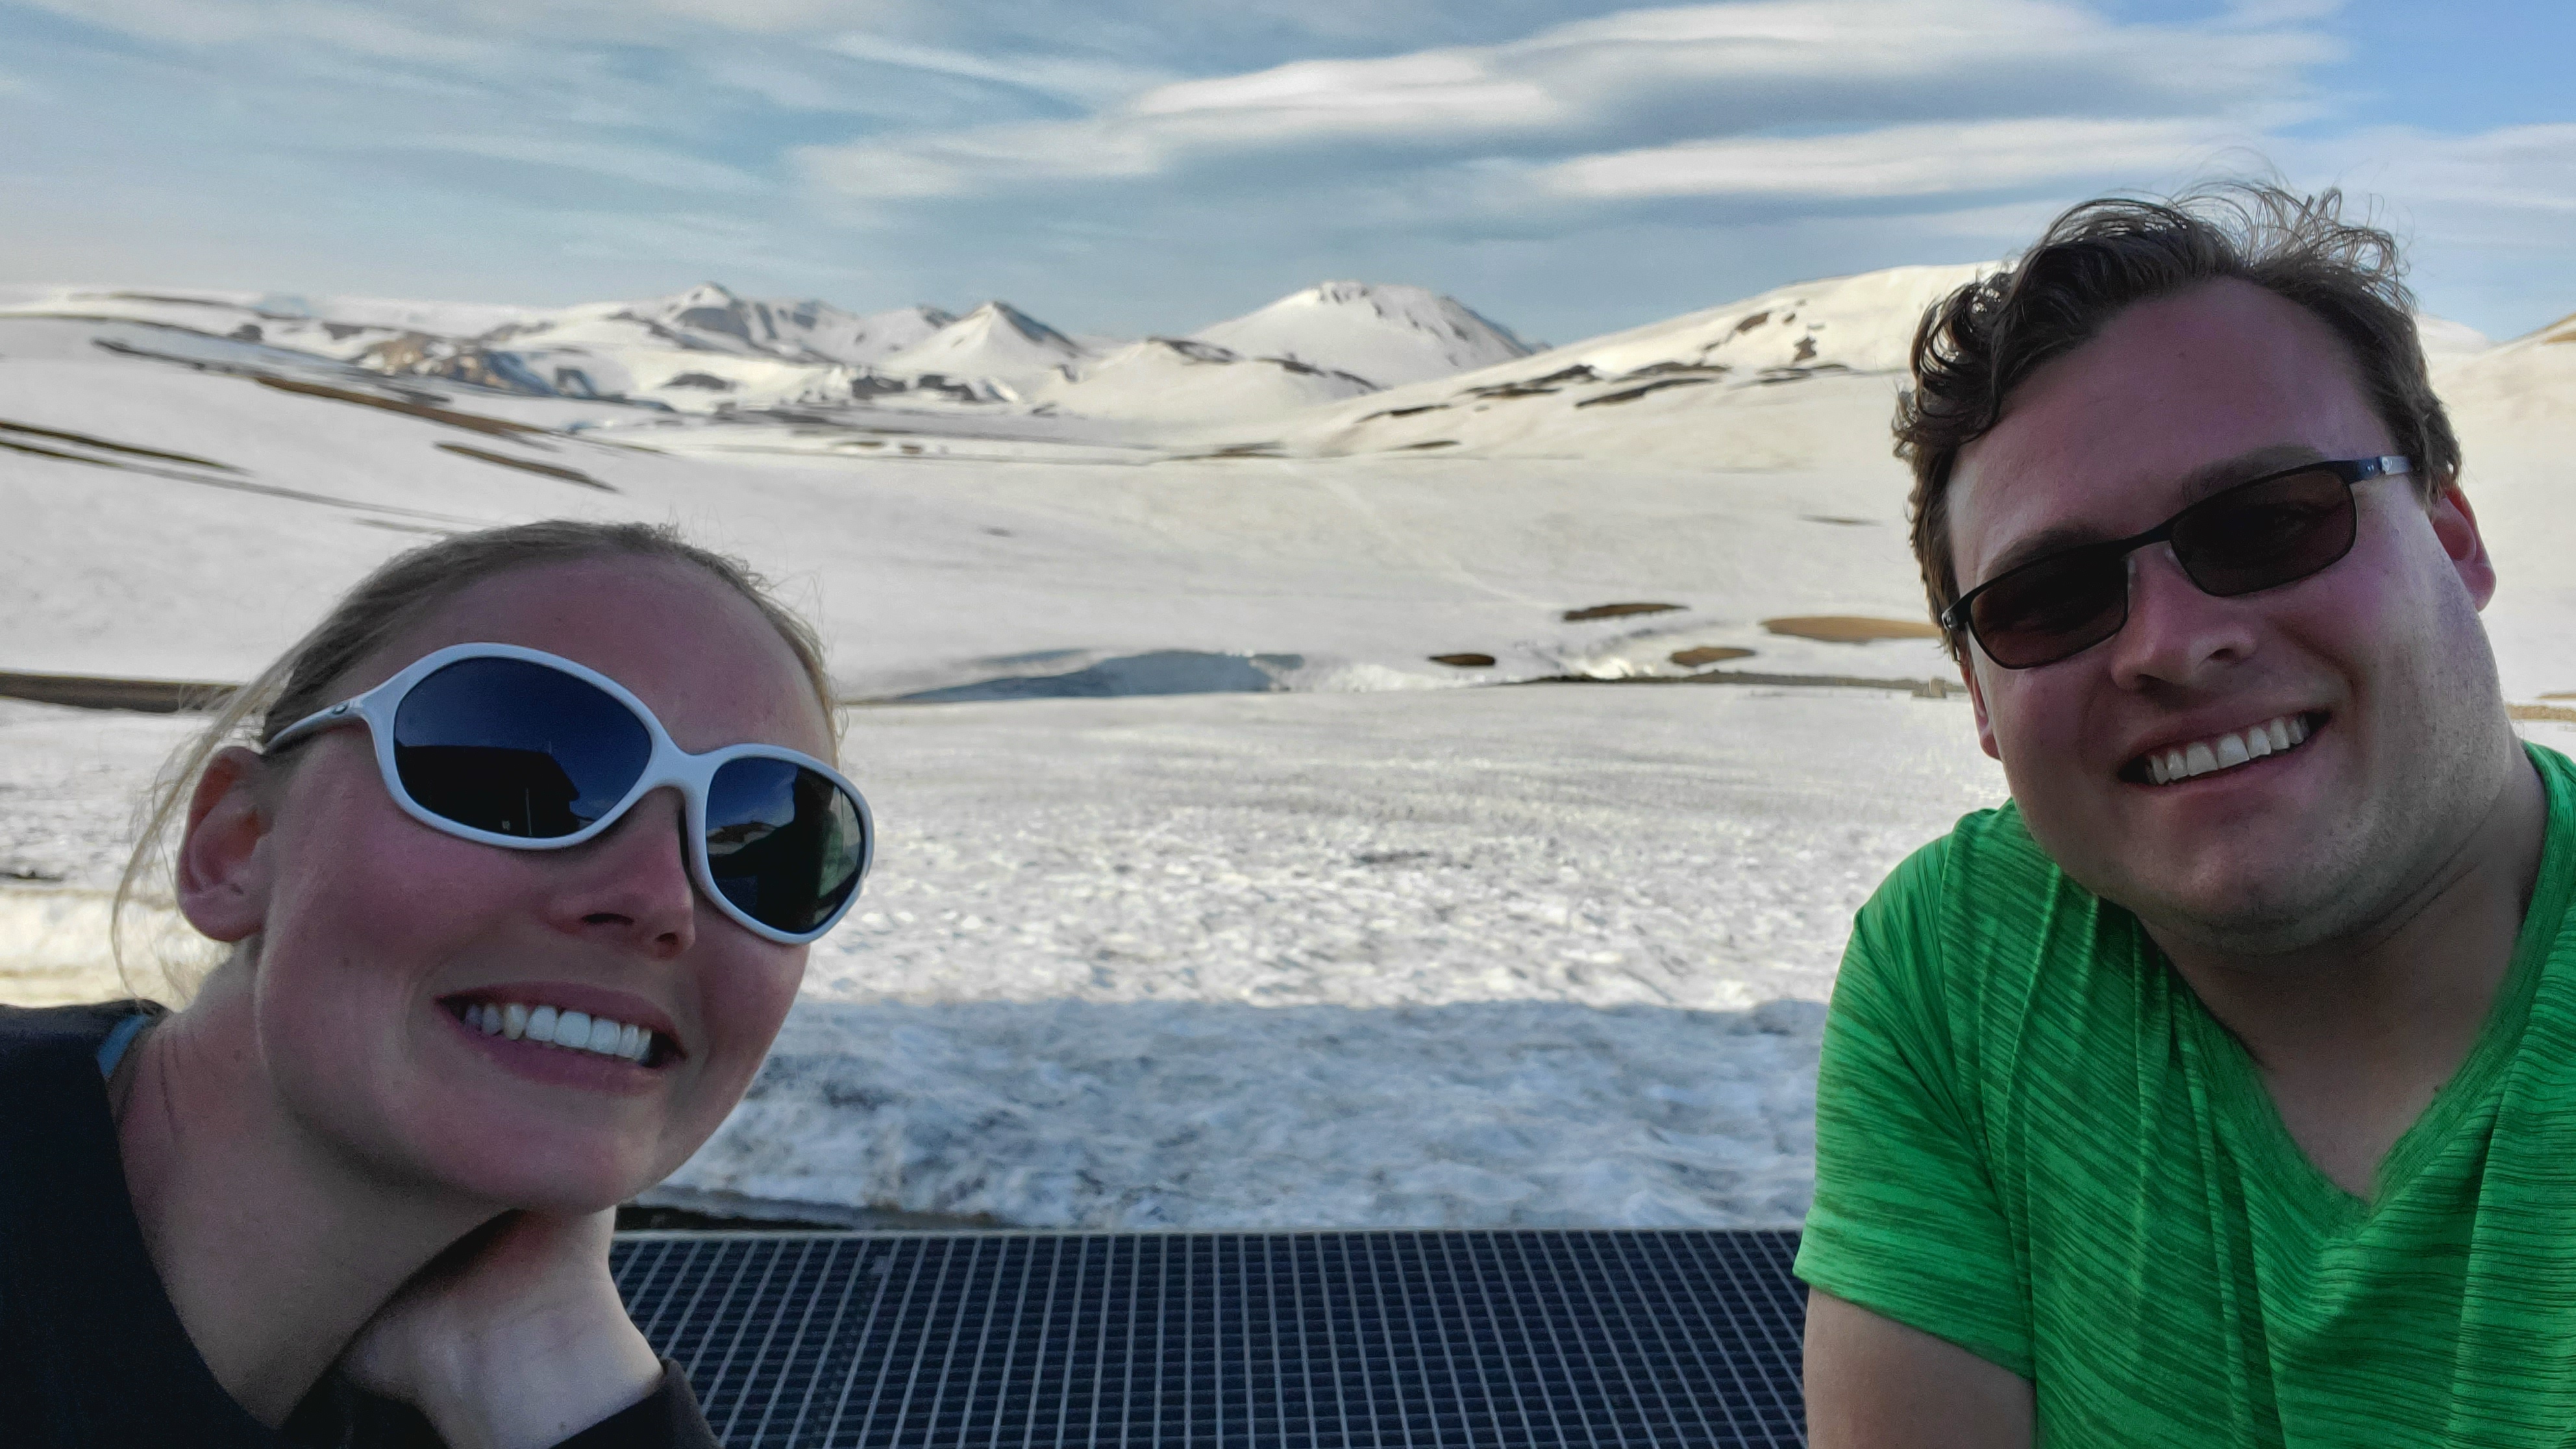
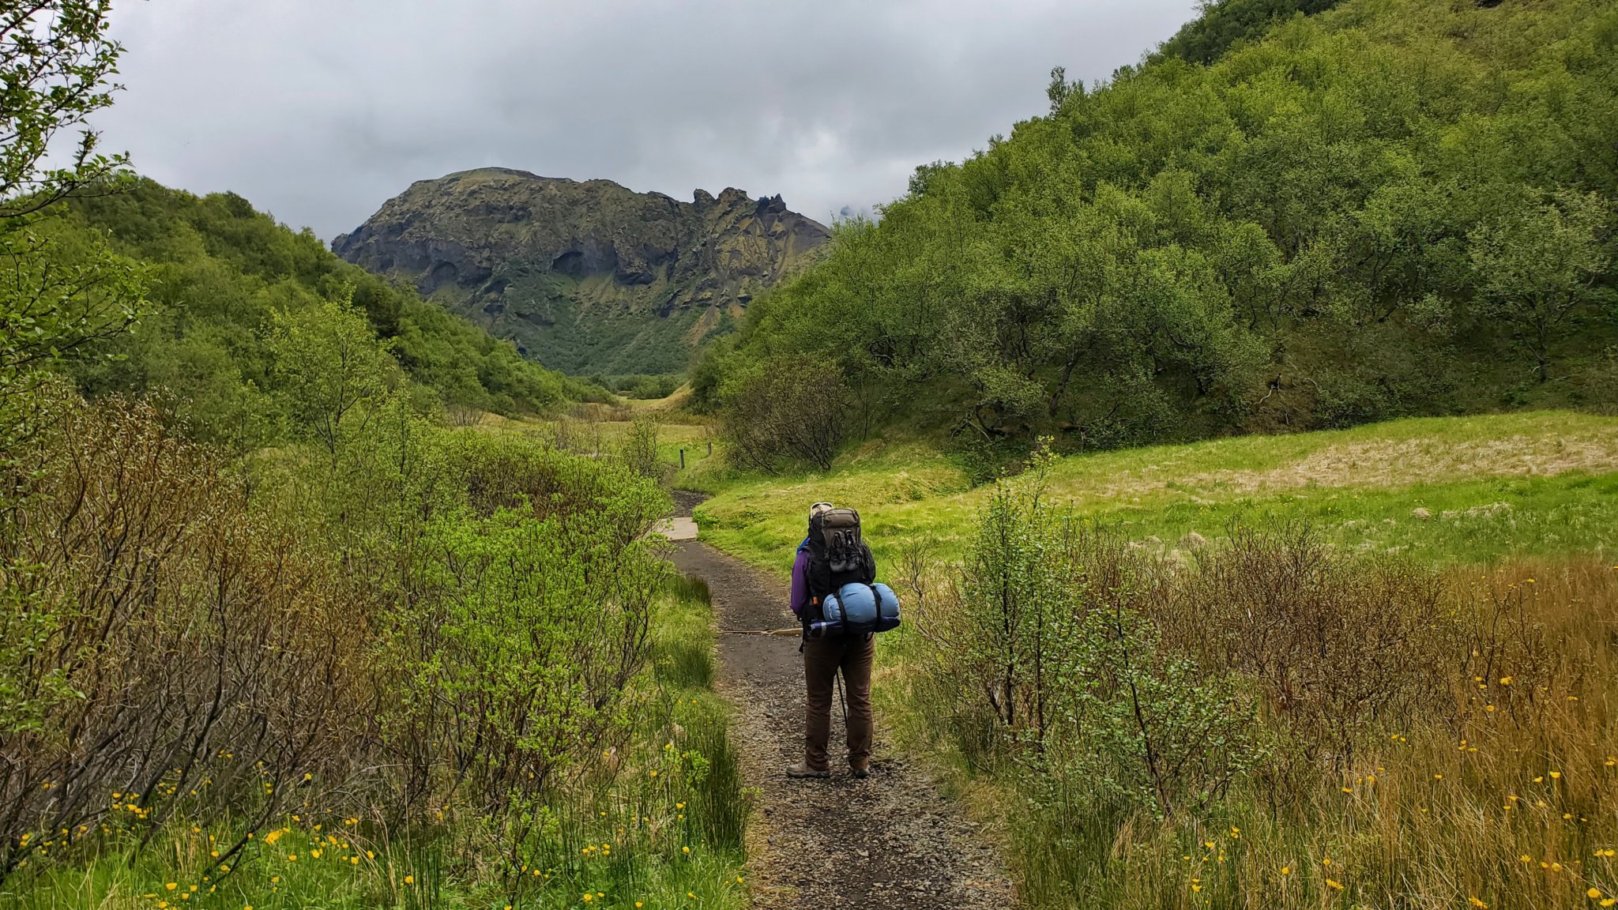
We were blessed with sunny weather! We kicked off the trek passing multicolored rhyolite volcanic mountains and lava fields. It seemed like we were on a different planet with steam soaring from vents and bubbling mud just steps from the trail. As we climbed up glaciers and crossed through mountain gorges, we soaked in the once-in-a-lifetime views and deserved breaks along the way!
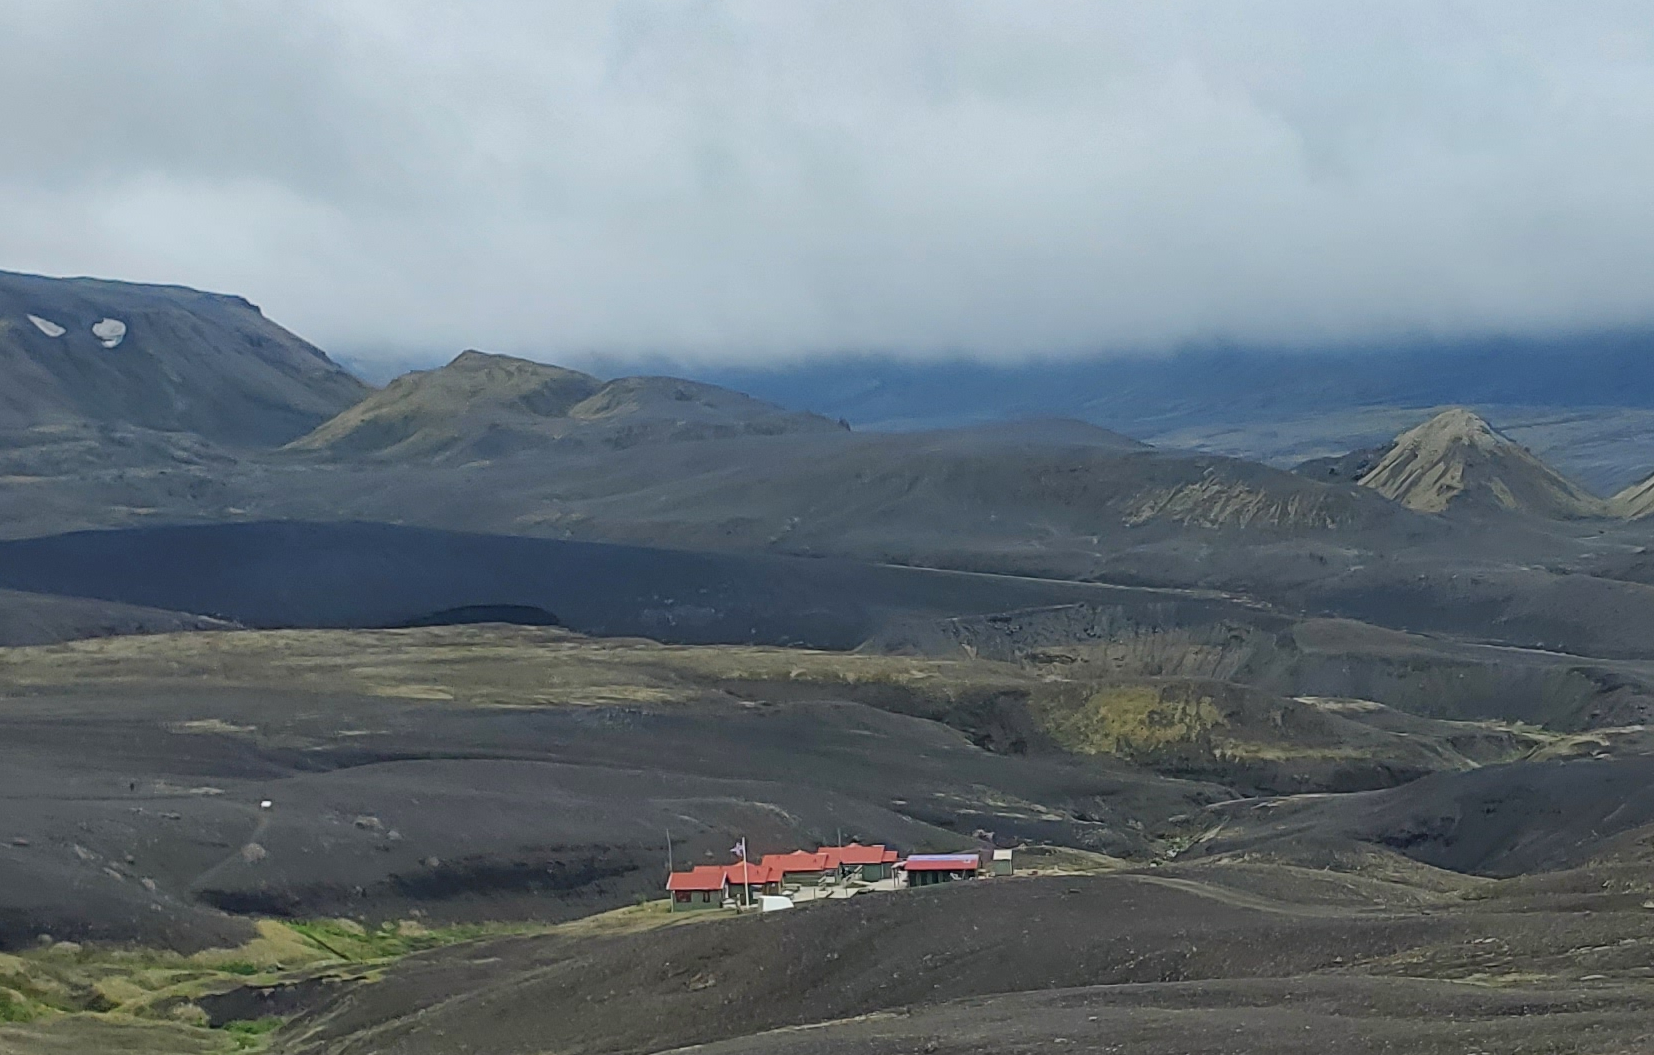
The first section of the Laugavegur Trail was no easy feat! Reaching a point where we could finally spot the Hrafntinnusker hut felt well-earned!
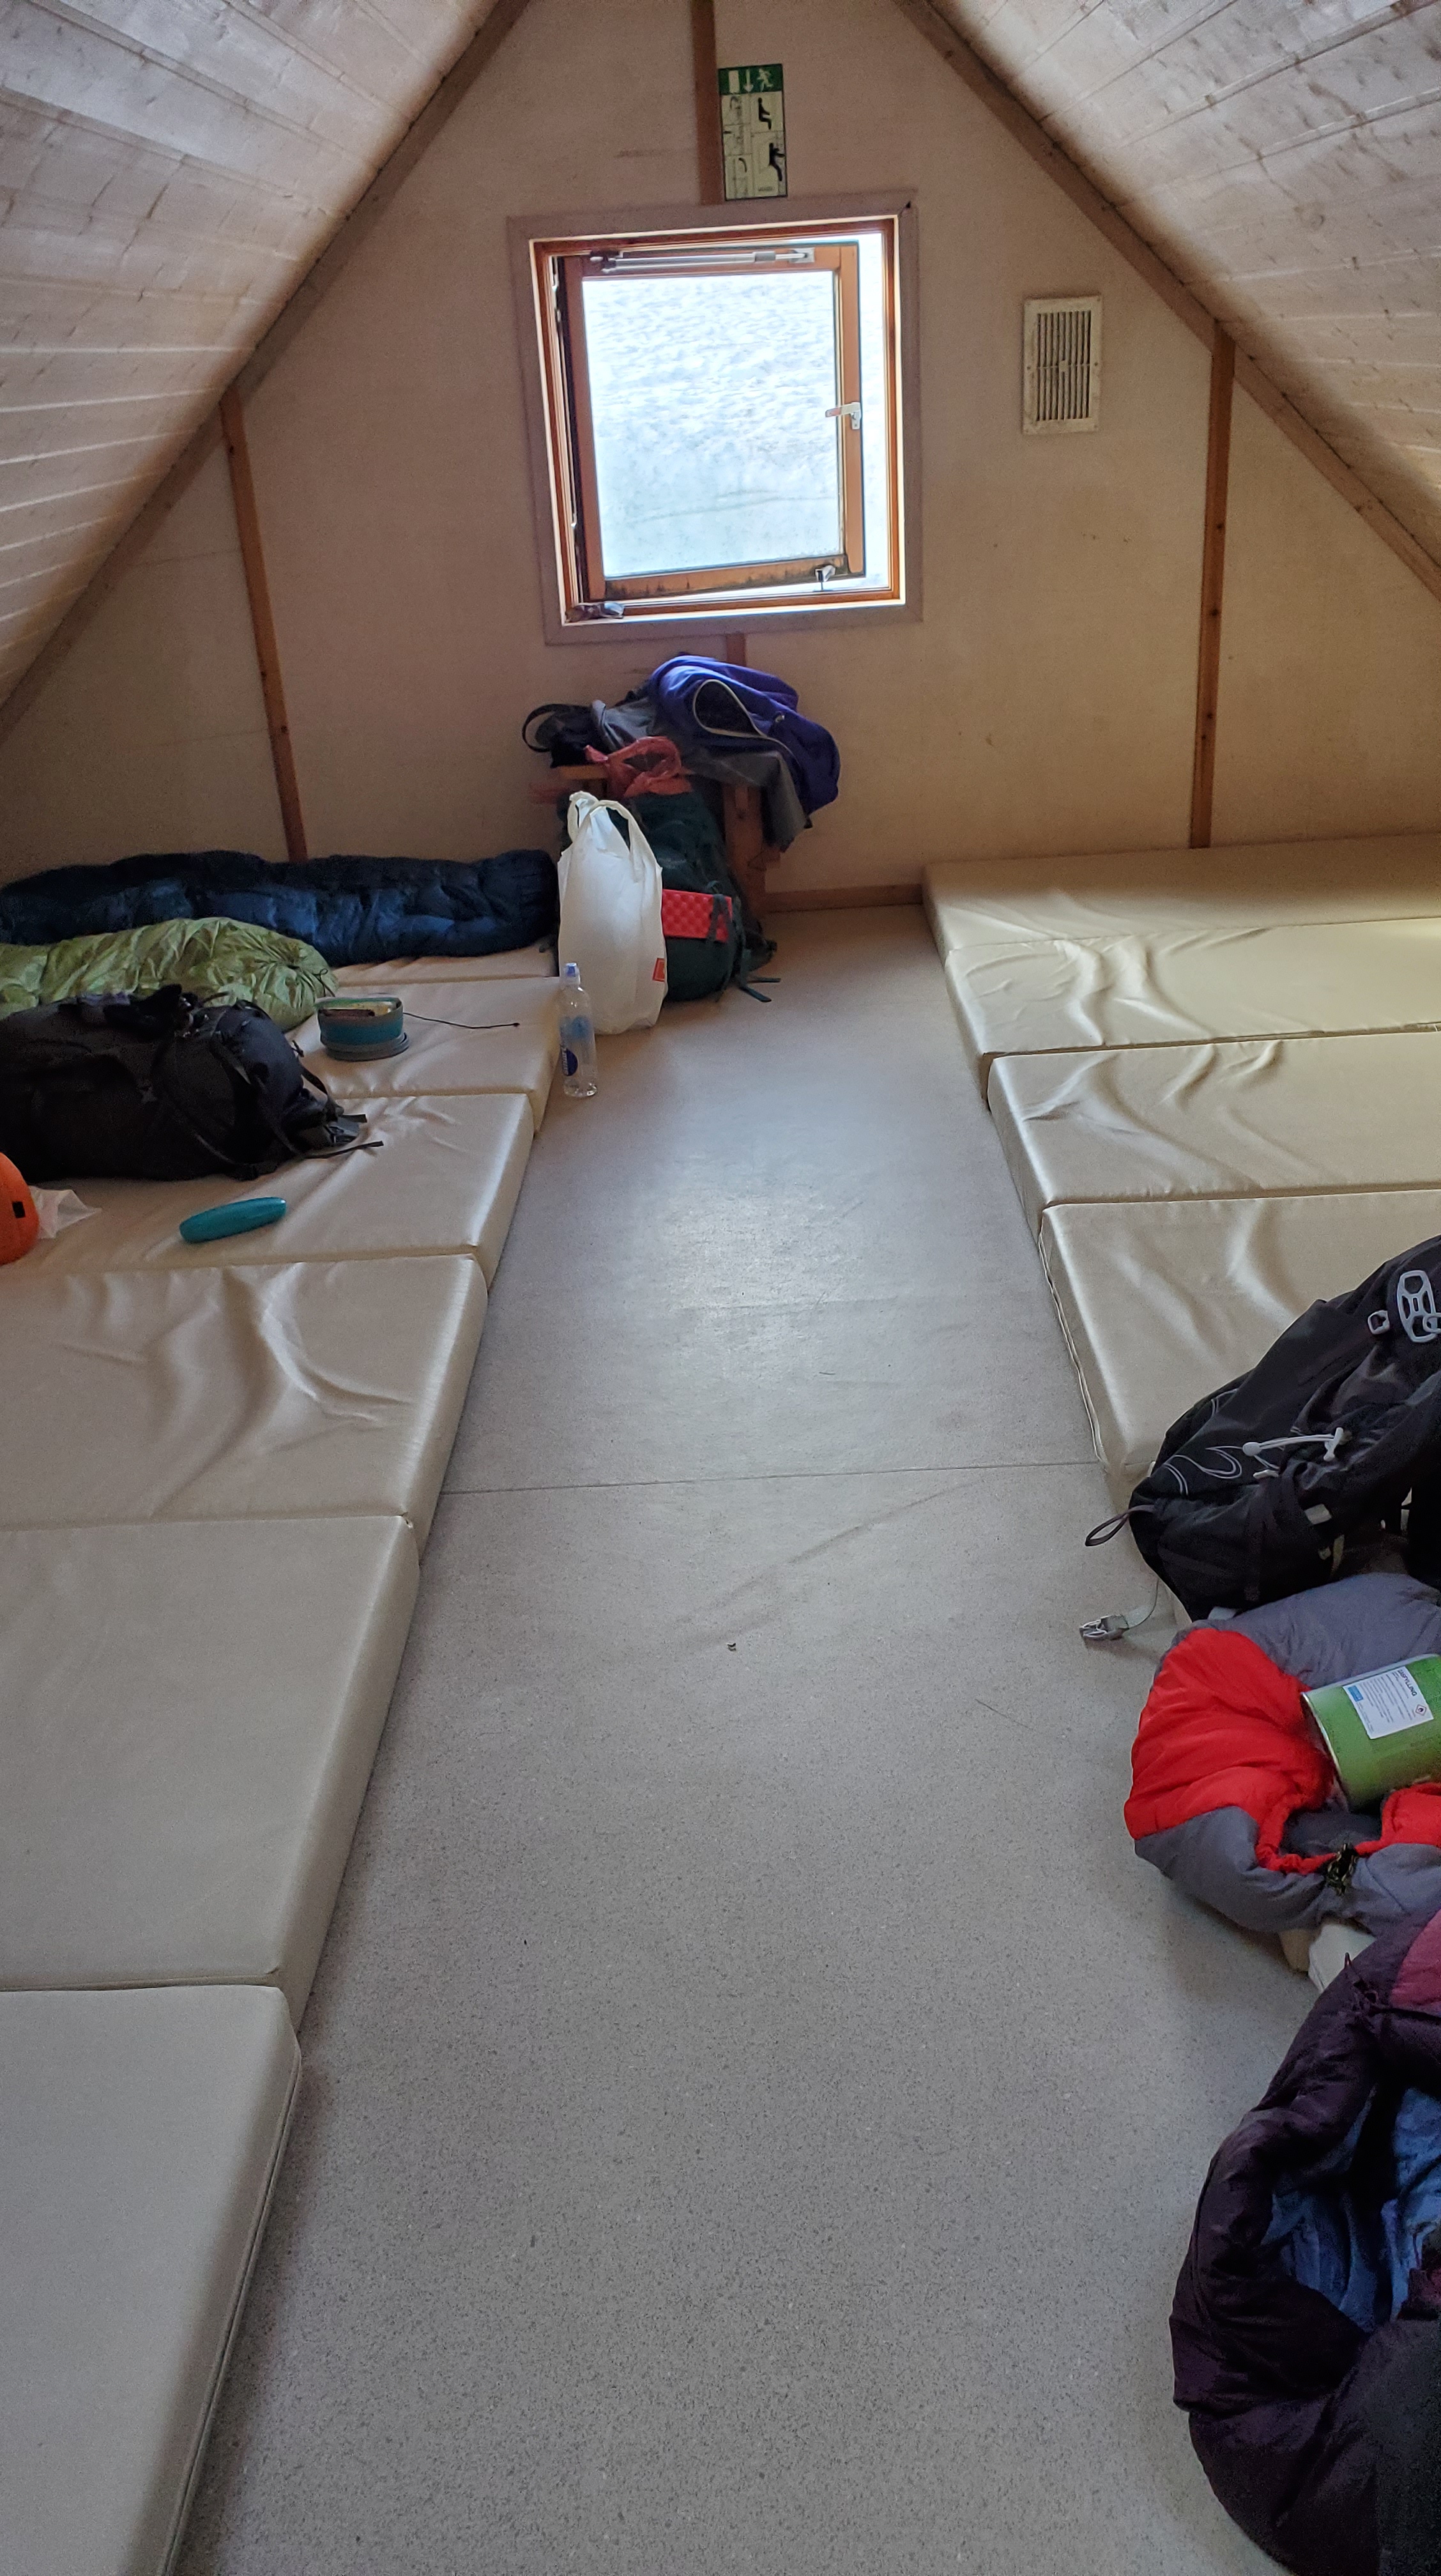

Accommodation:
Hut or tent (to book campsites and for prices click here). Due to the snow at this campsite, I highly recommend sleeping in the hut and scheduling spots in advance! We arrived planning to stay in a tent but fortunately snatched last-minute available beds at the hut! It was an incredible experience meeting and cooking meals with fellow backpackers from all over the world!
Day 2: Hrafntinnusker to Álftavatn
Distance: 7.5mi / 12km
Descend: 1,607ft / 490m
Duration: 3-4 hours
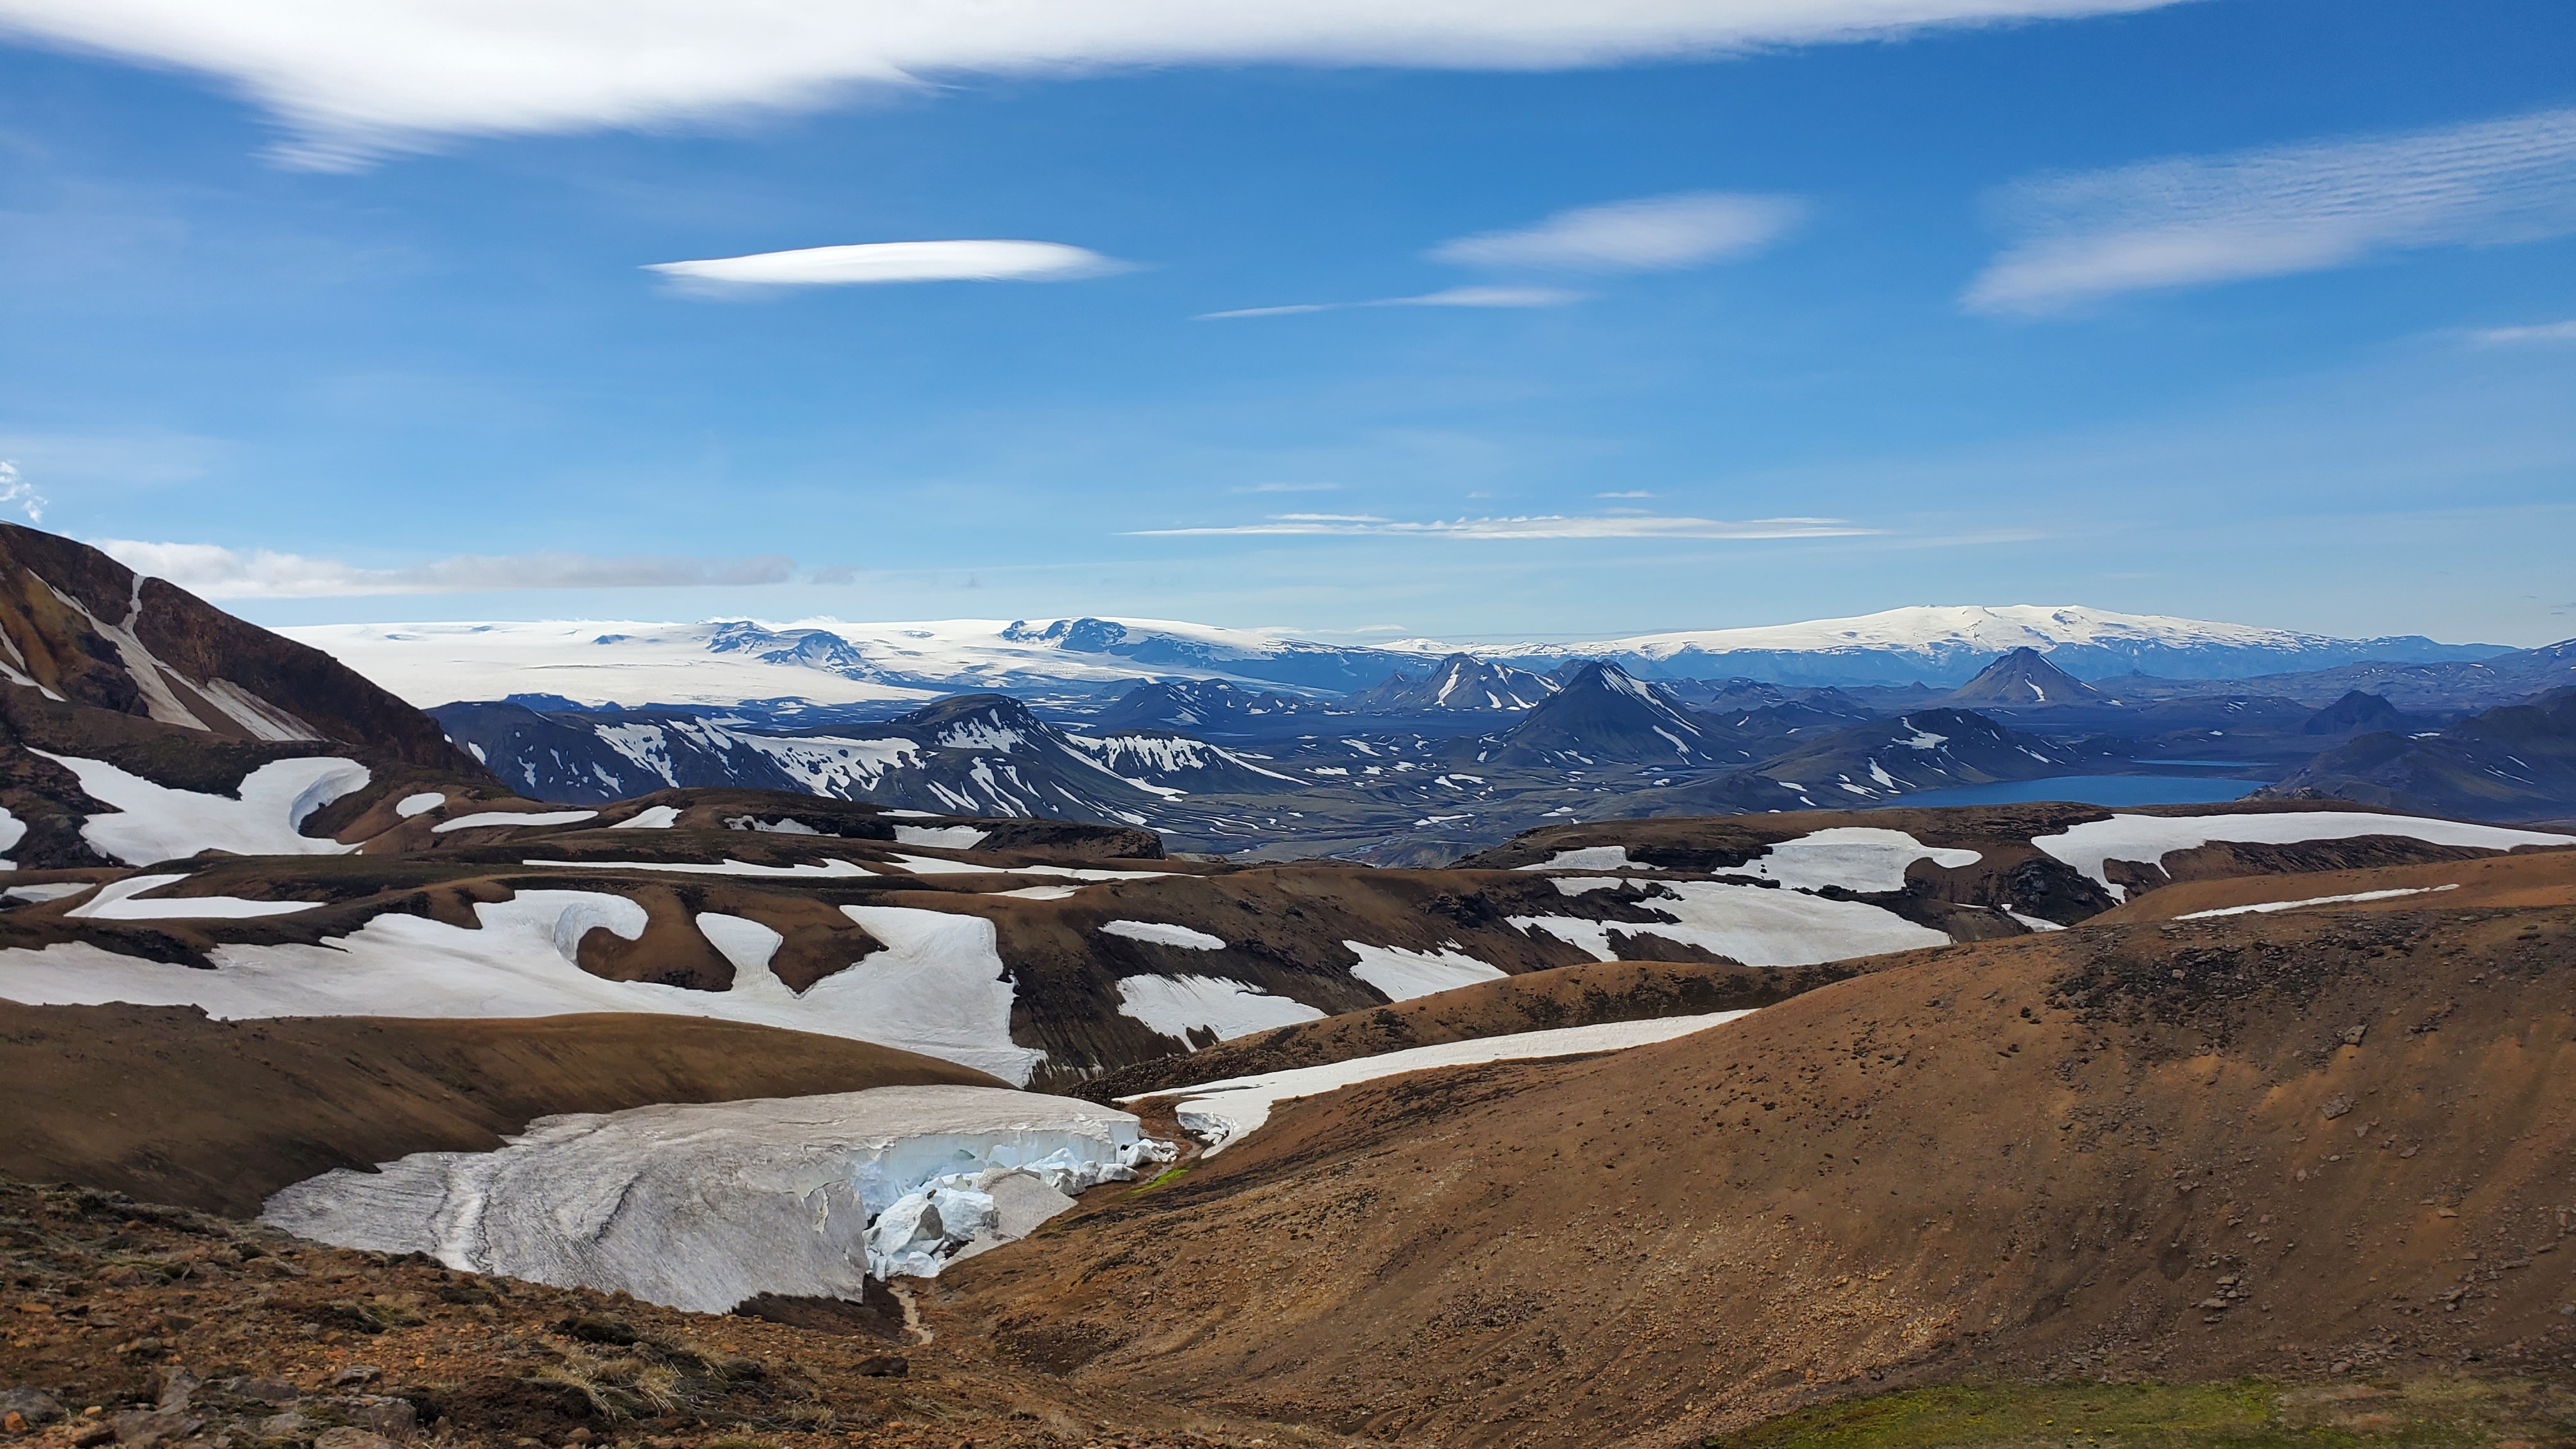
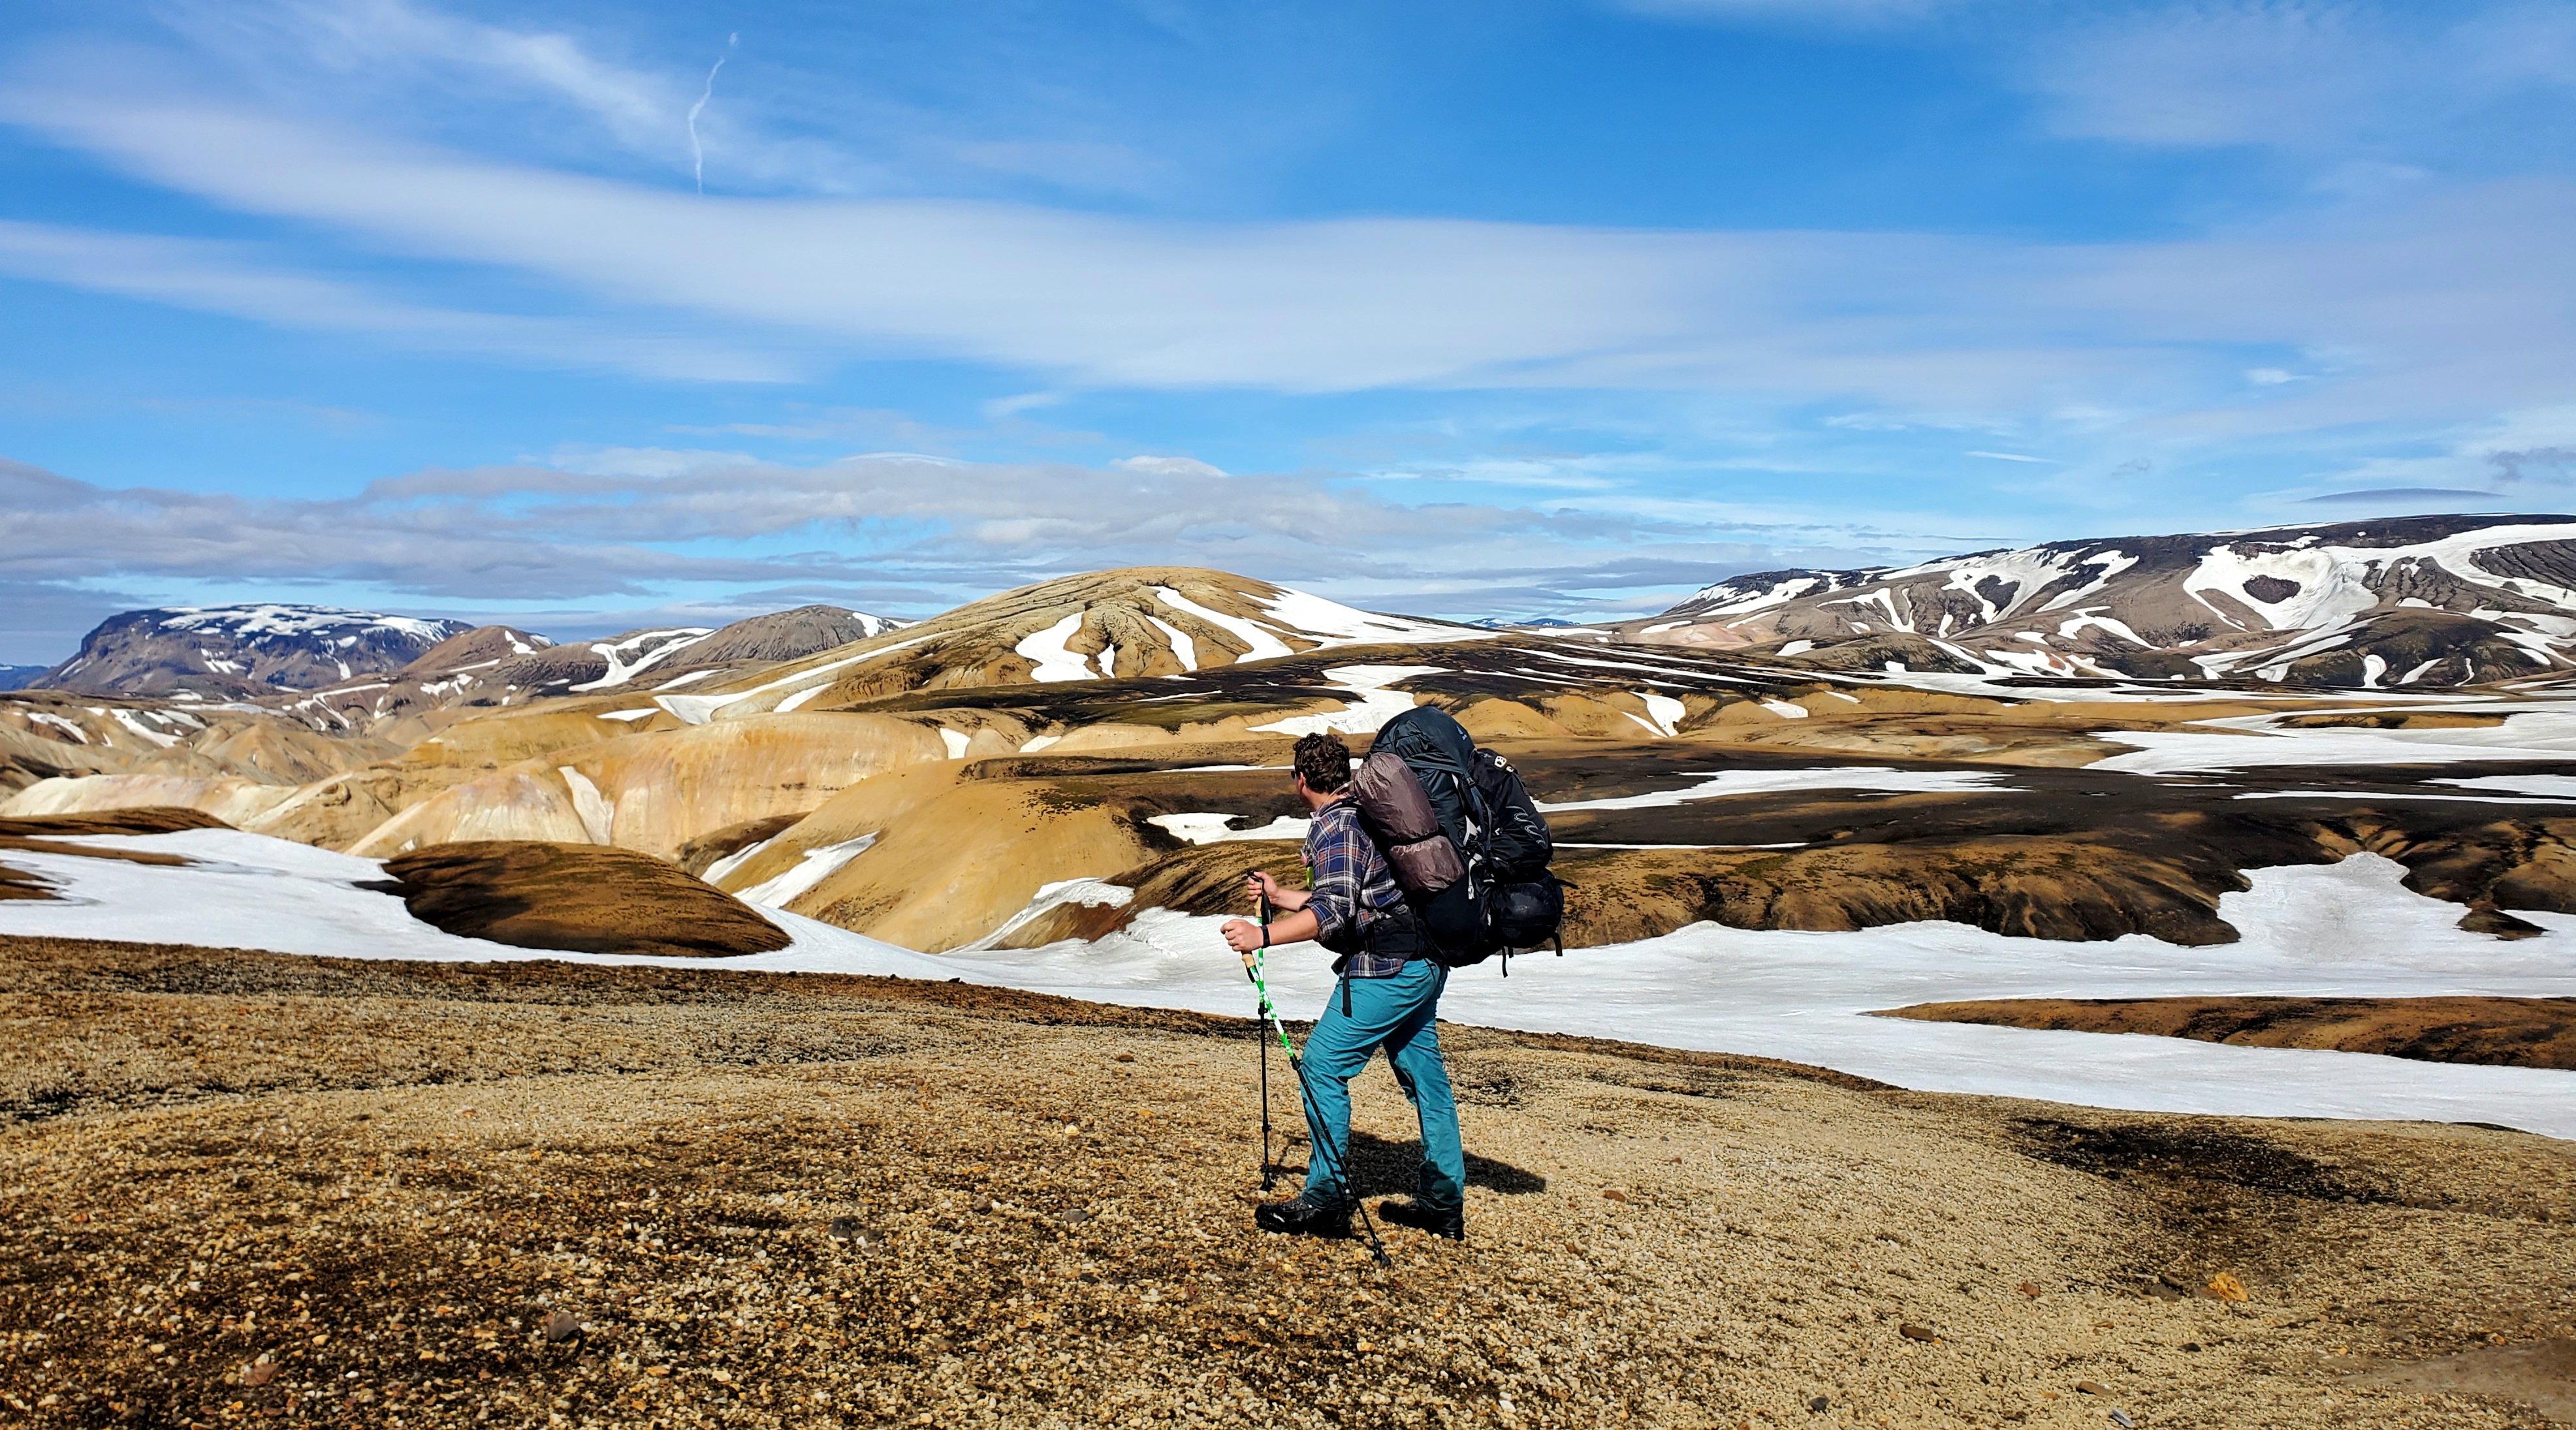
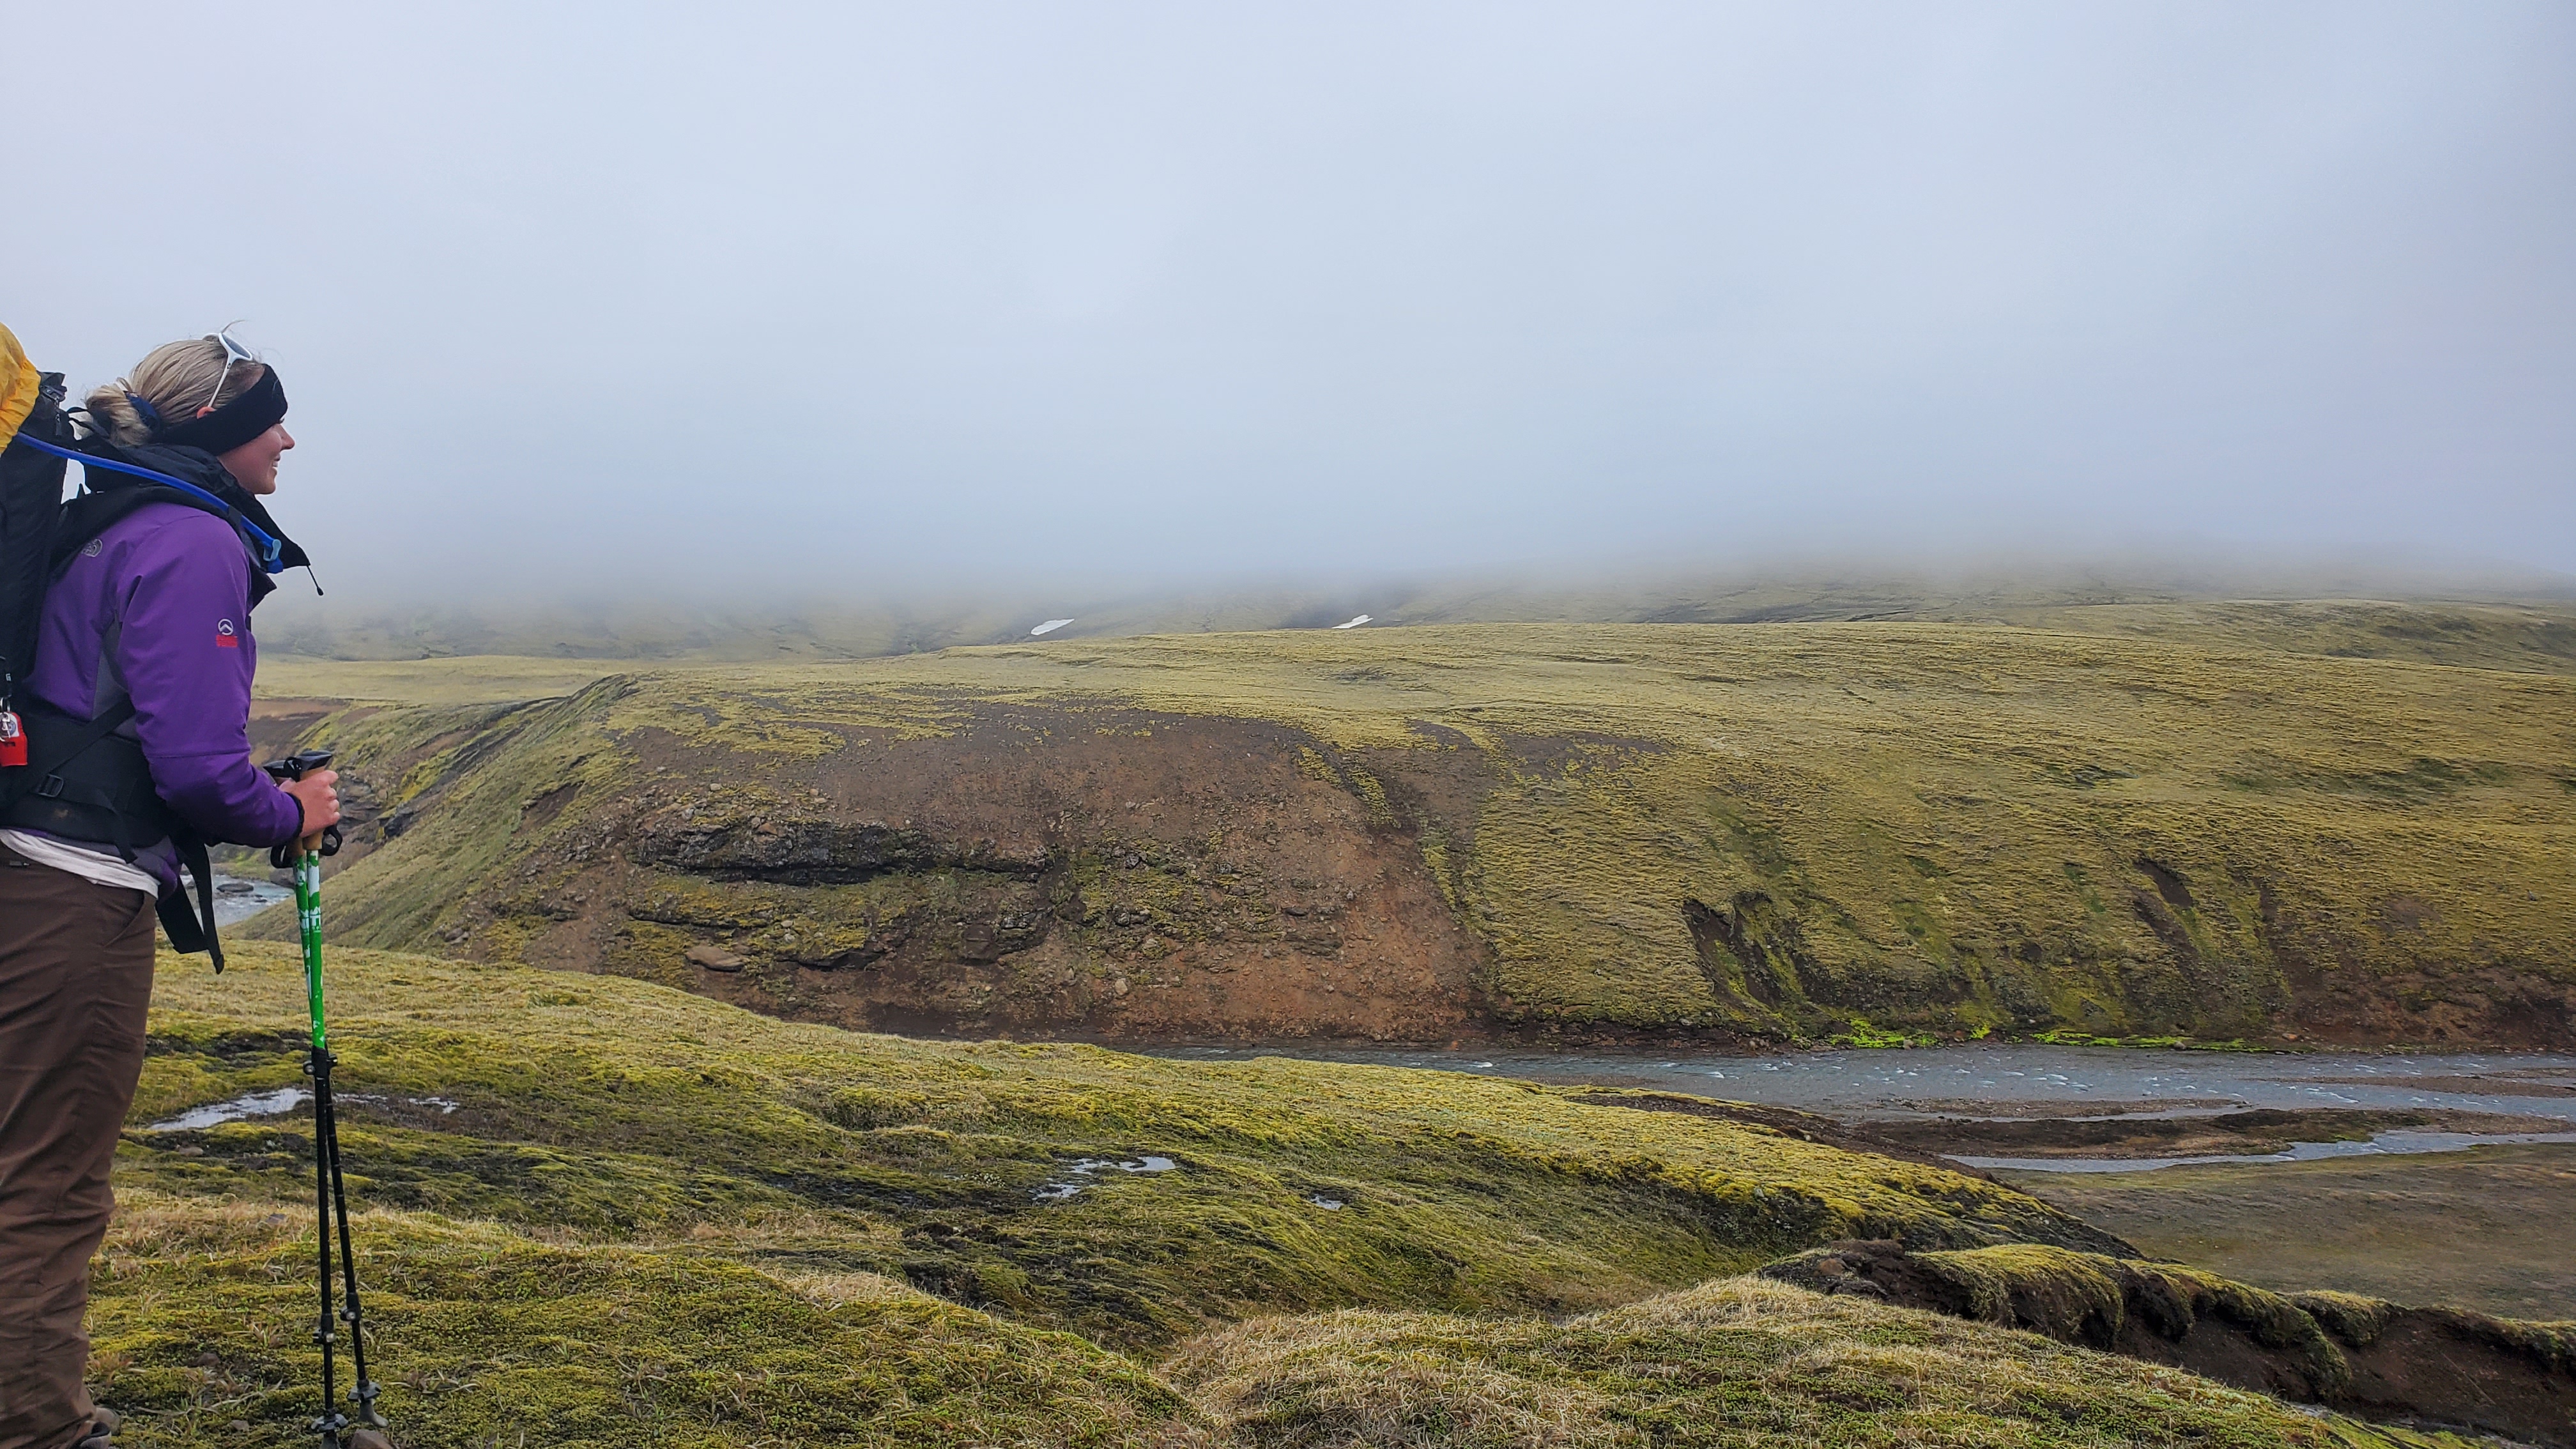
As we said goodbye to the Hrafntinnusker hut, we trekked through snow and up Háskerðingur mountain. Here, we took some time to enjoy the magnificent views of the rolling basalt hills!
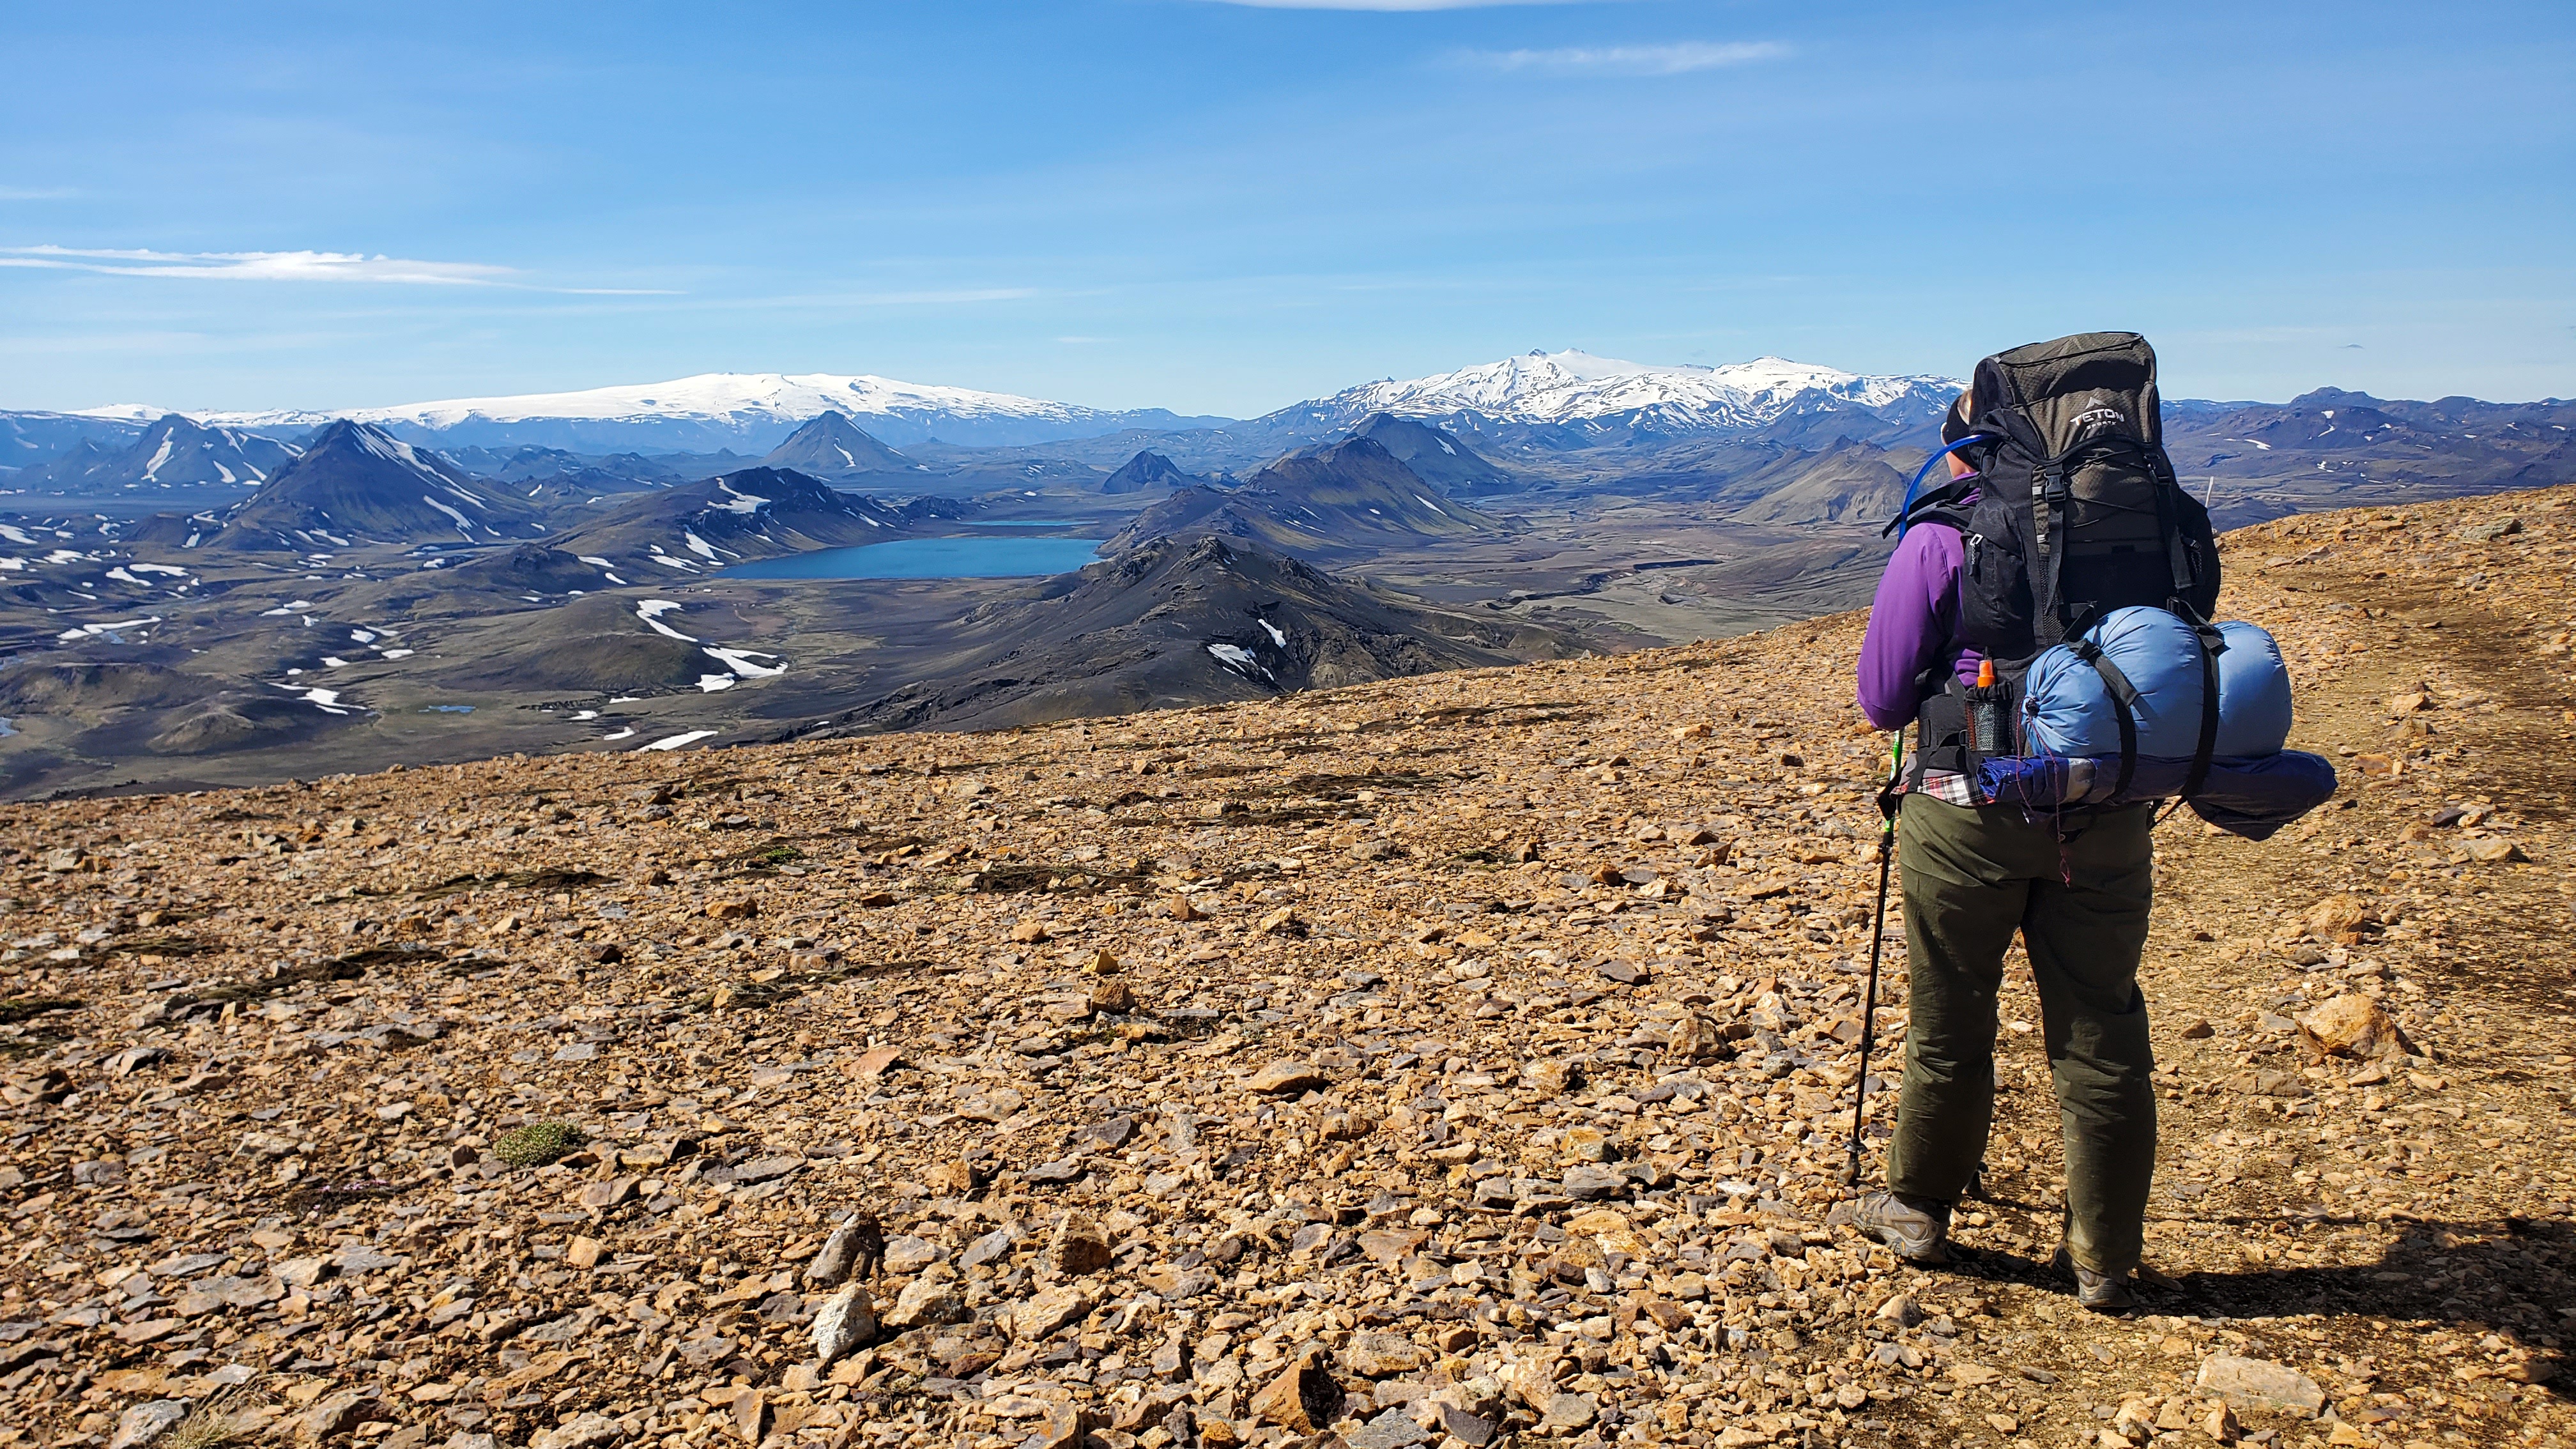
As we journeyed along the mountain rims, we had to be cautious of snow bridges using our best judgement for where to cross! As we reached the summit of Jökultungur mountain, we gazed upon the glistening Álftavatn glacier lake from a distance. From here, we took the steep descent down to the valley.
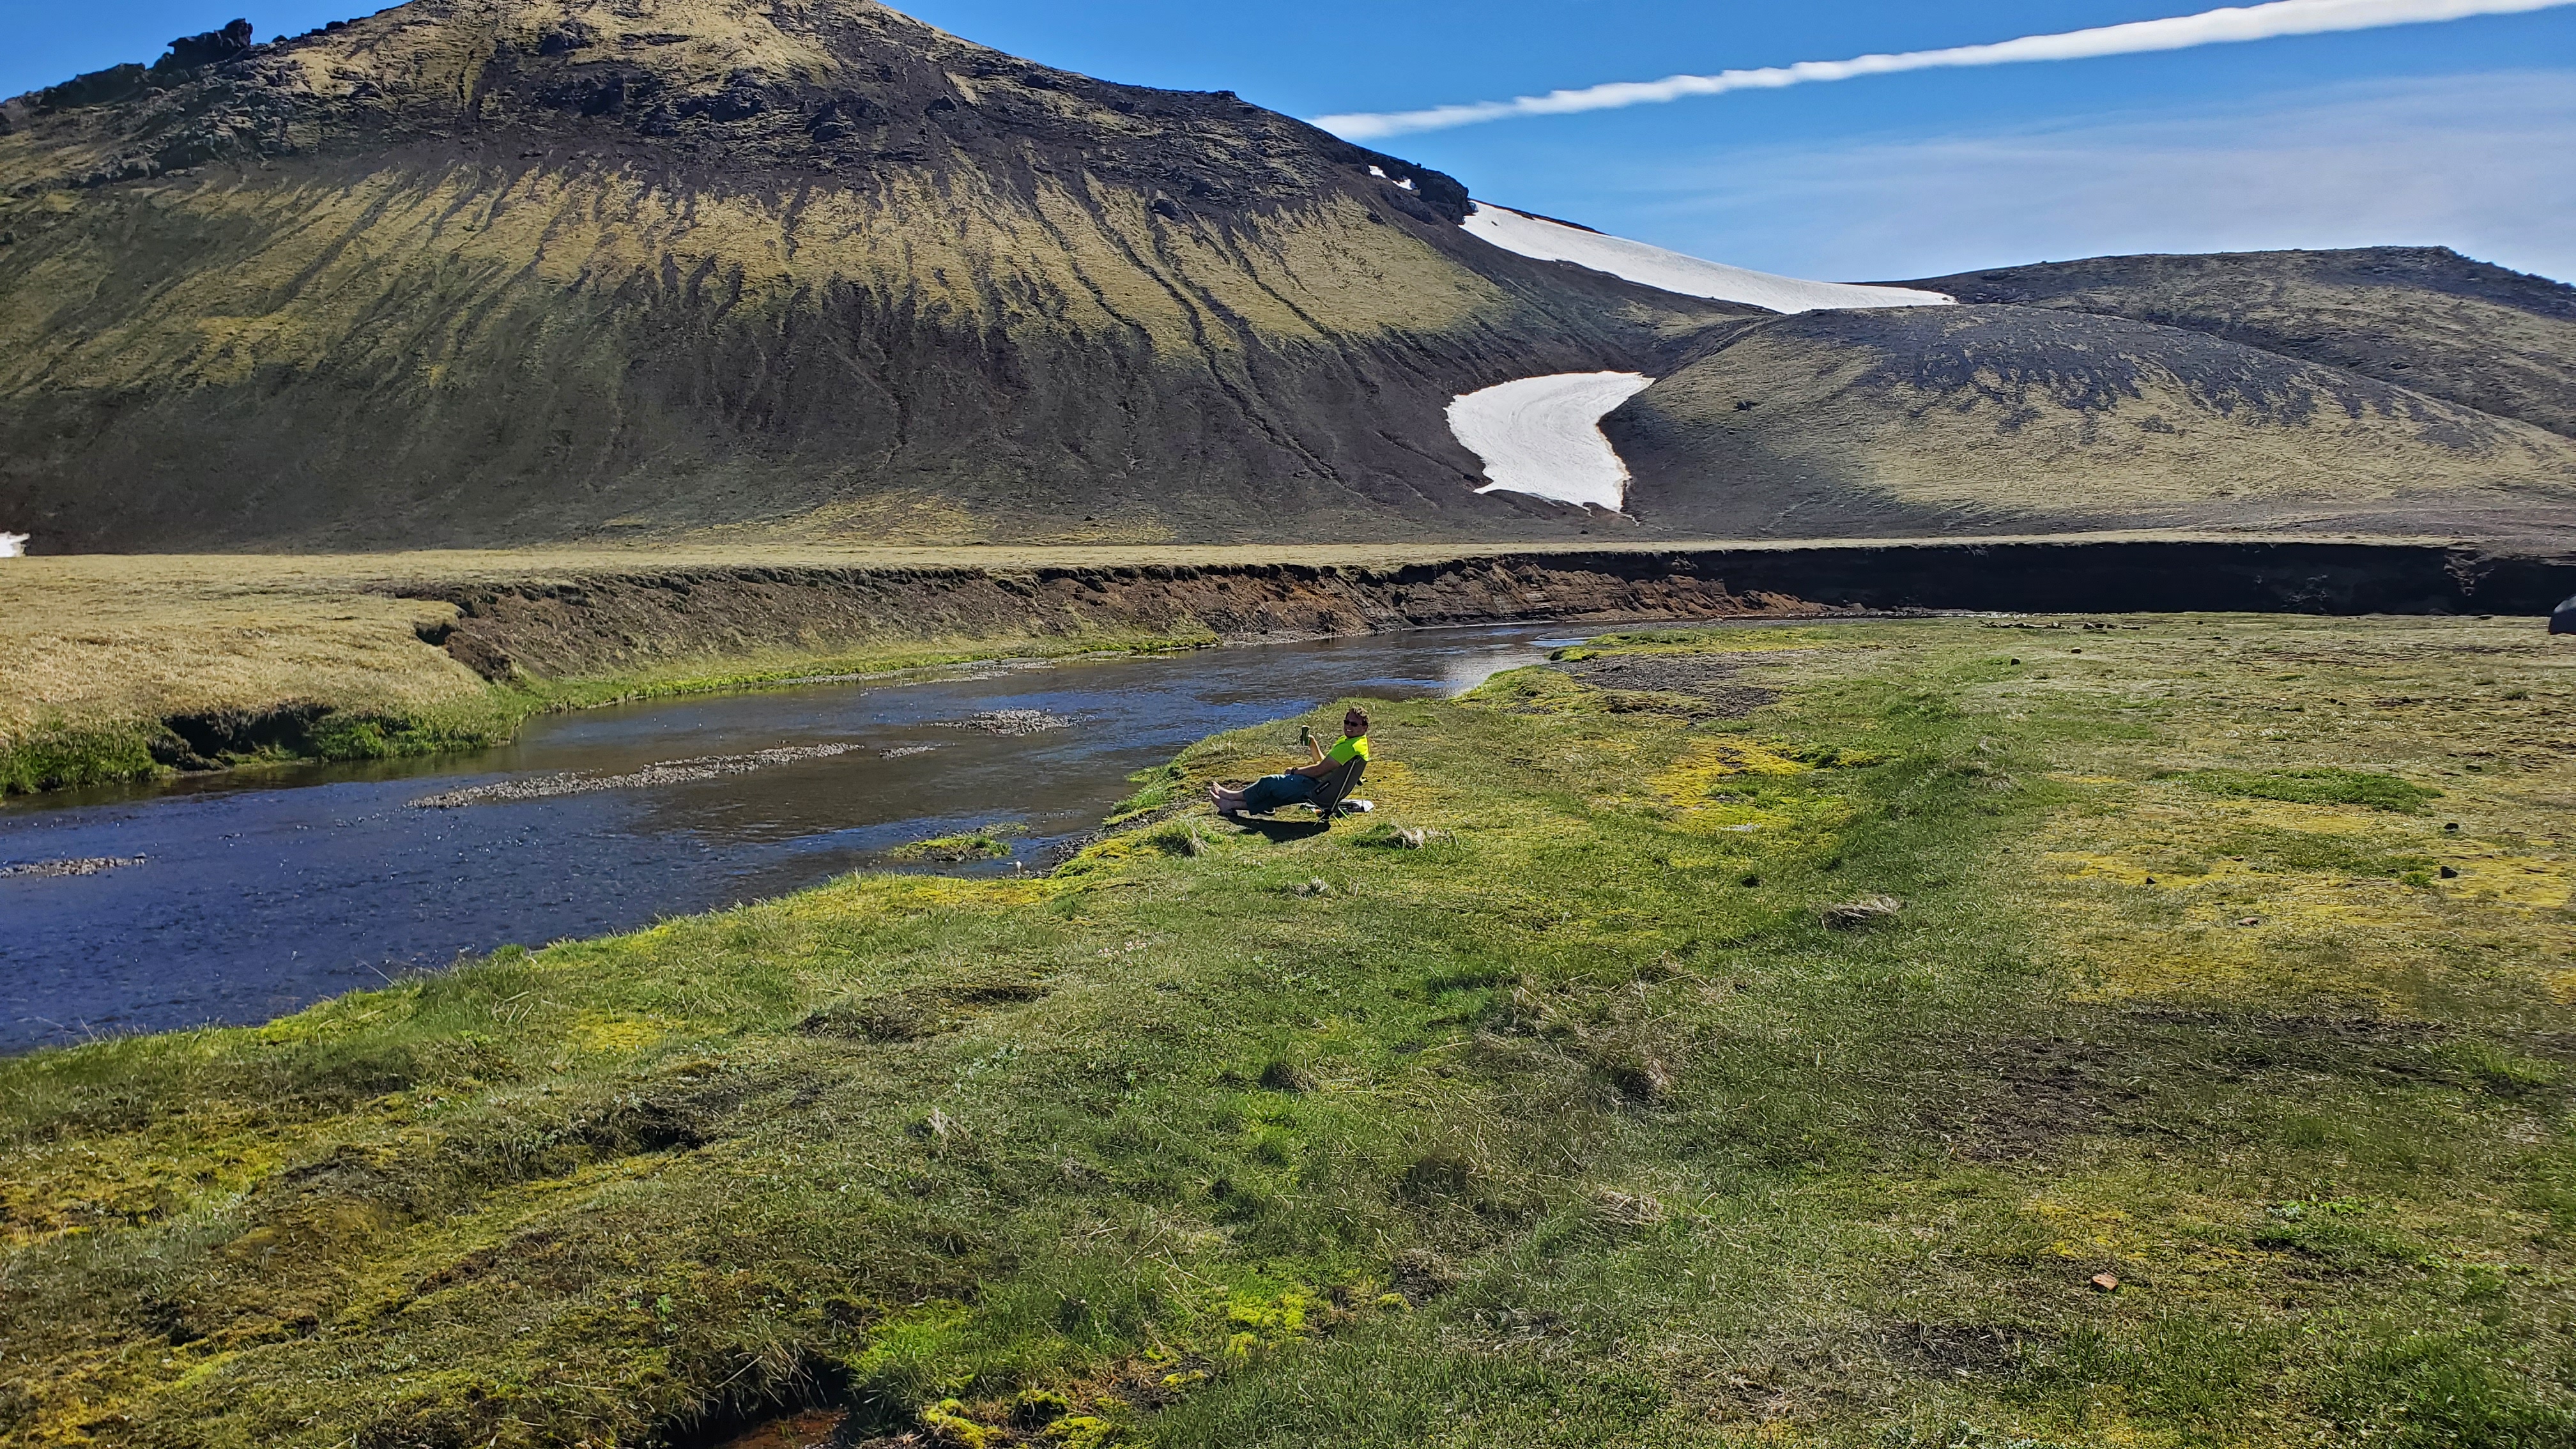
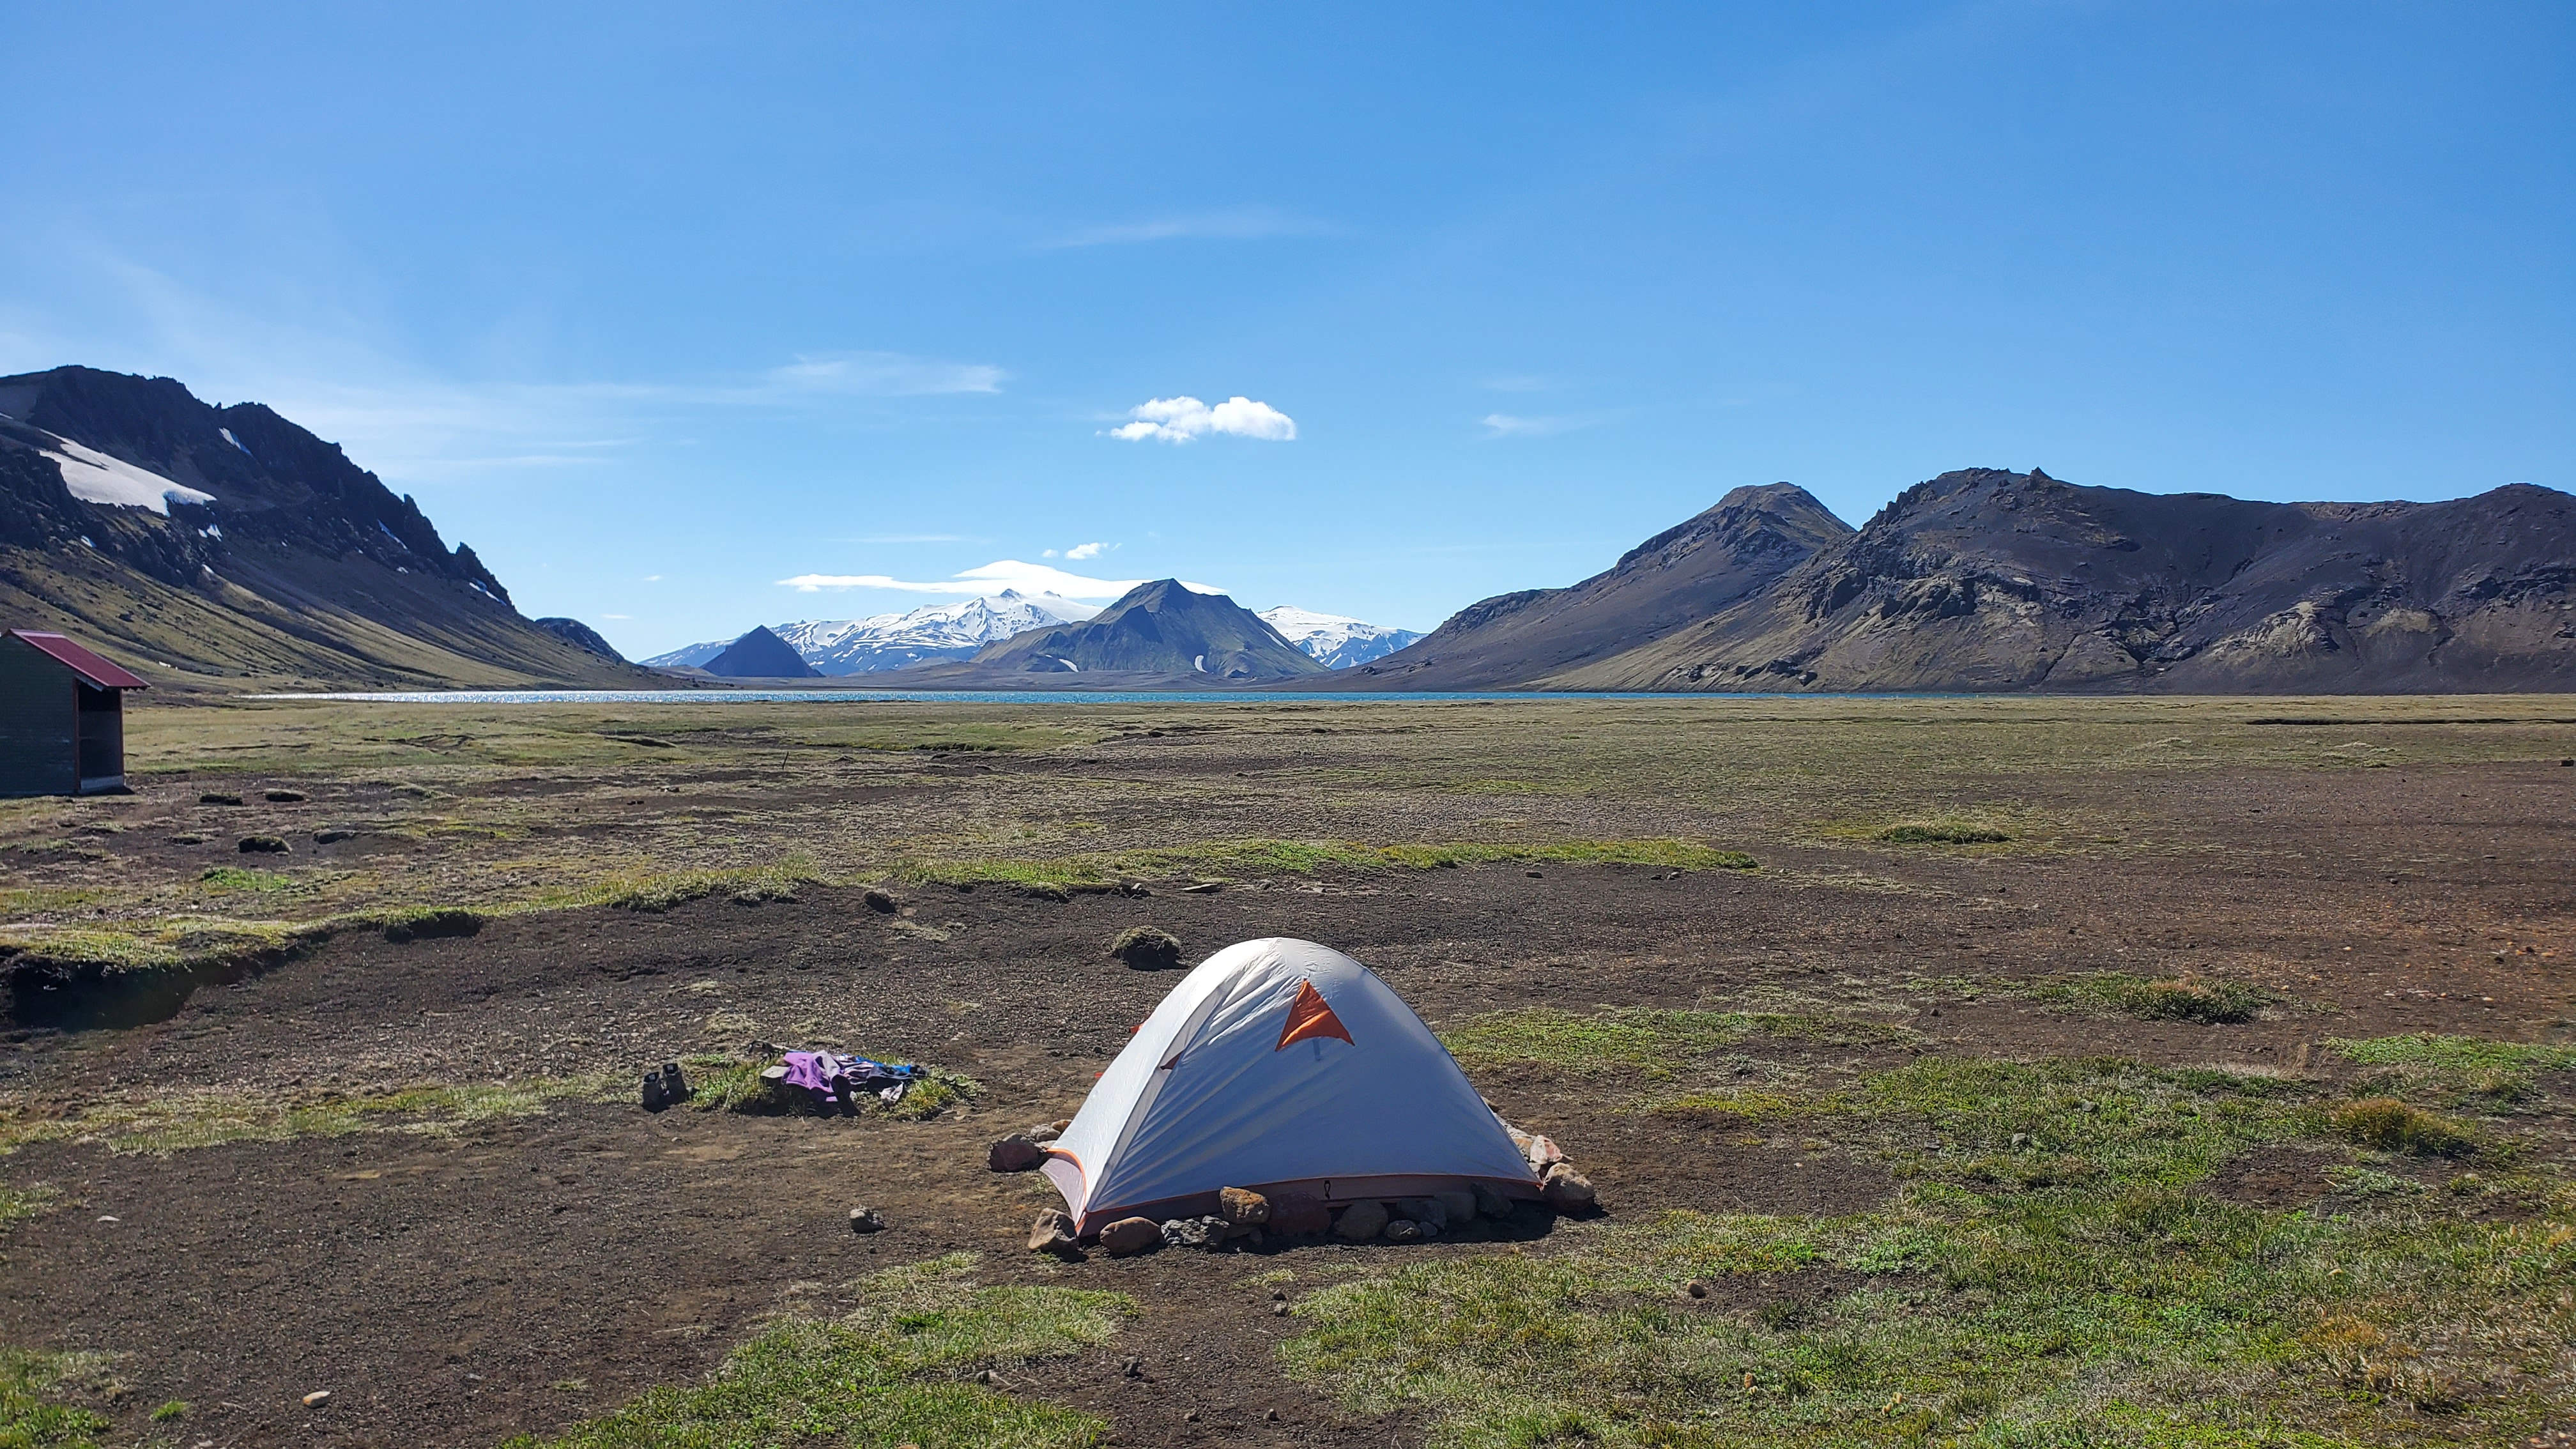
The last couple miles were relatively flat surrounded by streams and lime green mosses. Water shoes were needed for a stream crossing near the campsite. As we approached the Álftavatn hut and colorful tents, we were in awe by this serene campsite!
Accommodation:
Hut or tent: Fortunate with beautiful weather we opted to stay in a tent as planned. Álftavatn was one of our favorite campsites perched next to Lake Álftavatn (aka Swan Lake) in a stunning valley. Since this site is accessible by 4WD vehicles, we enjoyed the snacks and beers sold at the campsite’s café. We cheered to this incredible halfway point!

Day 3: Álftavatn to Emstrur
Distance: 10mi / 16km
Descend: 130ft / 40m
Duration: 6-7 hours
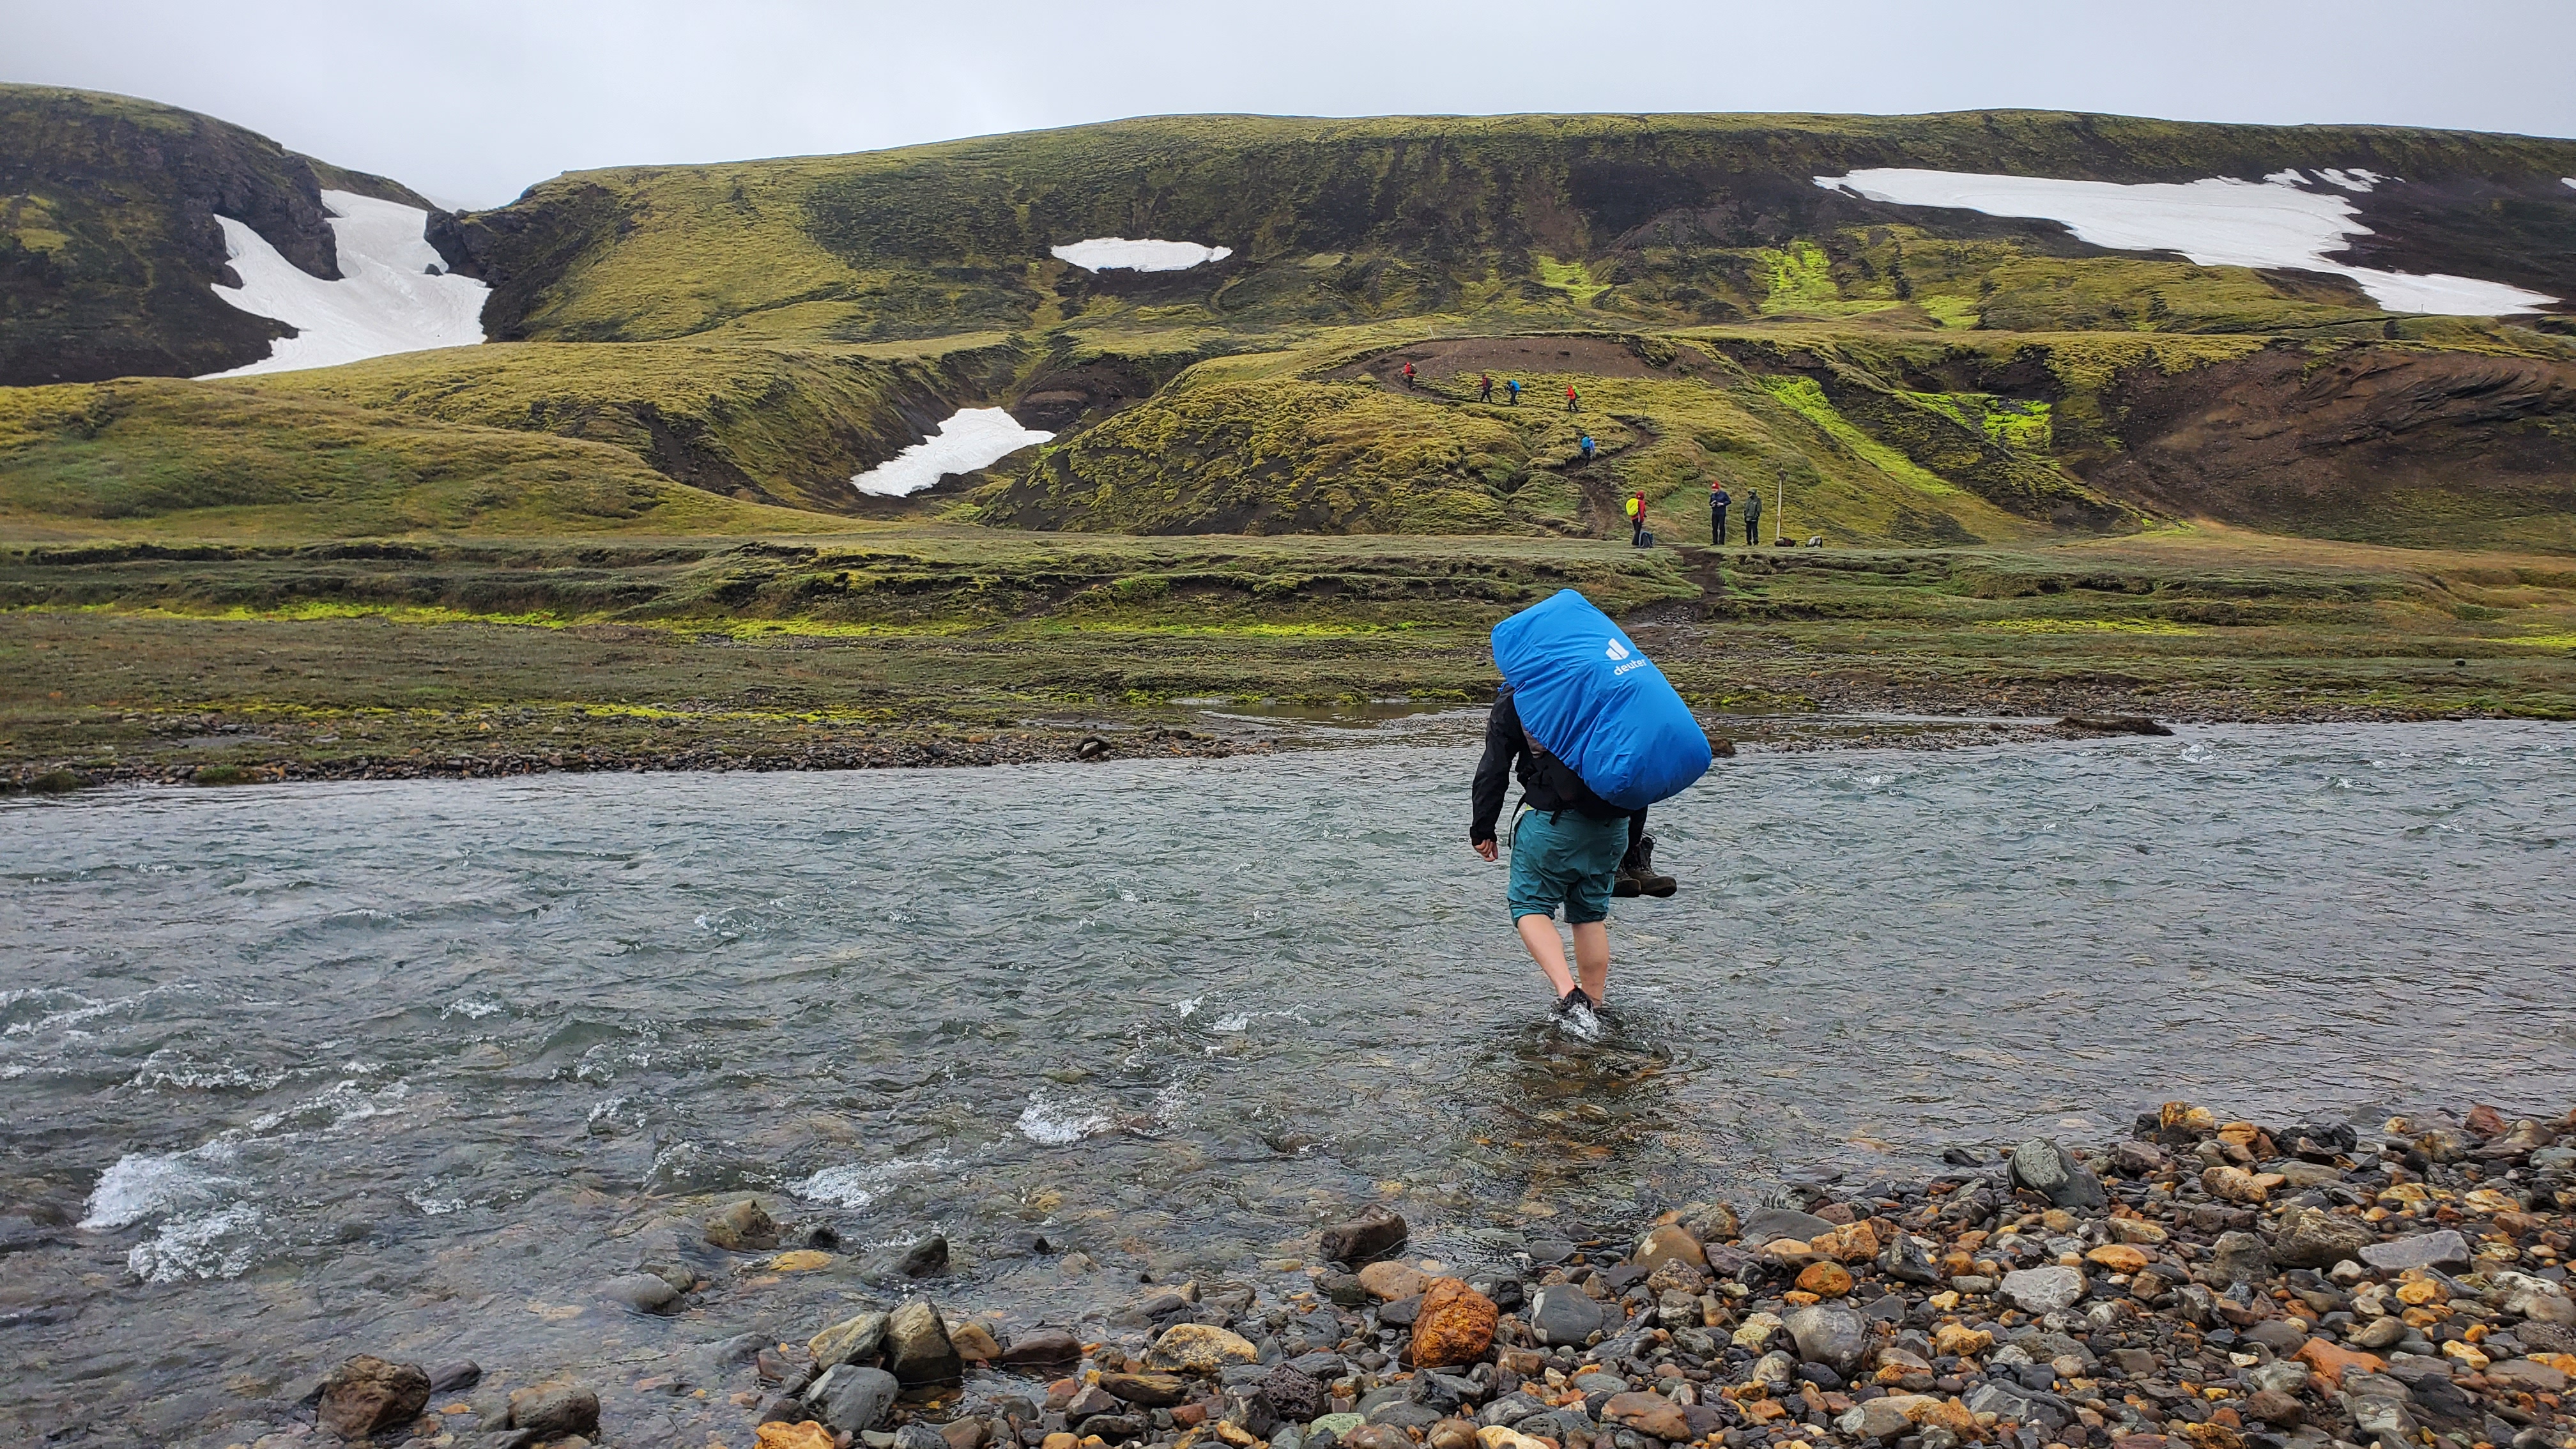
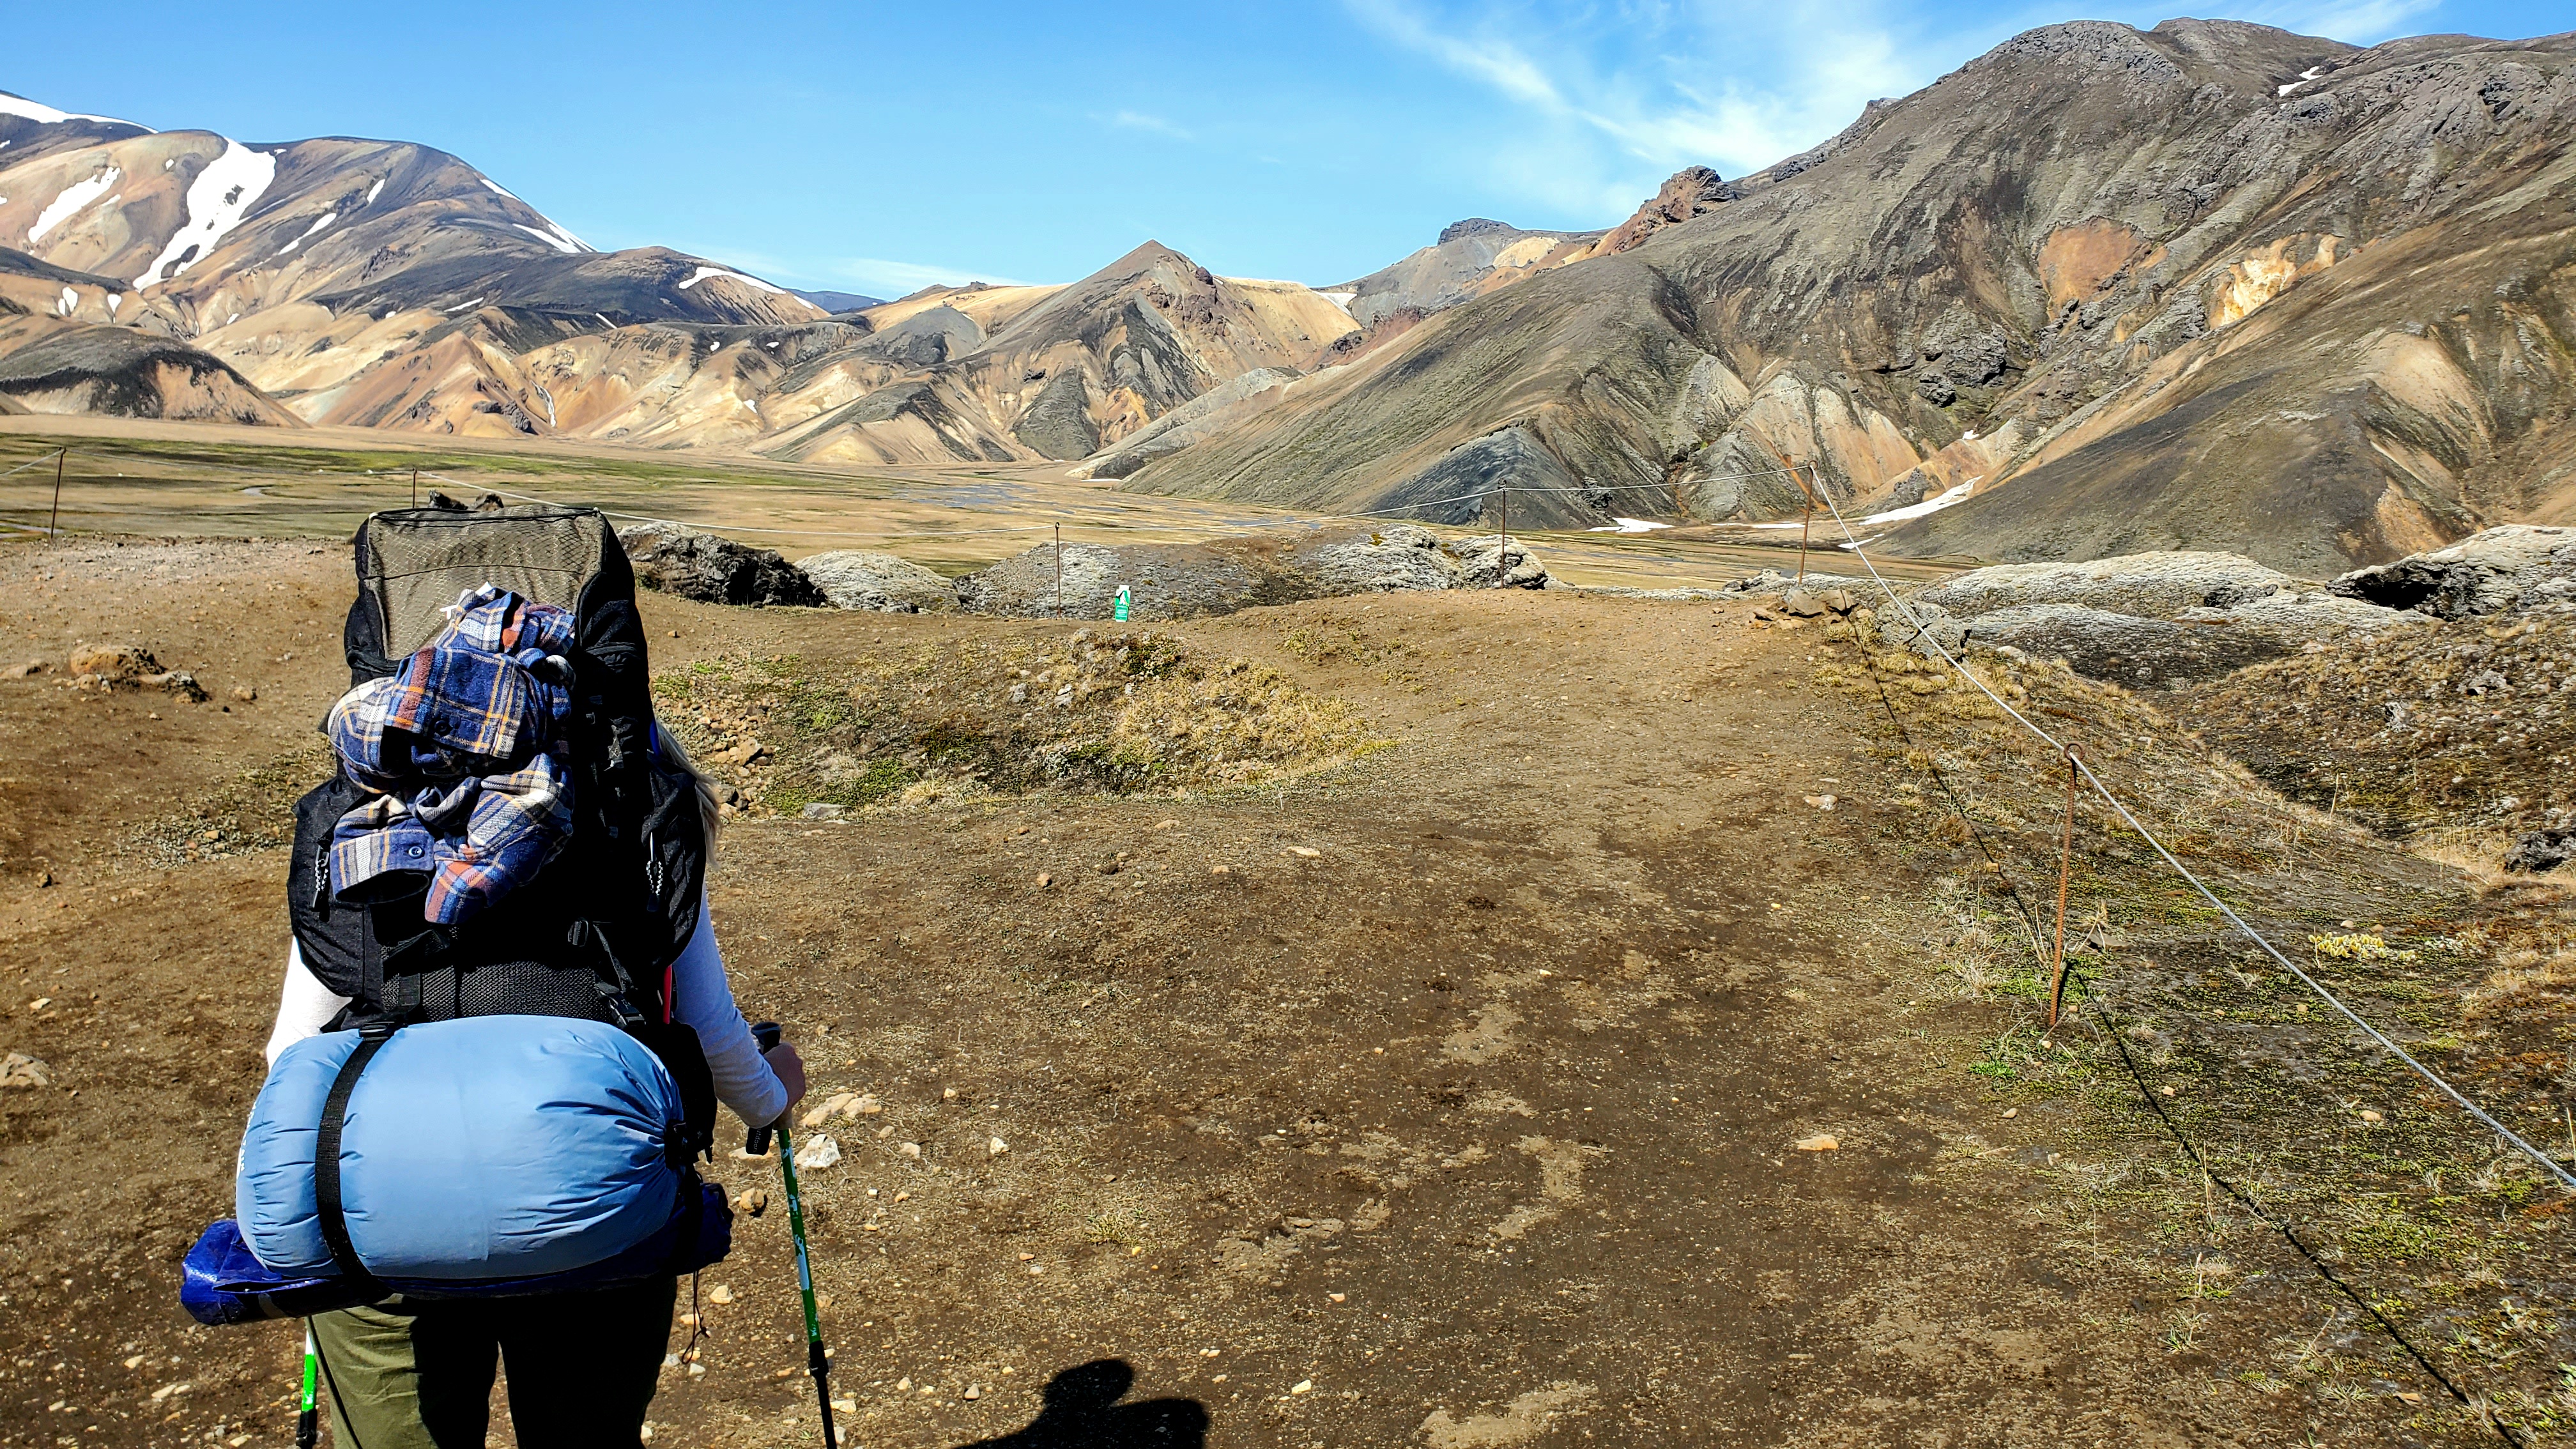
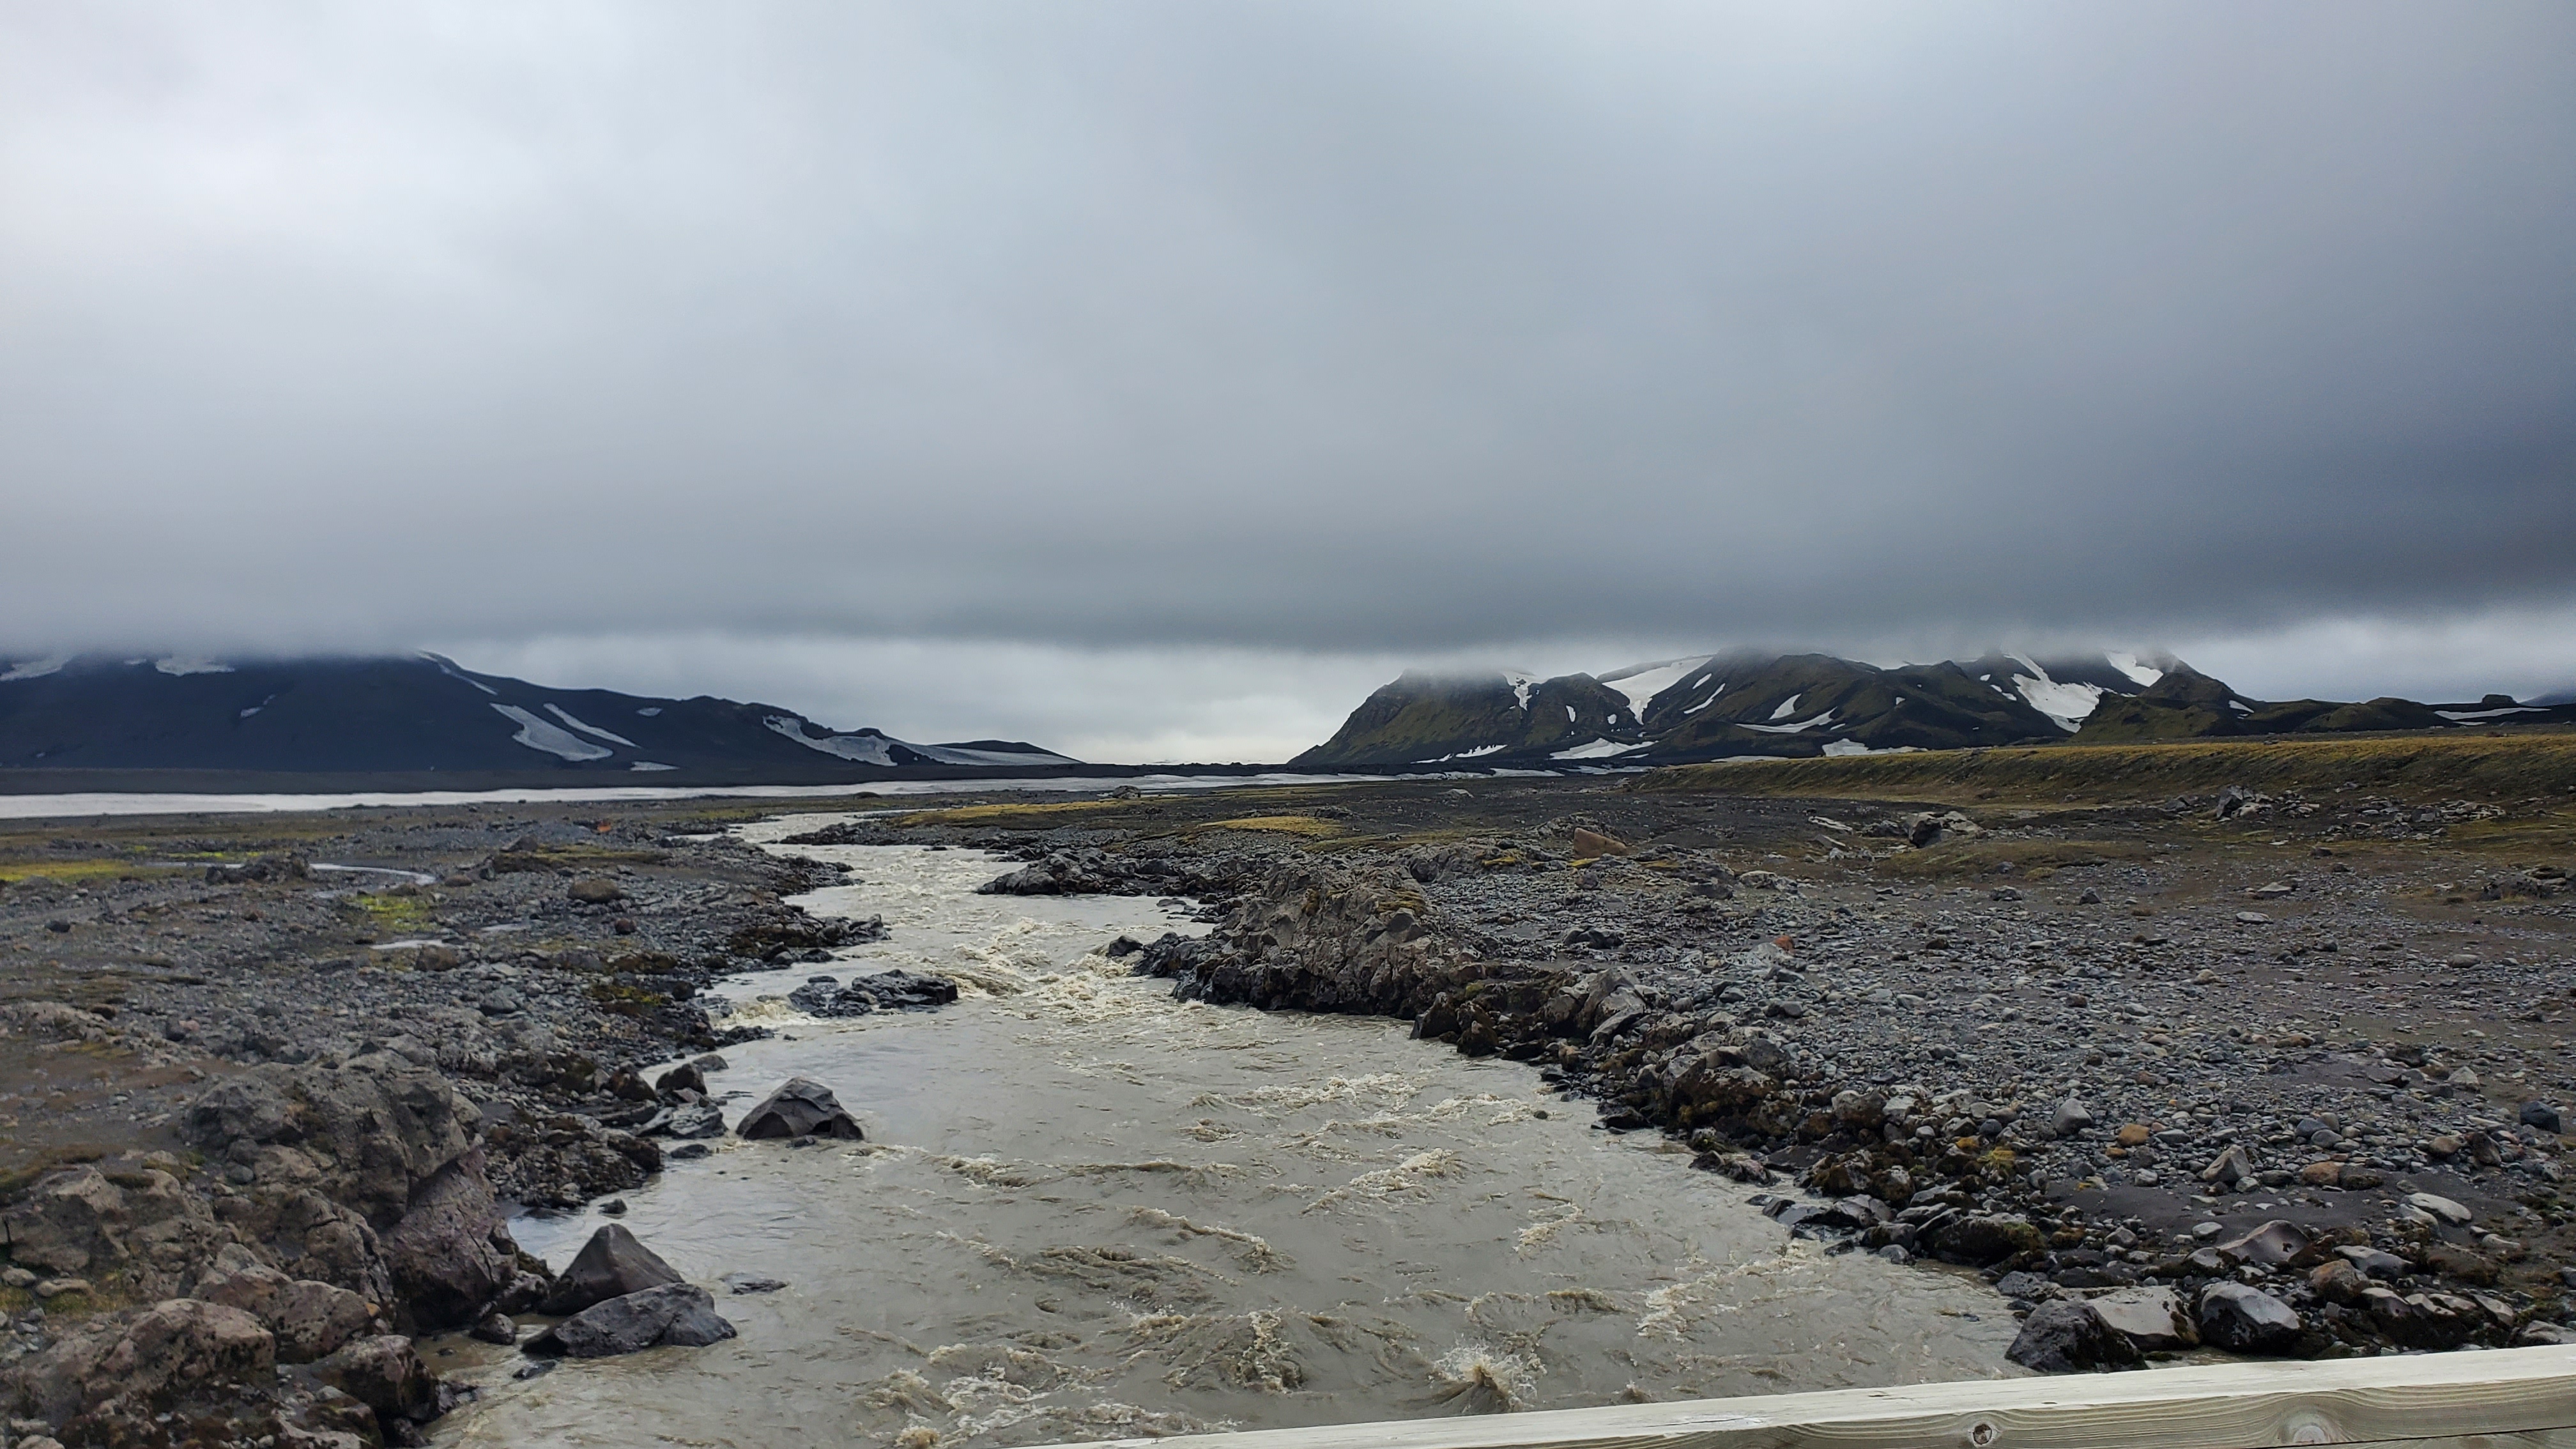
Water shoes are a must! After about 15 minutes into the grassy rolling hills, we found the Bratthálskvísl river with no bridge or passage around it. Be ready to wade through some icy cold water!

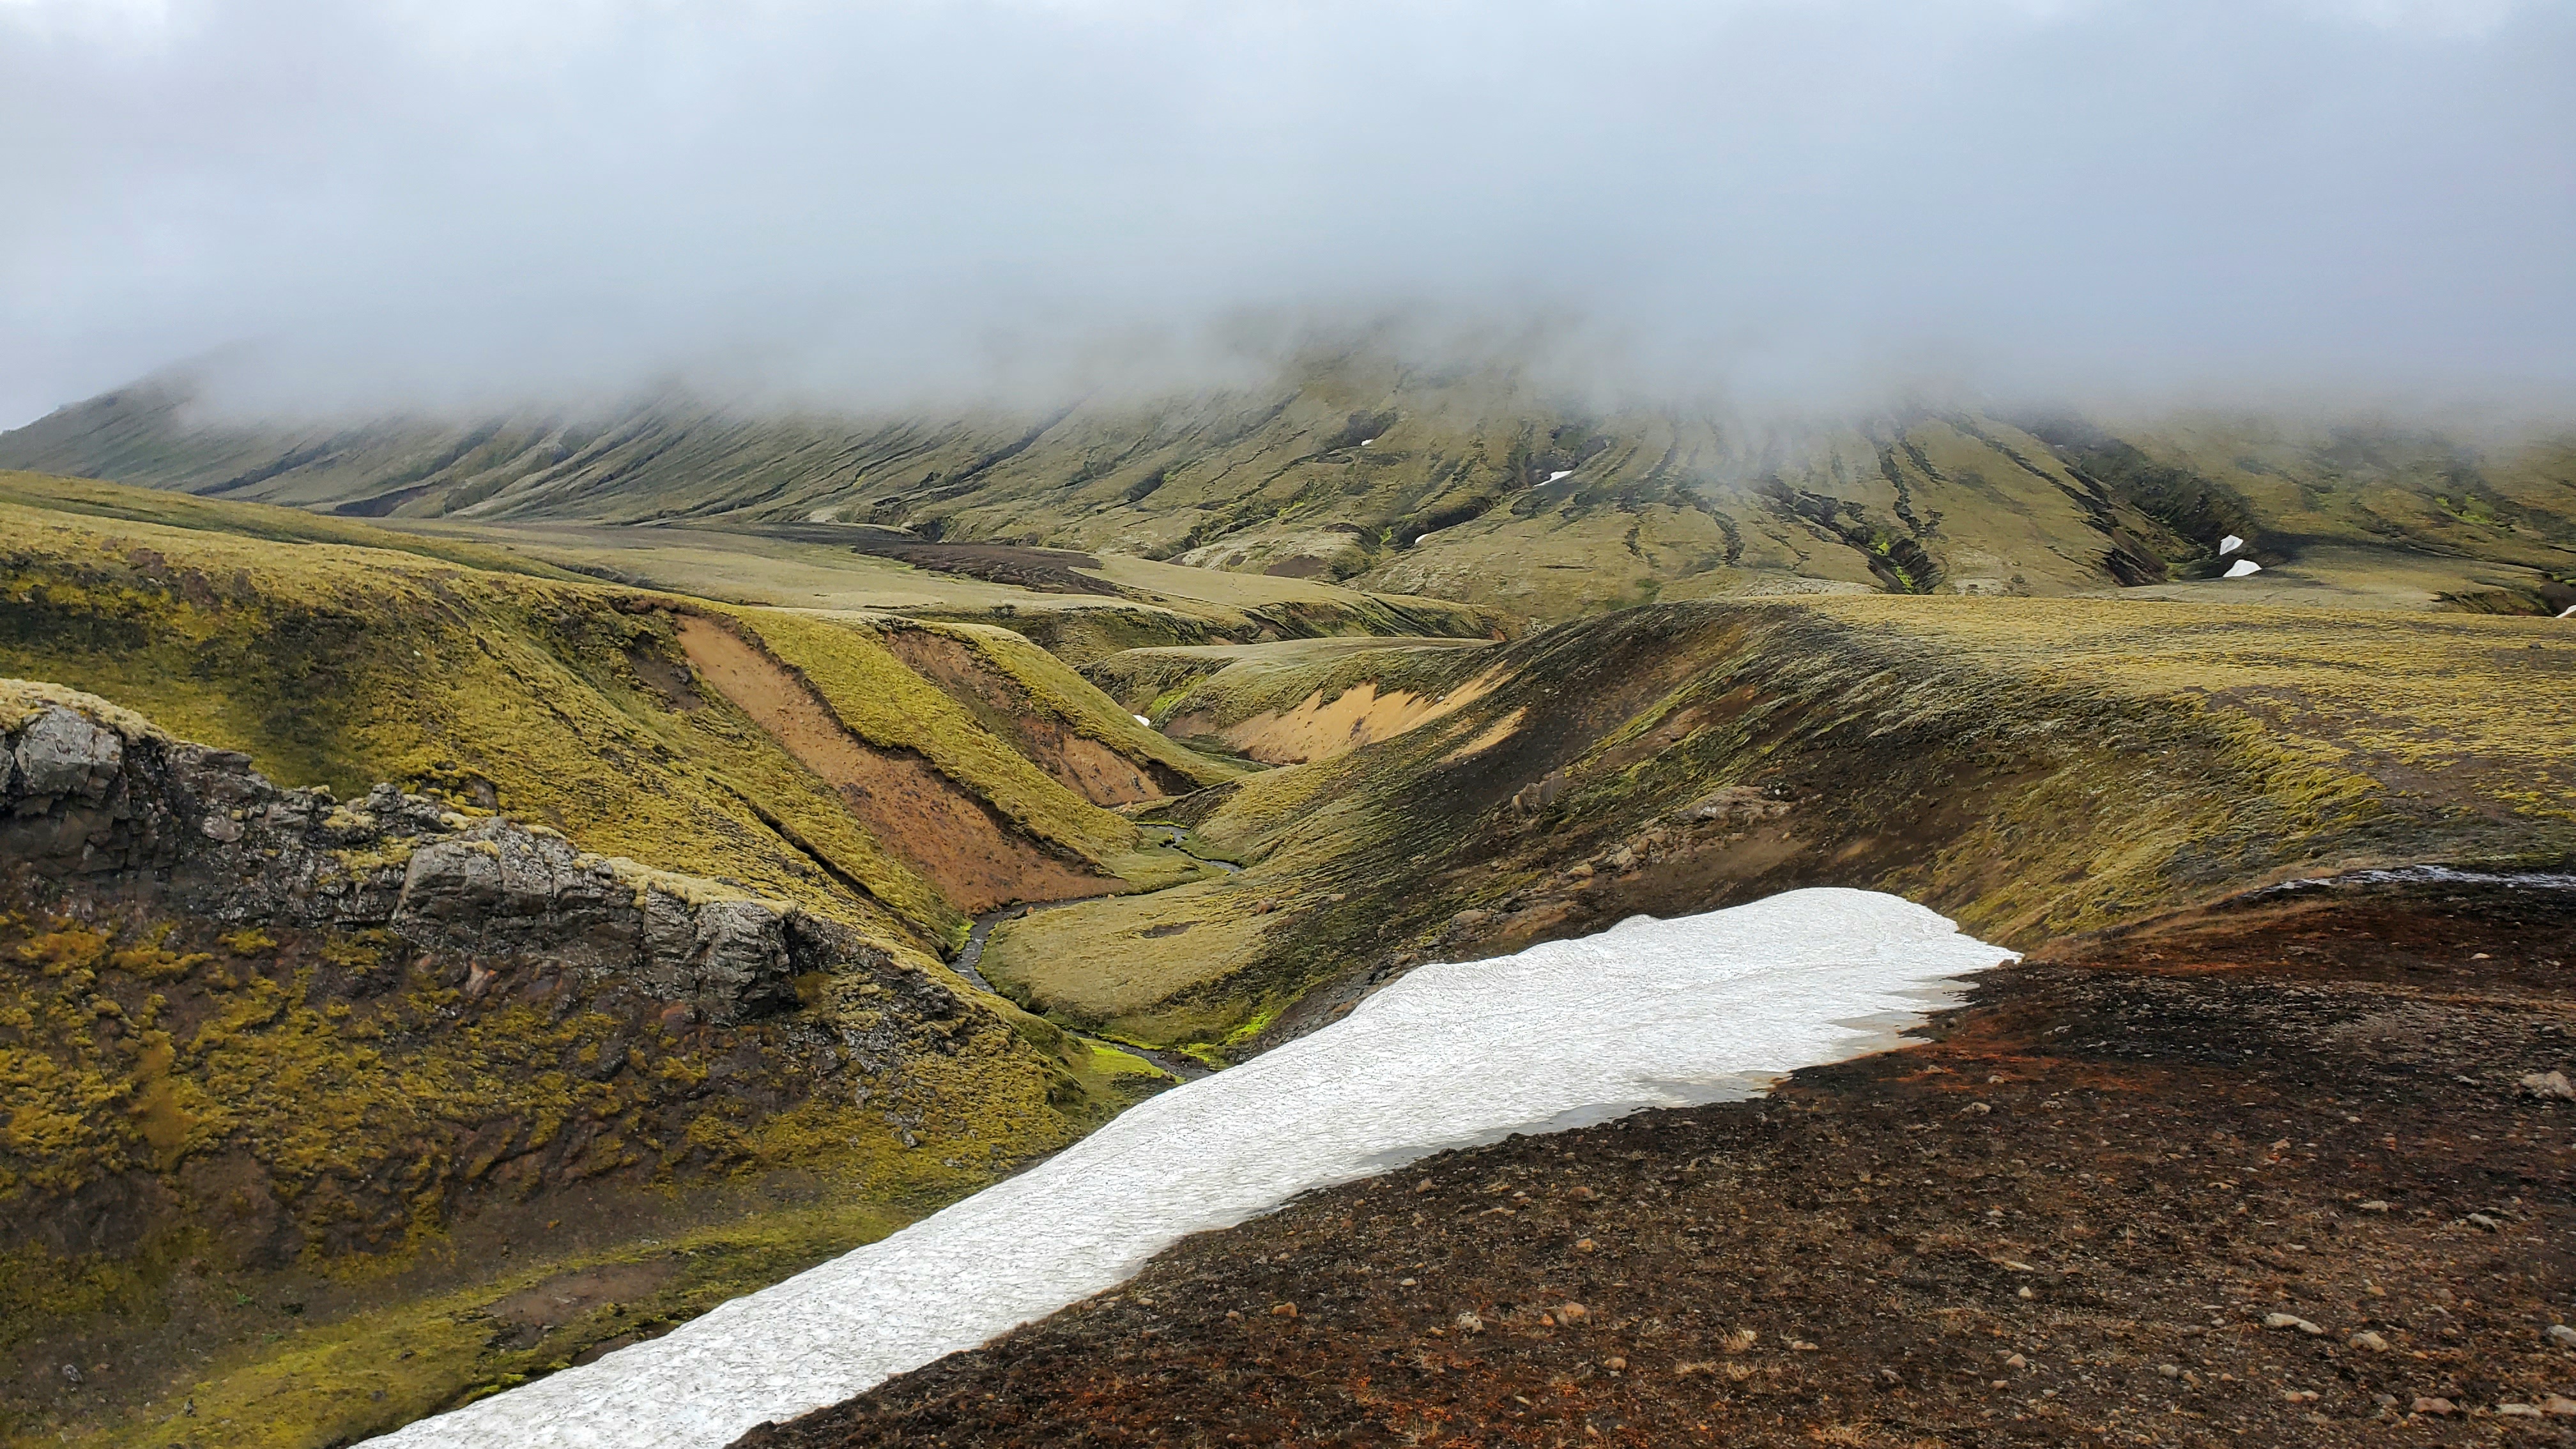
Following the river crossing, we enjoyed trekking along the stunning volcanic Hvanngil ravine! It wasn’t long until we waded through a second roaring river crossing about knee-deep. Water shoes and hiking poles are recommended!
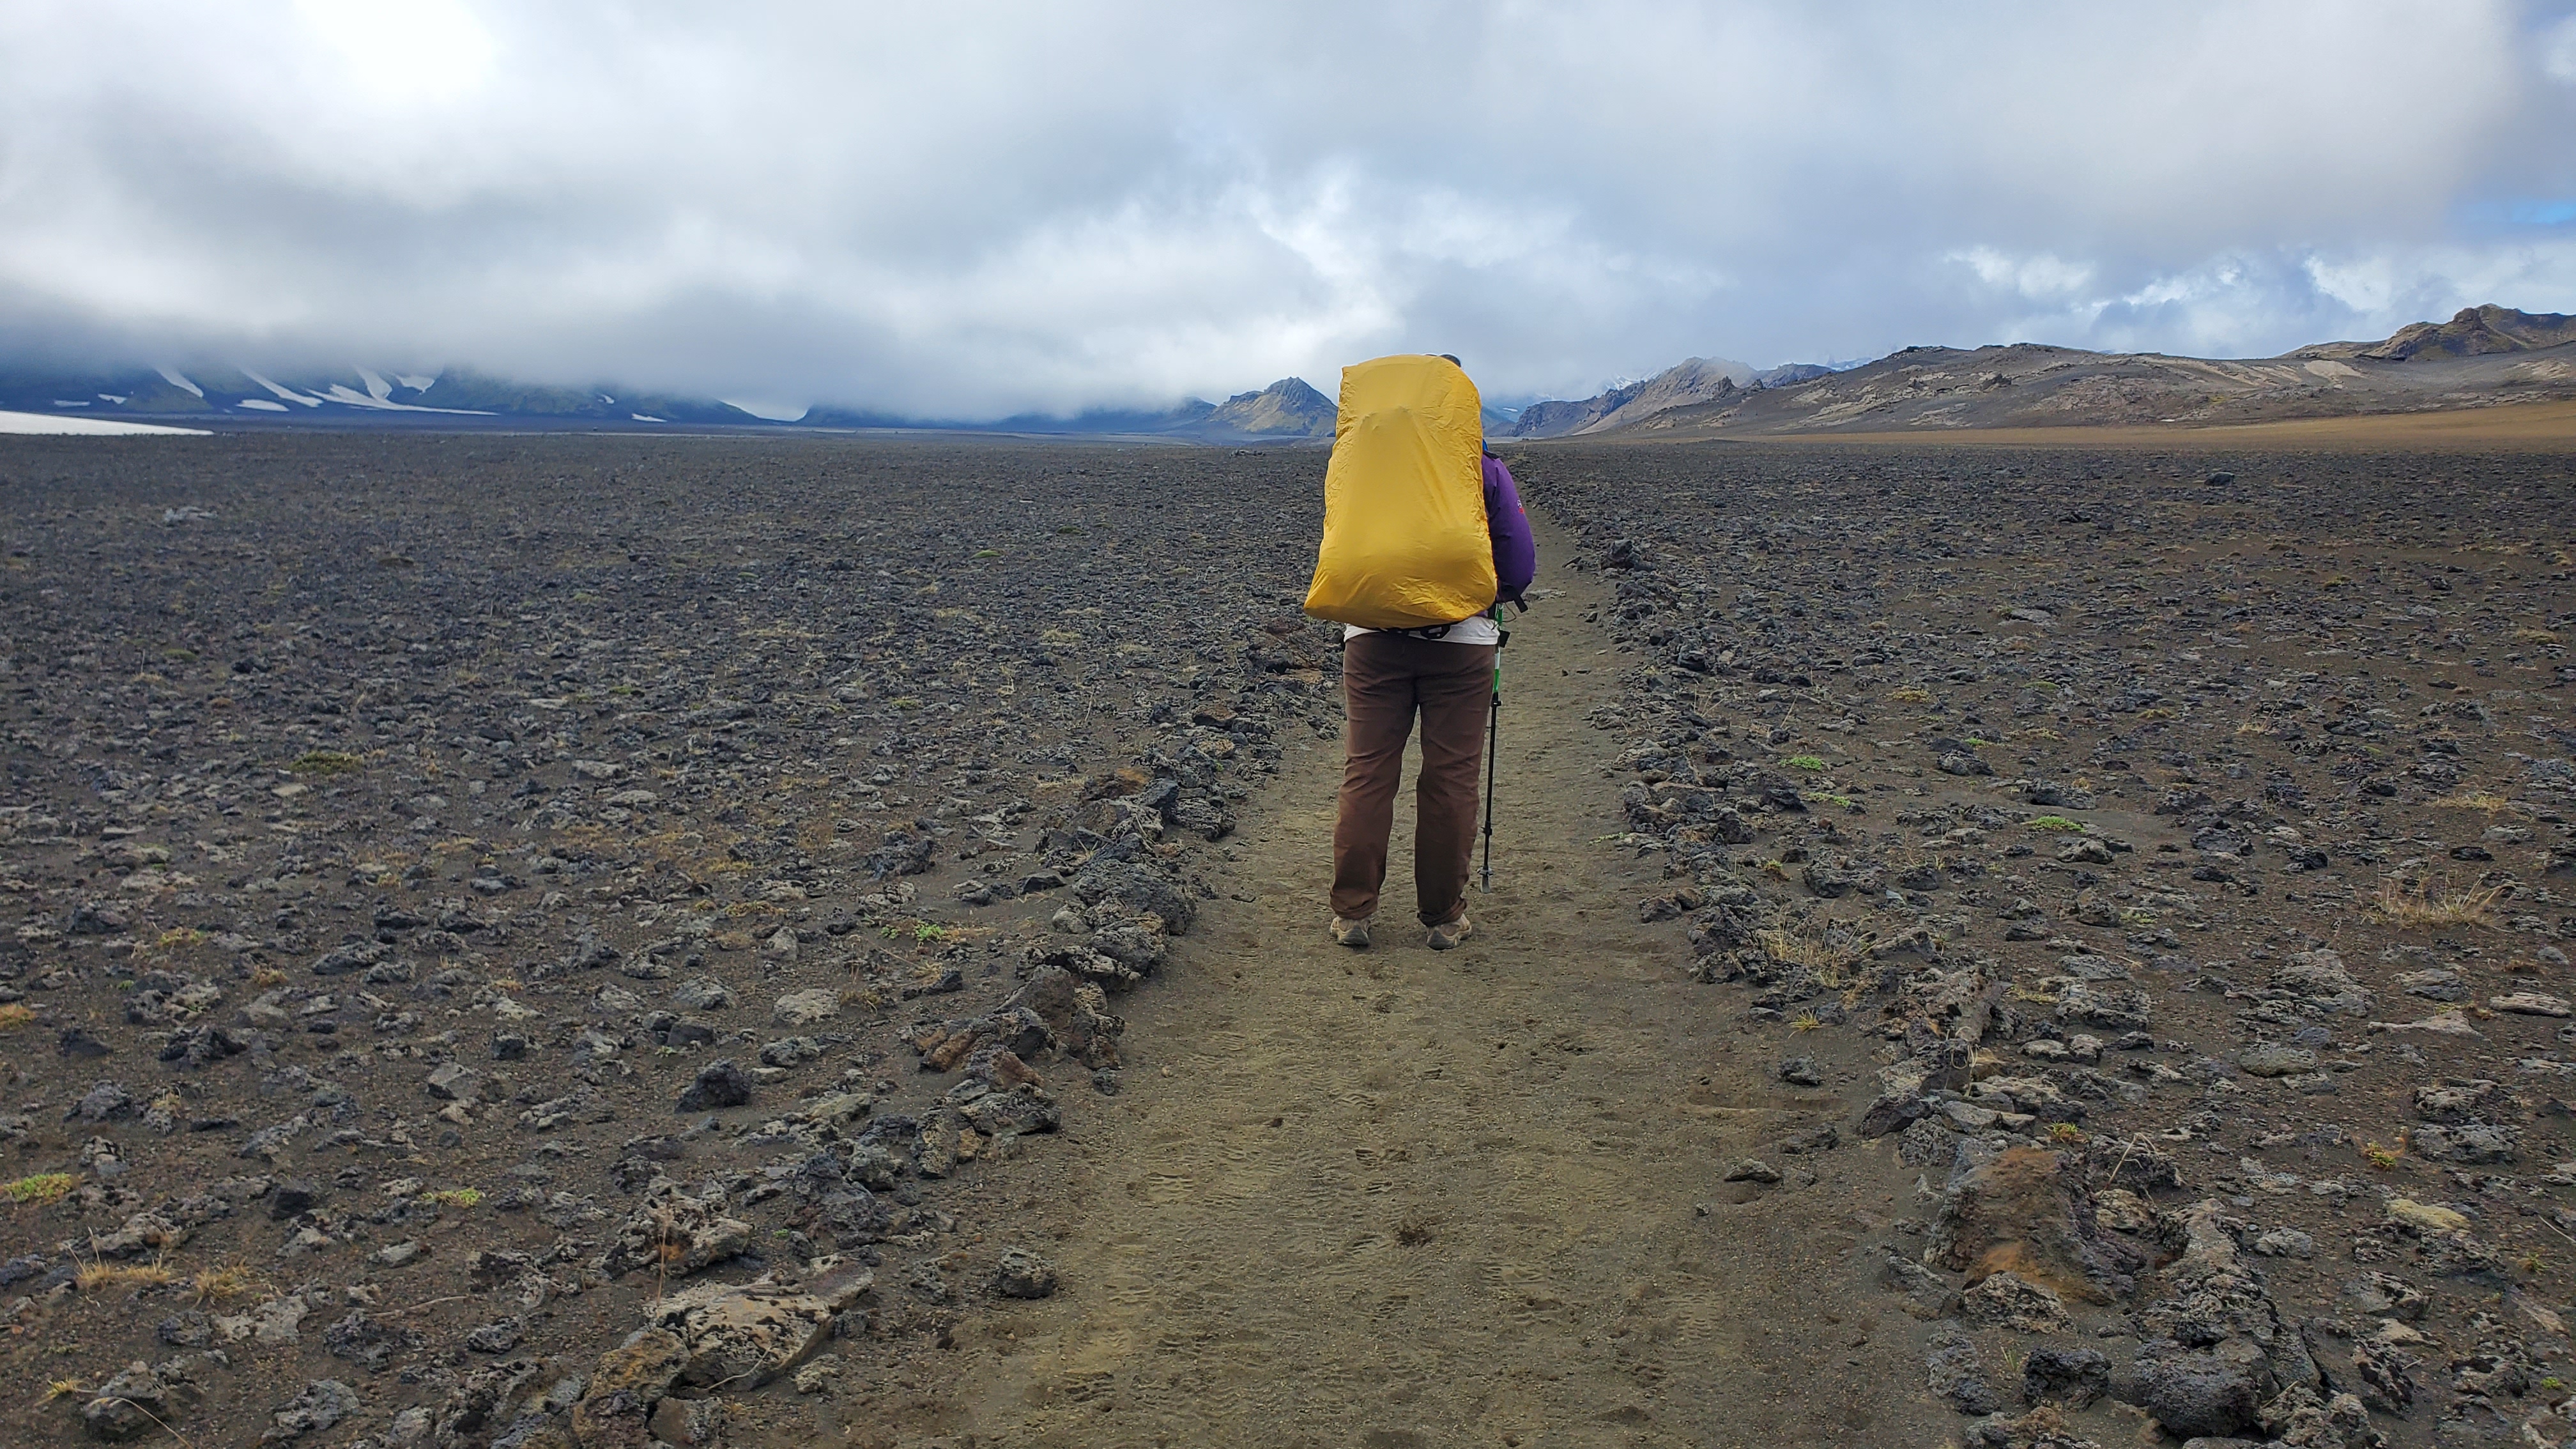
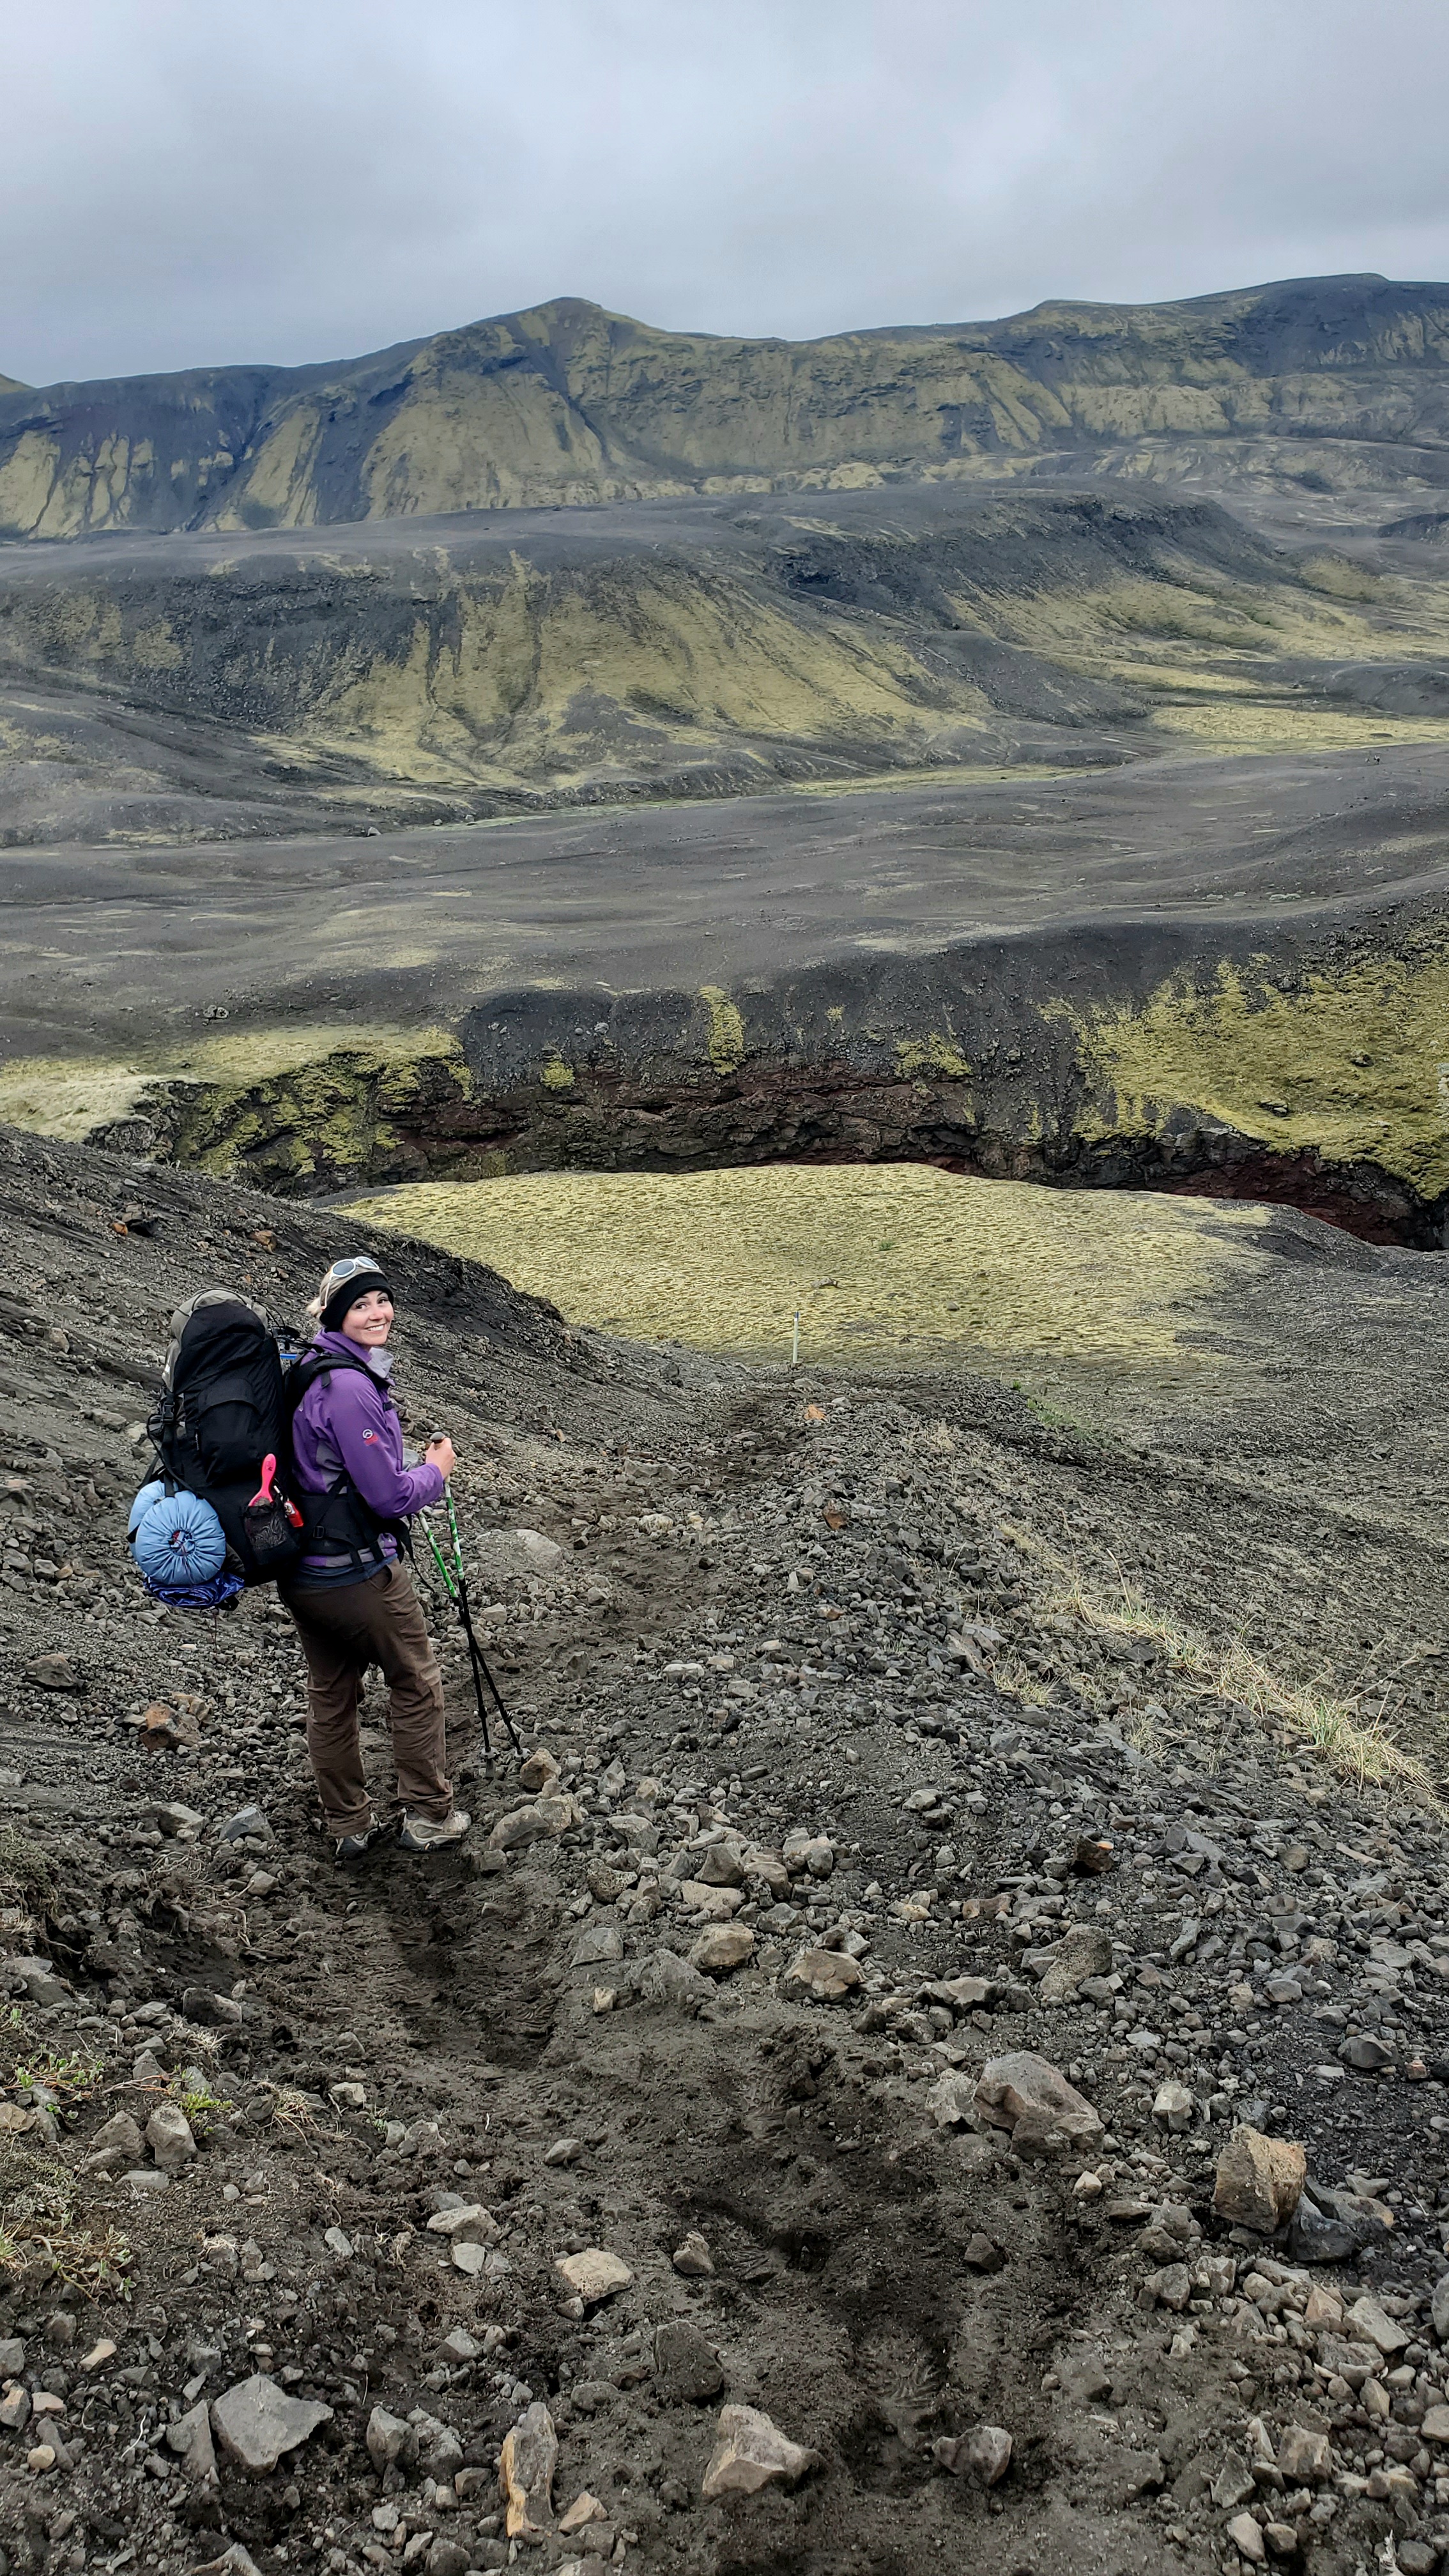
We entered the flat black sand desert of Maelifellssandur juxtaposed with distant green mountains. This leg of the trek is relatively flat. We stopped for lunch at the lovely Innri–Emstruá river bridge.

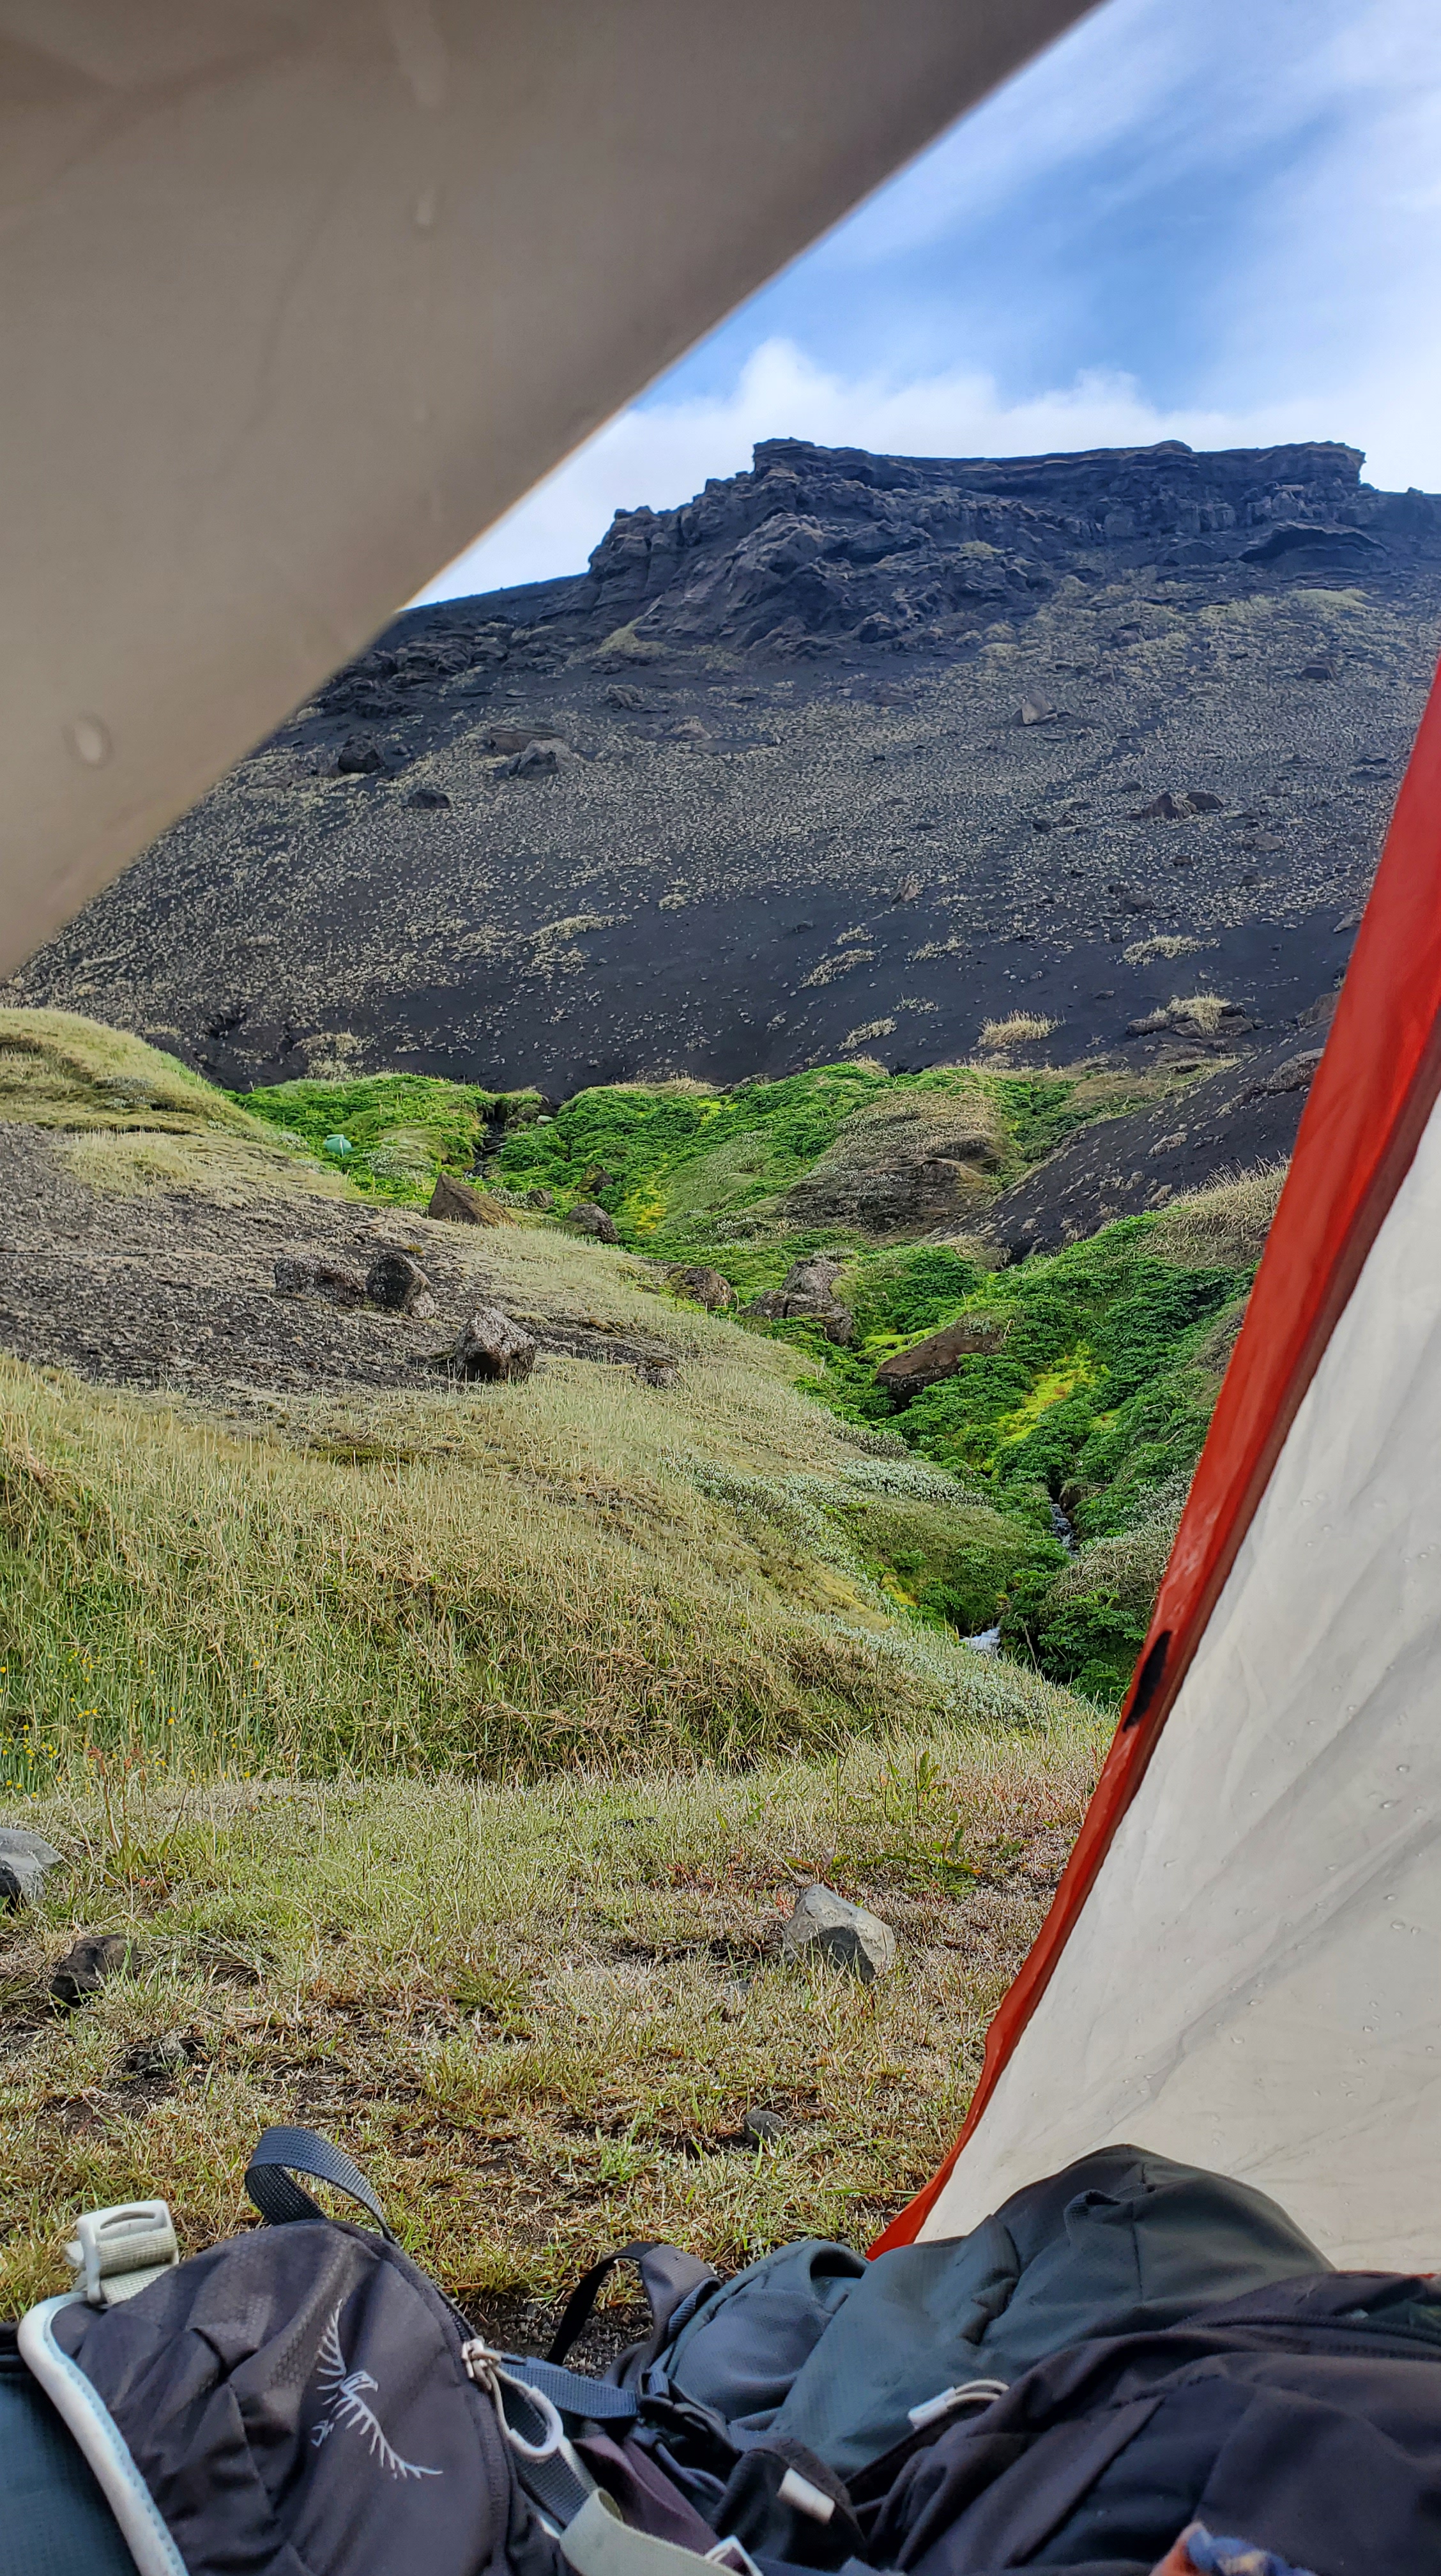
We enjoyed views of the glorious volcano, Hattfell, as we made our way along the final miles. High winds kicked in, offering a new challenge significantly slowing down our pace. Chilled by the wind, we were ecstatic catching the first glimpse of the Emstrur shelter across a small valley.
Accommodation:
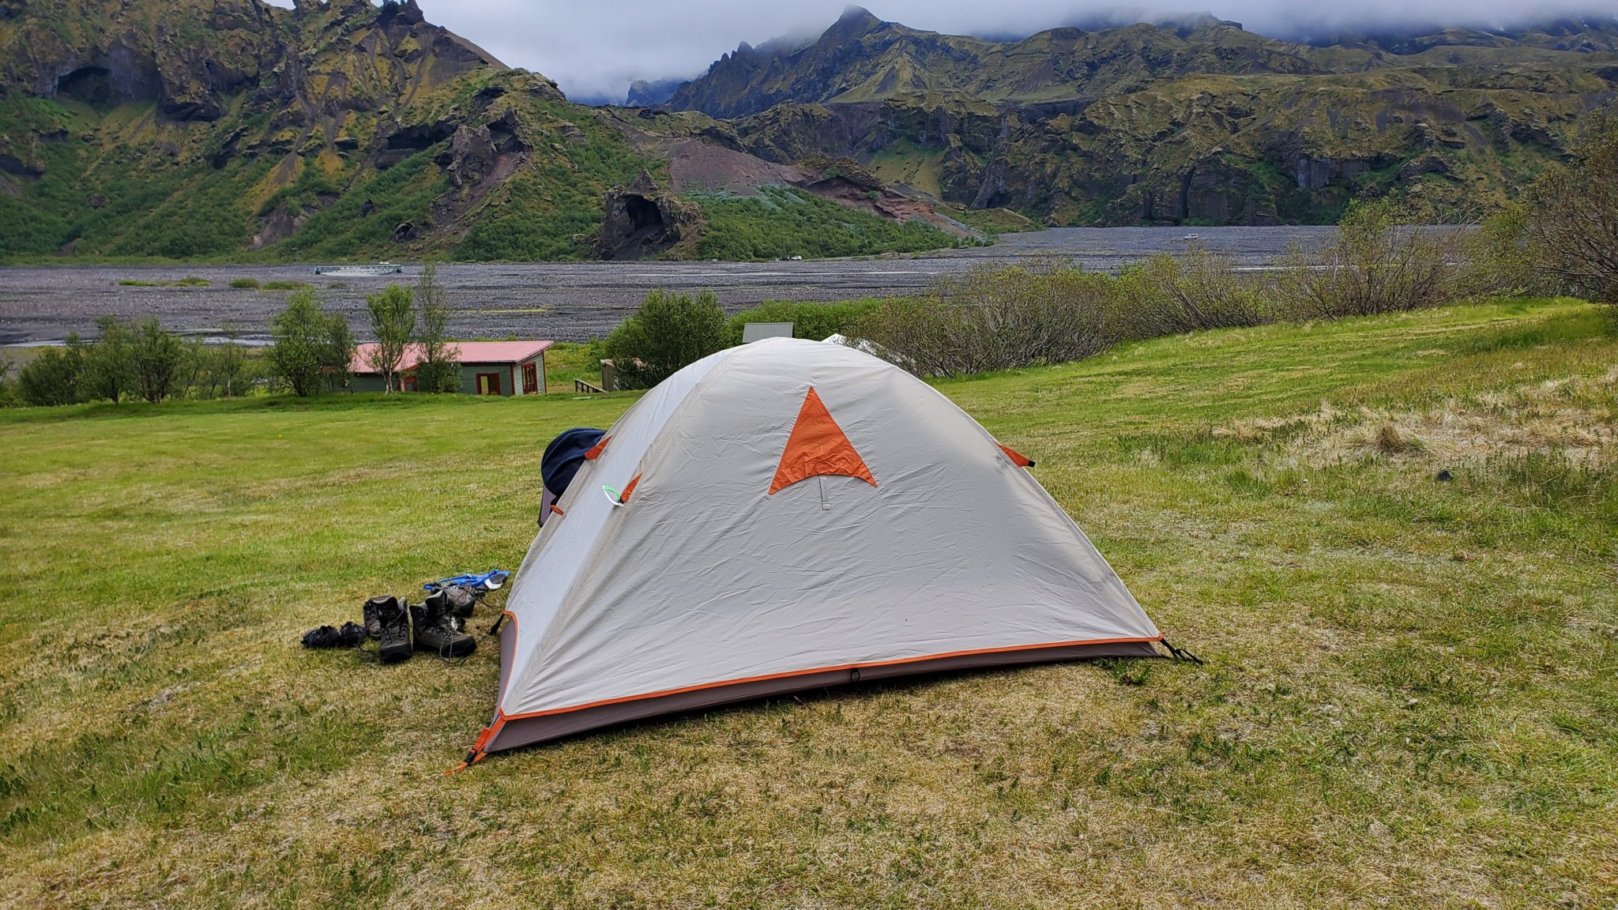
Hut or tent: We stayed in a tent, but I recommend booking the Emstrur hut in advance because of the high winds at this campsite. However, it was surreal unzipping the tent door, feeling instantly immersed into the views of contrasting black sand hills against the greenery surrounding a quiet creek.
Day 4: Emstrur to Þórsmörk
Distance: 9mi / 15km
Descend: 984ft / -300m
Duration: 6-7 hours
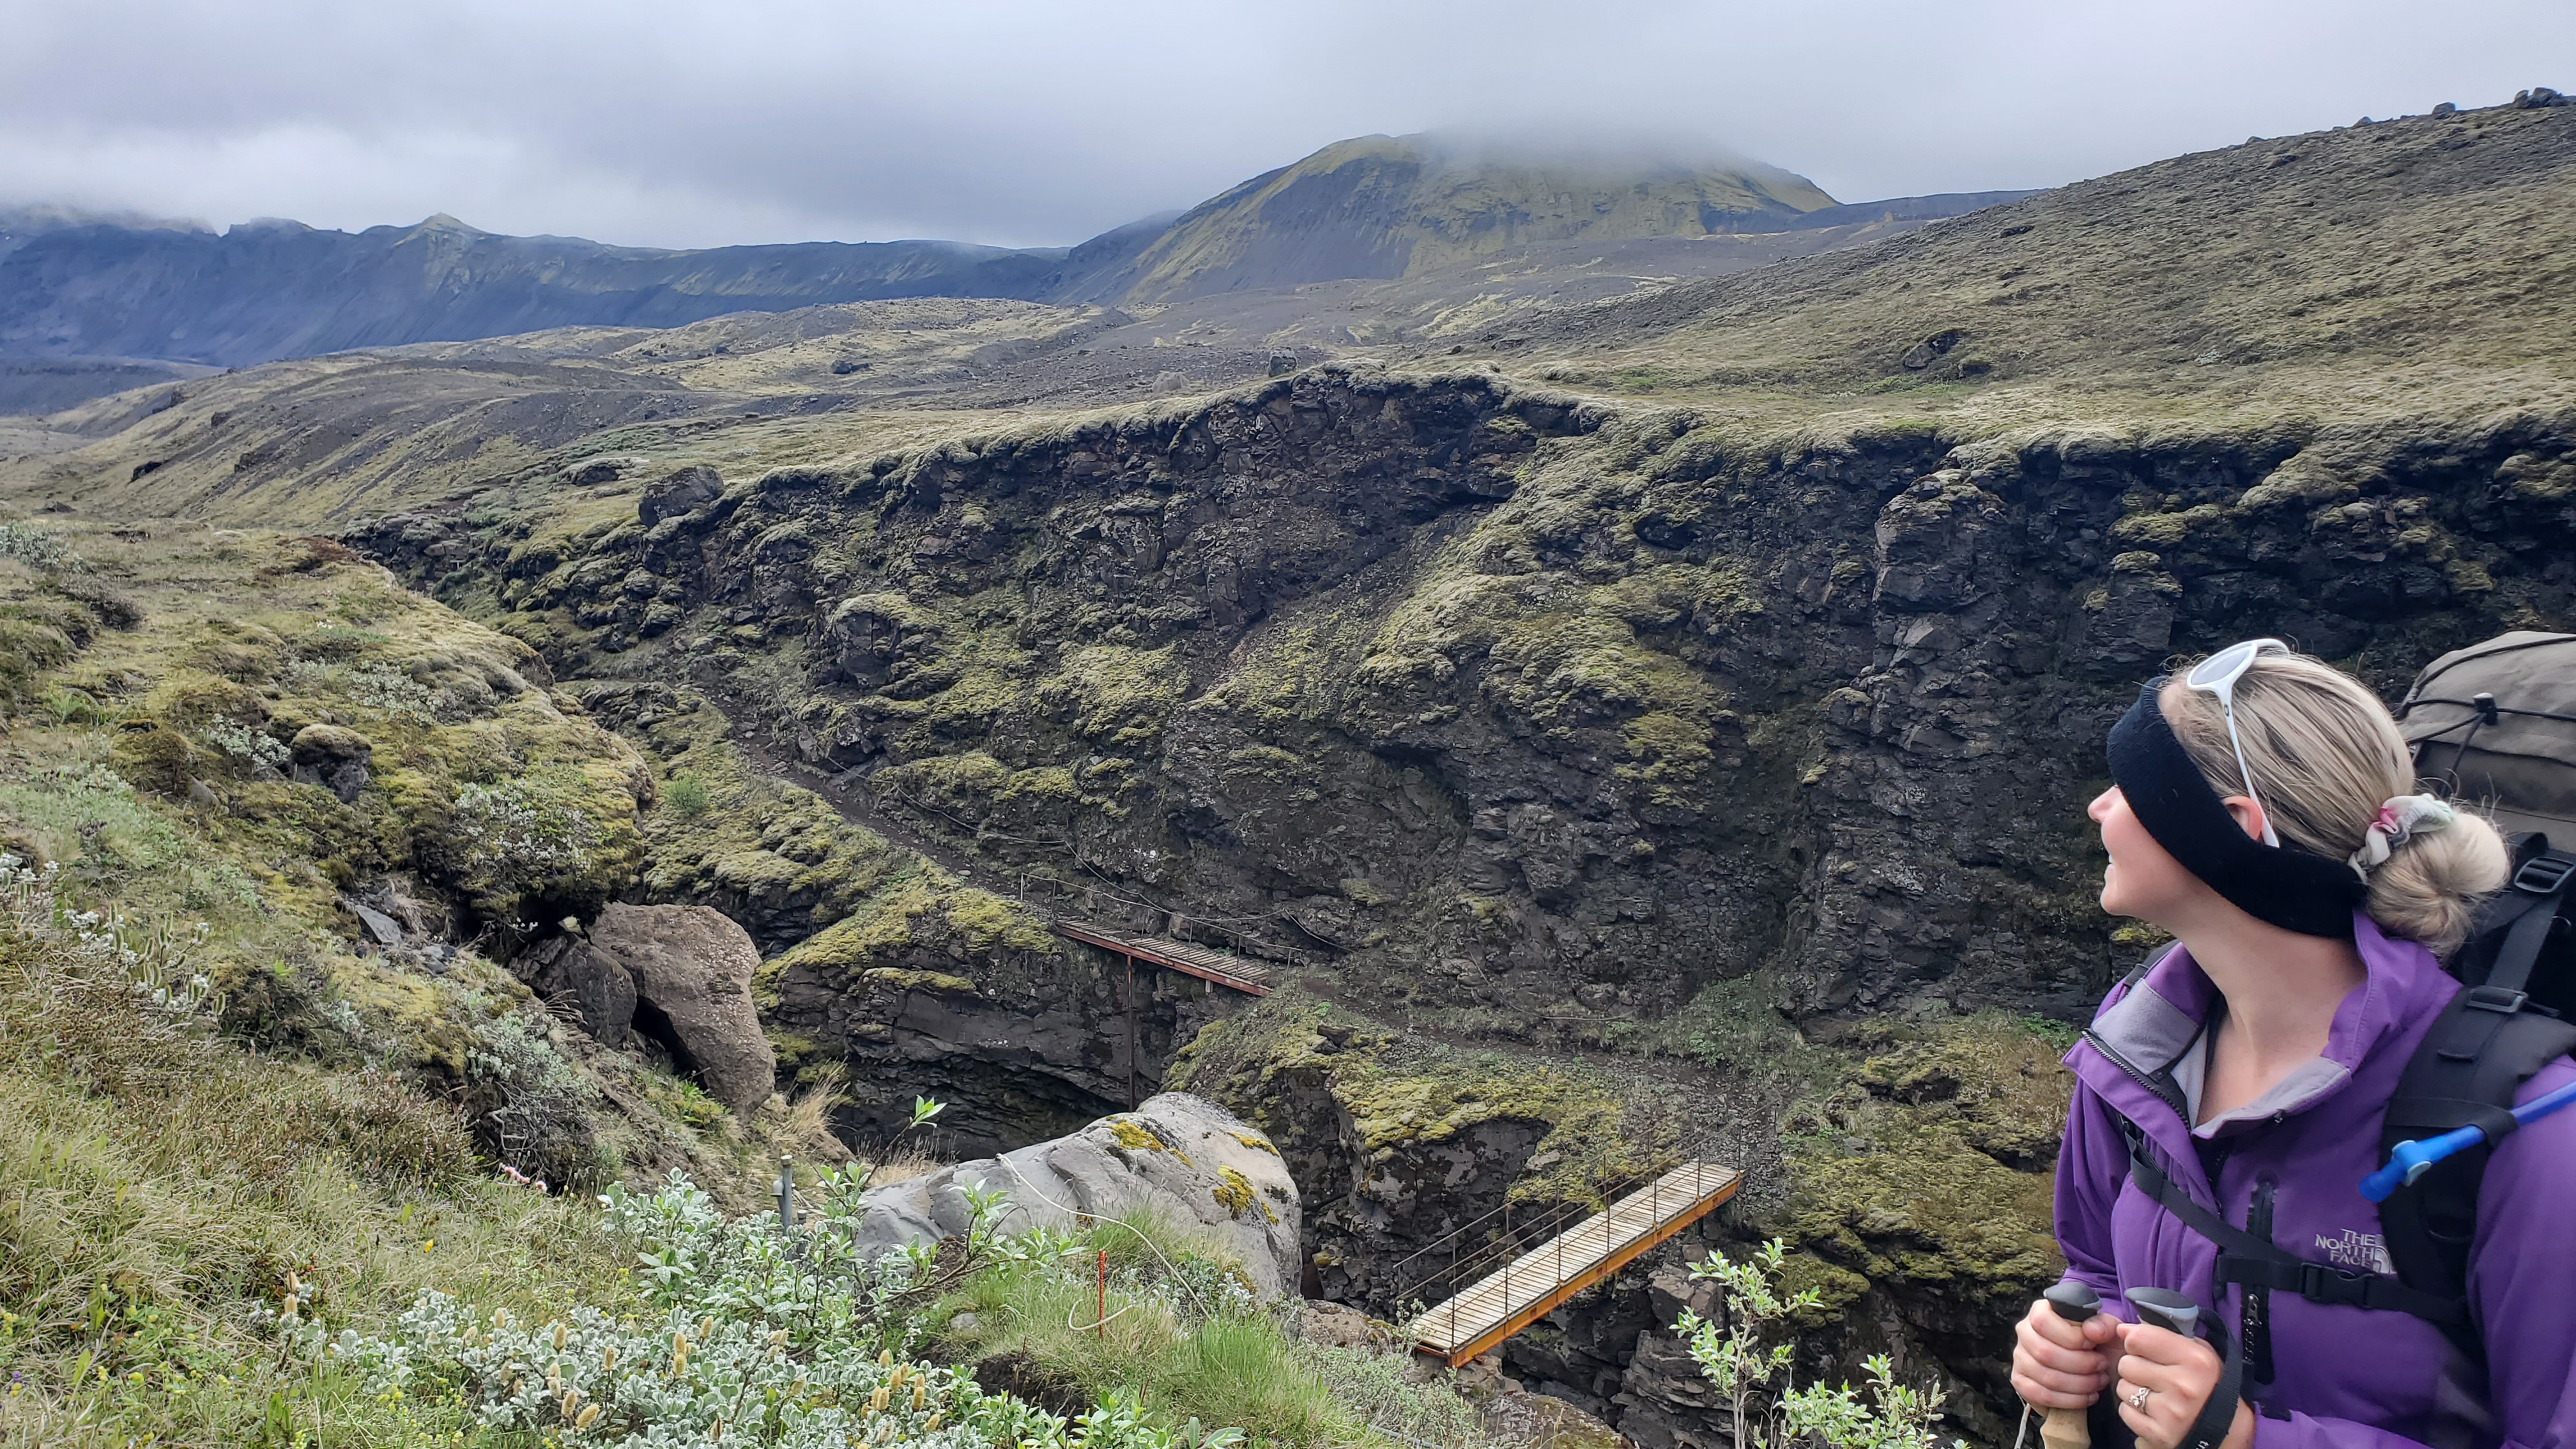
The final leg of the Laugavegur Trail did not disappoint! Although we were sore and our feet were burning, trekking along the Markarfljótsgljúfur Canyon was unreal and motivated us to keep going!
We were grateful for the bridges and having only one river crossing by foot. It felt like we found earth again as we walked through the first woodland on the trek! I realized how much I missed trees!
Accommodation:
Some folks catch the afternoon bus, continue onto the Skógar Trail or other day hikes, and/or stay at the campsite.
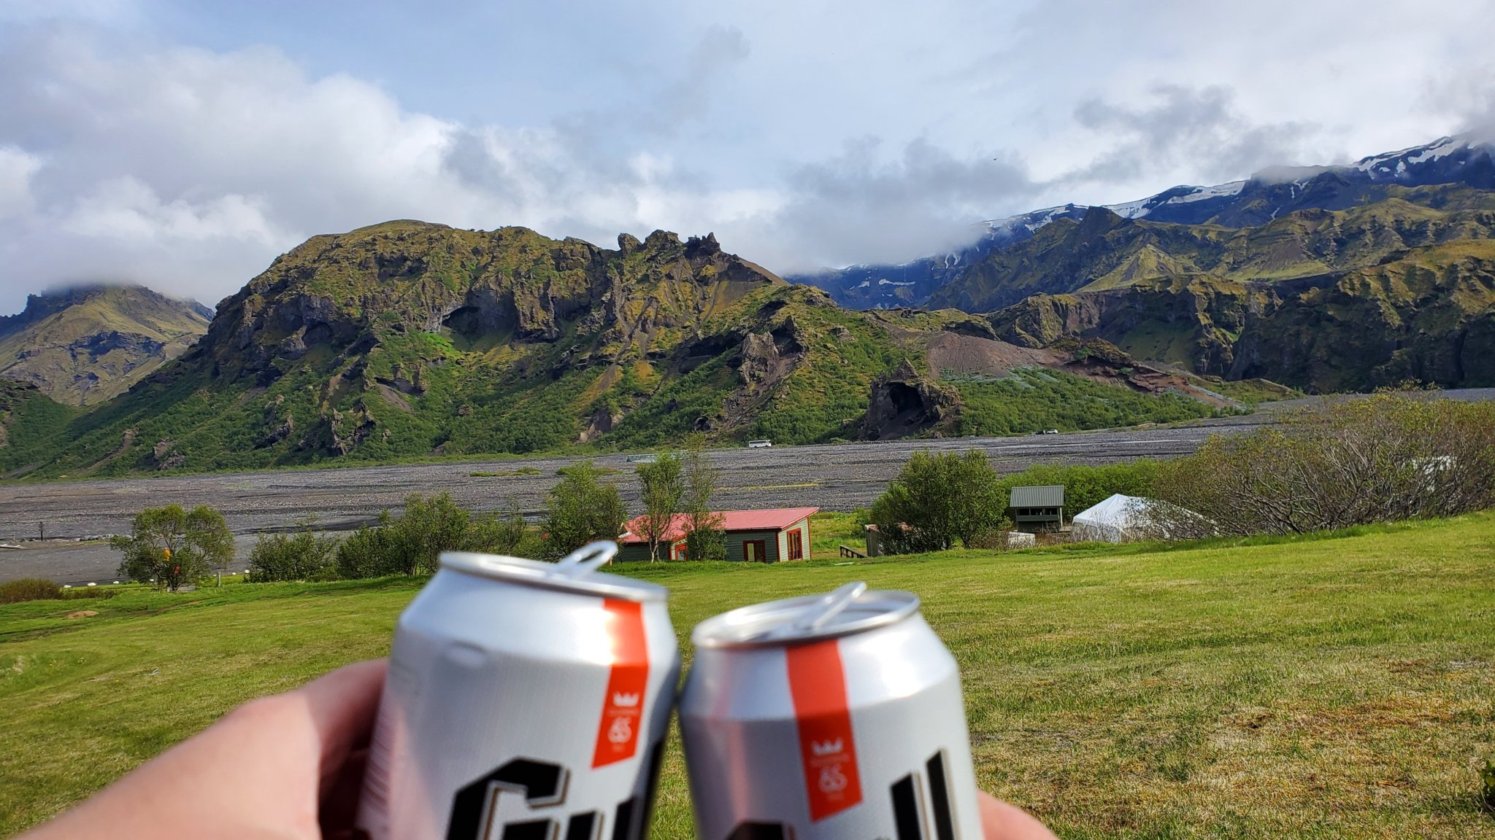
Hut or tent: We opted to tent camp for the night and catch the bus the following afternoon. The Þórsmörk campsite was a rewarding way to celebrate the completion of the Laugavegur Trail! The campsite rests in a lush valley nestled between glaciers, black sand, and surrounding rivers. We enjoyed buying beers and snacks from the site’s small convenience store. As we soaked in the sunshine and views, it was hard leaving this green oasis behind.
Final thoughts:
What an unforgettable adventure!
What we learned: Pack lighter! We visited Iceland for a total of 2 weeks packing everything for the entire trip into our backpacking bags. I recommend taking separate smaller carry-on bags consisting of any non-backpacking items and having those bags stored safely at a hotel for the duration of the Laugavegur trek. Packing my travel pillow into my backpacking pack, for example, added unnecessary weight. We also learned that crampons were not needed. They added extra weight and the snow on the main portions of the trail was well-traveled.
Reference: for a more thorough guide, check out “The Laugavegur Trail: A Hiking Companion To Iceland’s Famous Trek” by Brian Zimmer
Want to learn more about backpacking gear and what to pack? Check out my blog post What to Pack for a Backpacking Trip: Learn from My Mistakes for a comprehensive backpacking checklist.
Want more backpacking and travel content? Add your email to the subscribe box below. Happy travel planning!
Subscribe
Sign up for a bi-monthly newsletter with the latest blog posts and exclusive content!
