
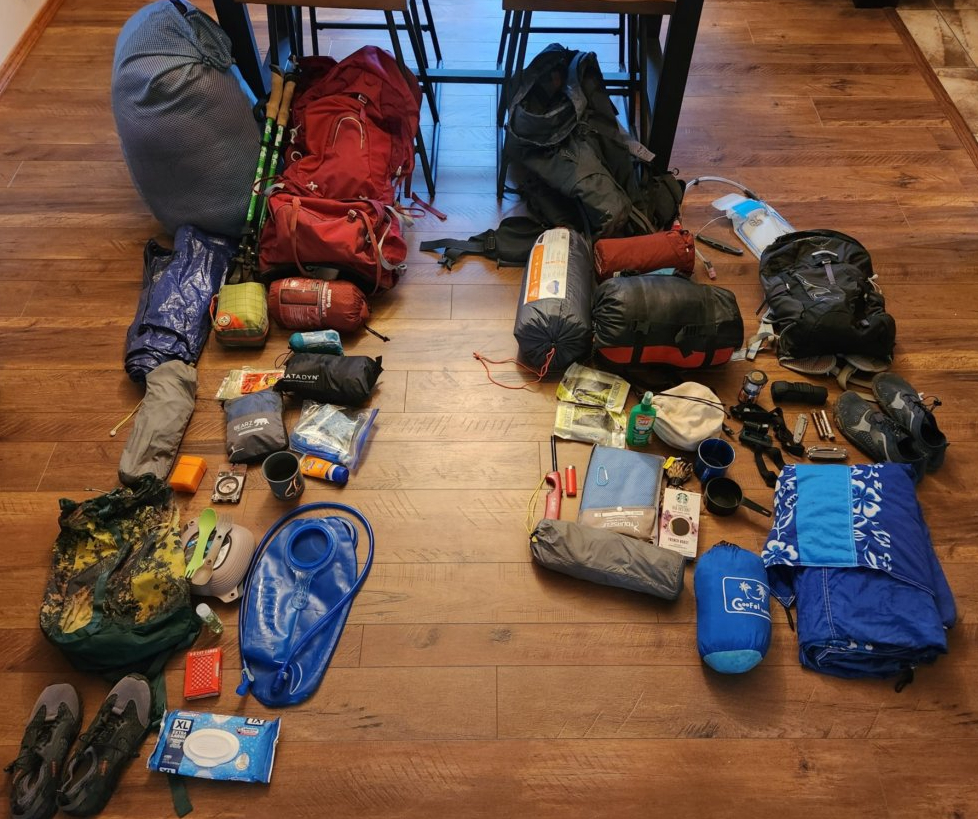
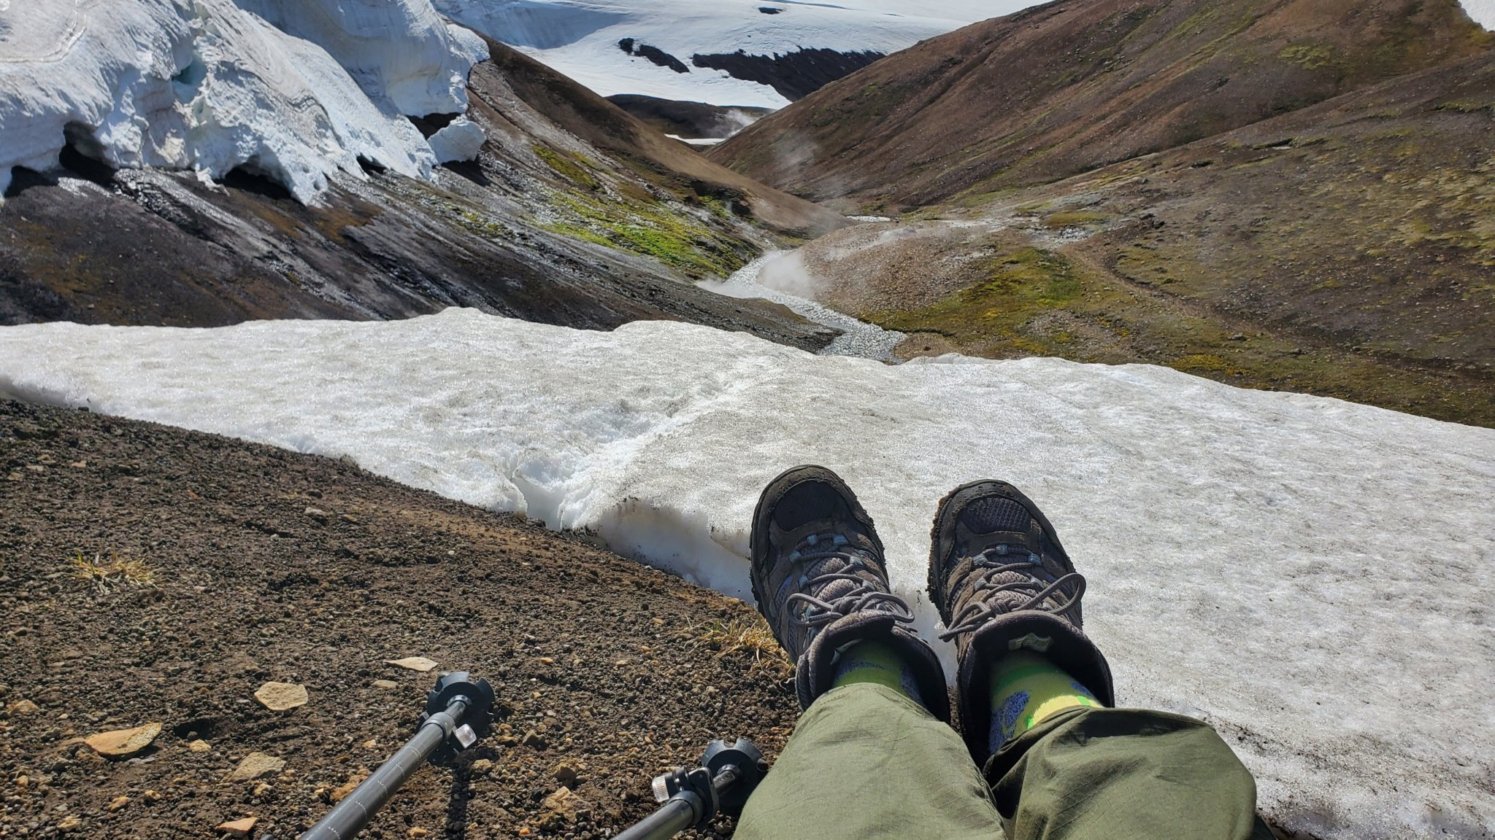
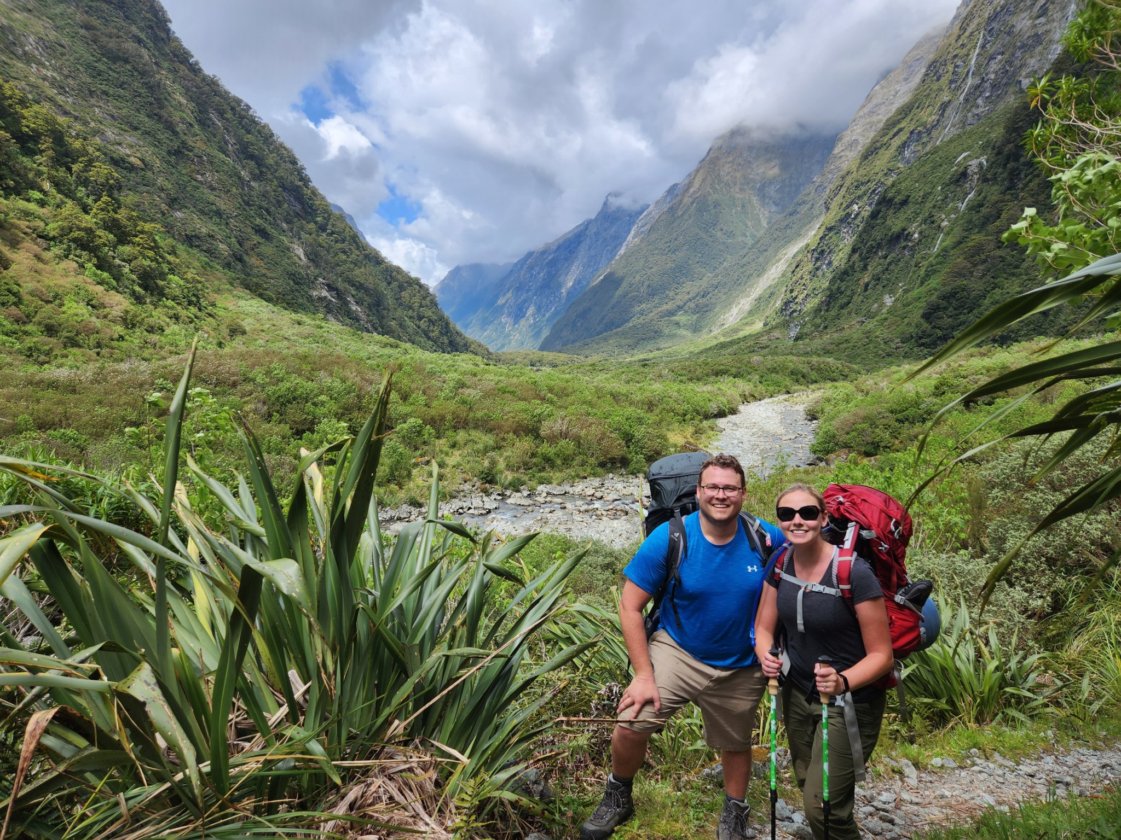
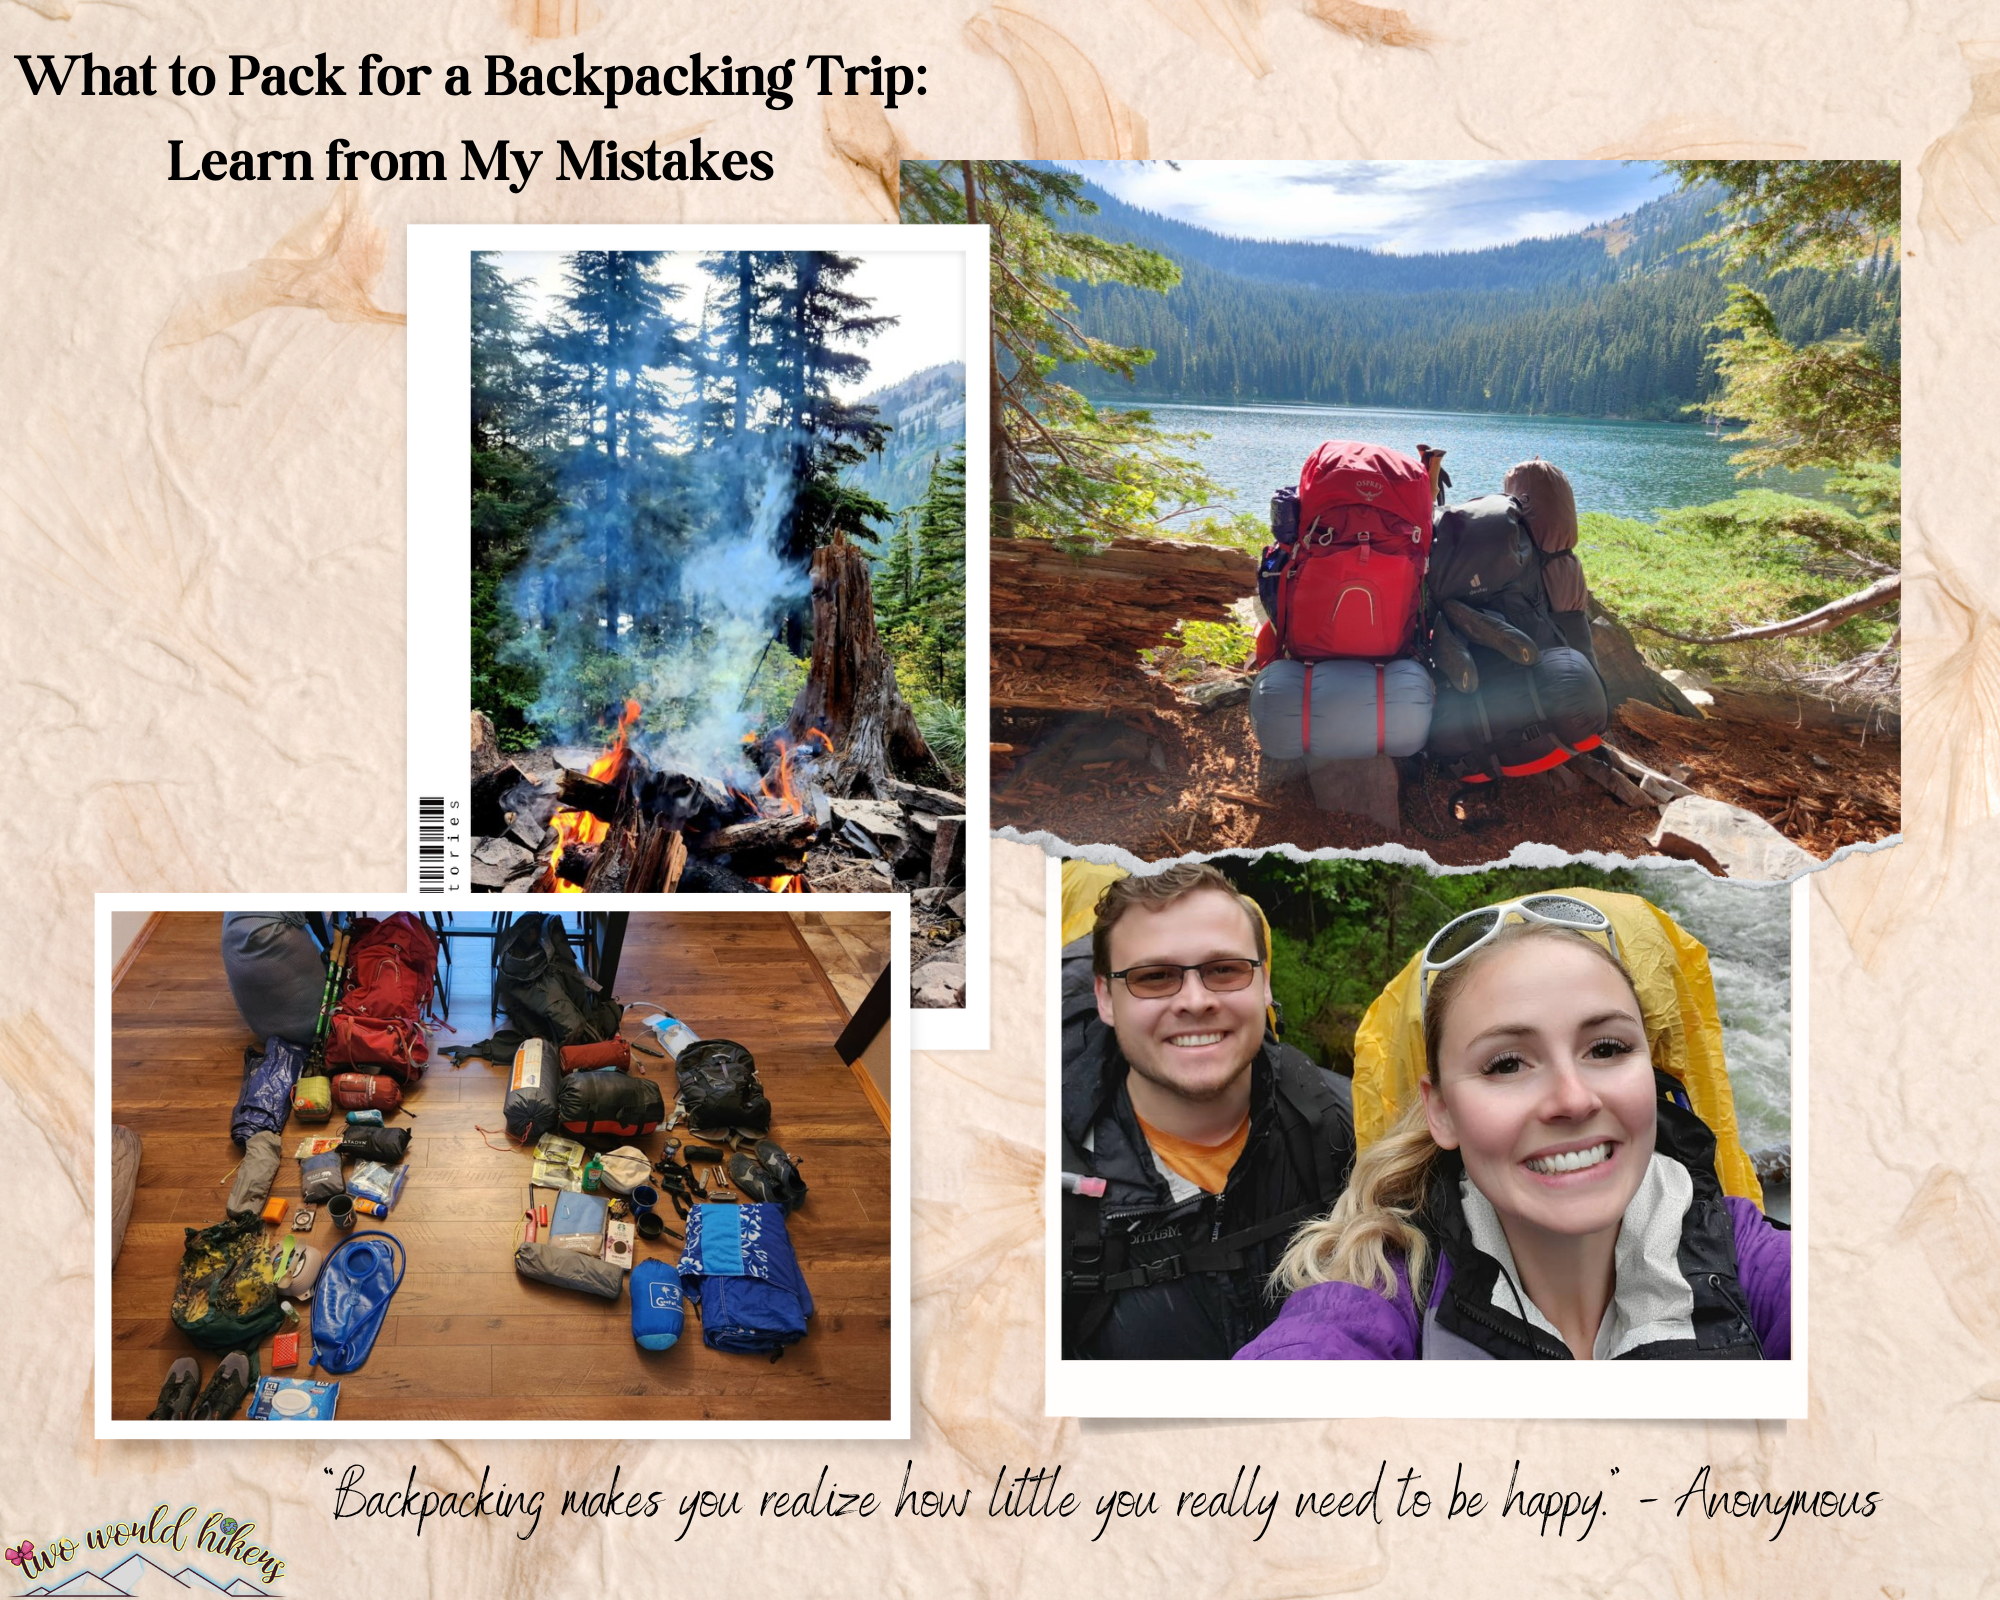
Tailoring backpacking gear to a comfortable weight while carrying essential items for unpredictable weather and trail conditions is no easy feat! While backpacking in Iceland, we experienced extremes of all four seasons in a single day. As Pacific Northwesterners, we’ve done plenty of backpacking during the springtime…one moment it is snowing and the next it is too hot for a jacket! How do you prepare for diverse backpacking weather without taking on too much weight? As beginner backpackers, we experienced our fair share of backpacking mistakes…everything from my backpack being too heavy causing a pinched nerve in my neck to an inadequate first aid kit lacking the medical wrap needed to support my sprained ankle.
Through years of trial and error, we’ve developed a comprehensive packing list and gear preferences. Please keep in mind this list is solely based off my opinion. I am always eager to learn more about how fellow backpackers might do things differently. Please feel welcome to leave a comment at the end to tell me about your backpacking gear preferences and any tips you wish to share! I love geeking out about backpacking and exchanging ideas about this wonderful hobby!
Here is my comprehensive backpacking checklist for unpredictable conditions:
Table of contents
1. Wilderness Permits and Identification:
What I’ve Learned: research hiking trail and camping permits in advance! Some sites require booking ahead of time while others may involve camping on a first-come first-served basis.
- Purchase any mountain, state, and/or national park hiking trail and camping permits in advance.
- If you plan on fishing, obtain the required fishing licenses and permits ahead of time.
- When backpacking overseas, research the country’s government wilderness and nature conservation websites regarding backcountry and camping permits.
- Each person should carry an ID card.
- Bring some cash and/or credit card(s) just in case.
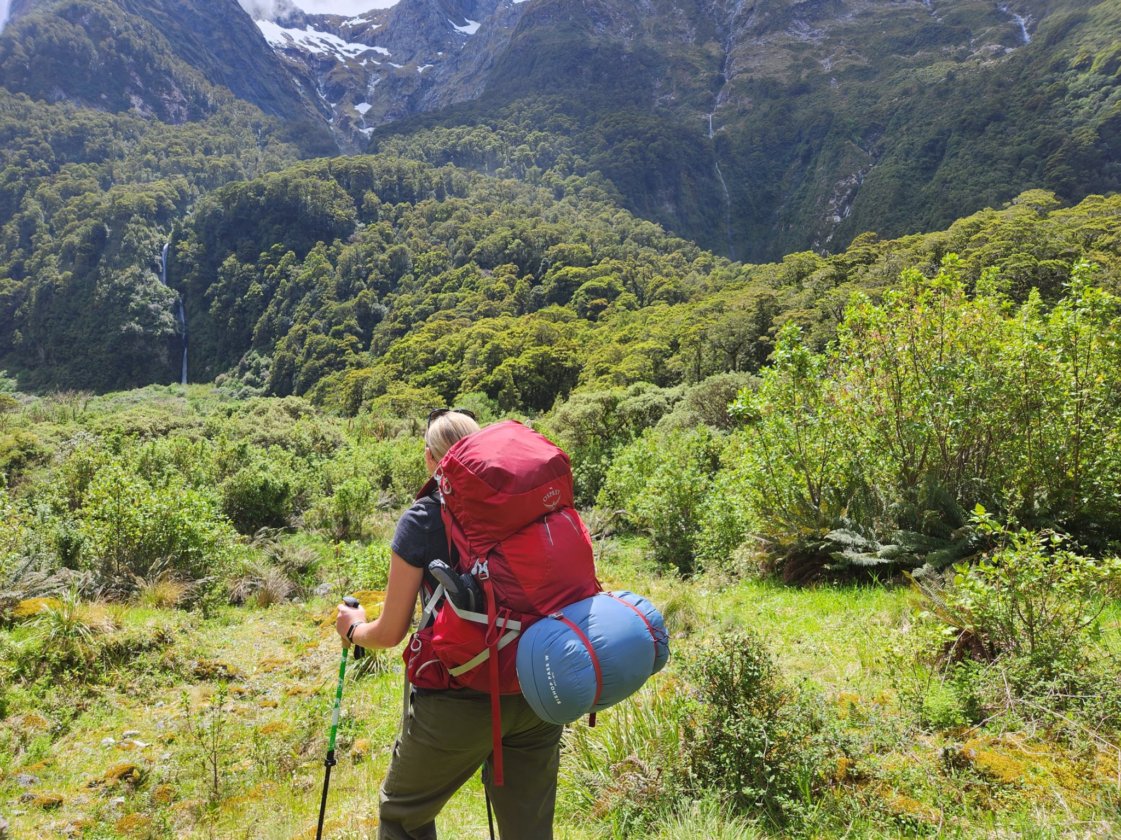
2. Backpack:
What I’ve Learned: waiting too long to buy a backpack suited for my body type! It is acceptable for a beginner backpacker to use a generic one-size-fits-all backpack. In fact, most people unsure if they will continue to pursue the hobby are advised to start with a simple and cheaper backpacking pack. However, as my partner and I began backpacking more frequently, I noticed the basic backpack put too much weight and pressure on my upper body regardless of how accurately I distributed the weight attempting to put more of it around my hips. My backpacking experience changed for the better when I upgraded to a high-quality pack where the weight is intentionally focused on the hips with a wider belt and narrower shoulder design. However, everyone’s body is different. It is best to visit an outdoor specialty store such as REI to get measured and expert recommendations on which backpacking pack is the best fit. It is worth it to spend the extra money on a backpack!
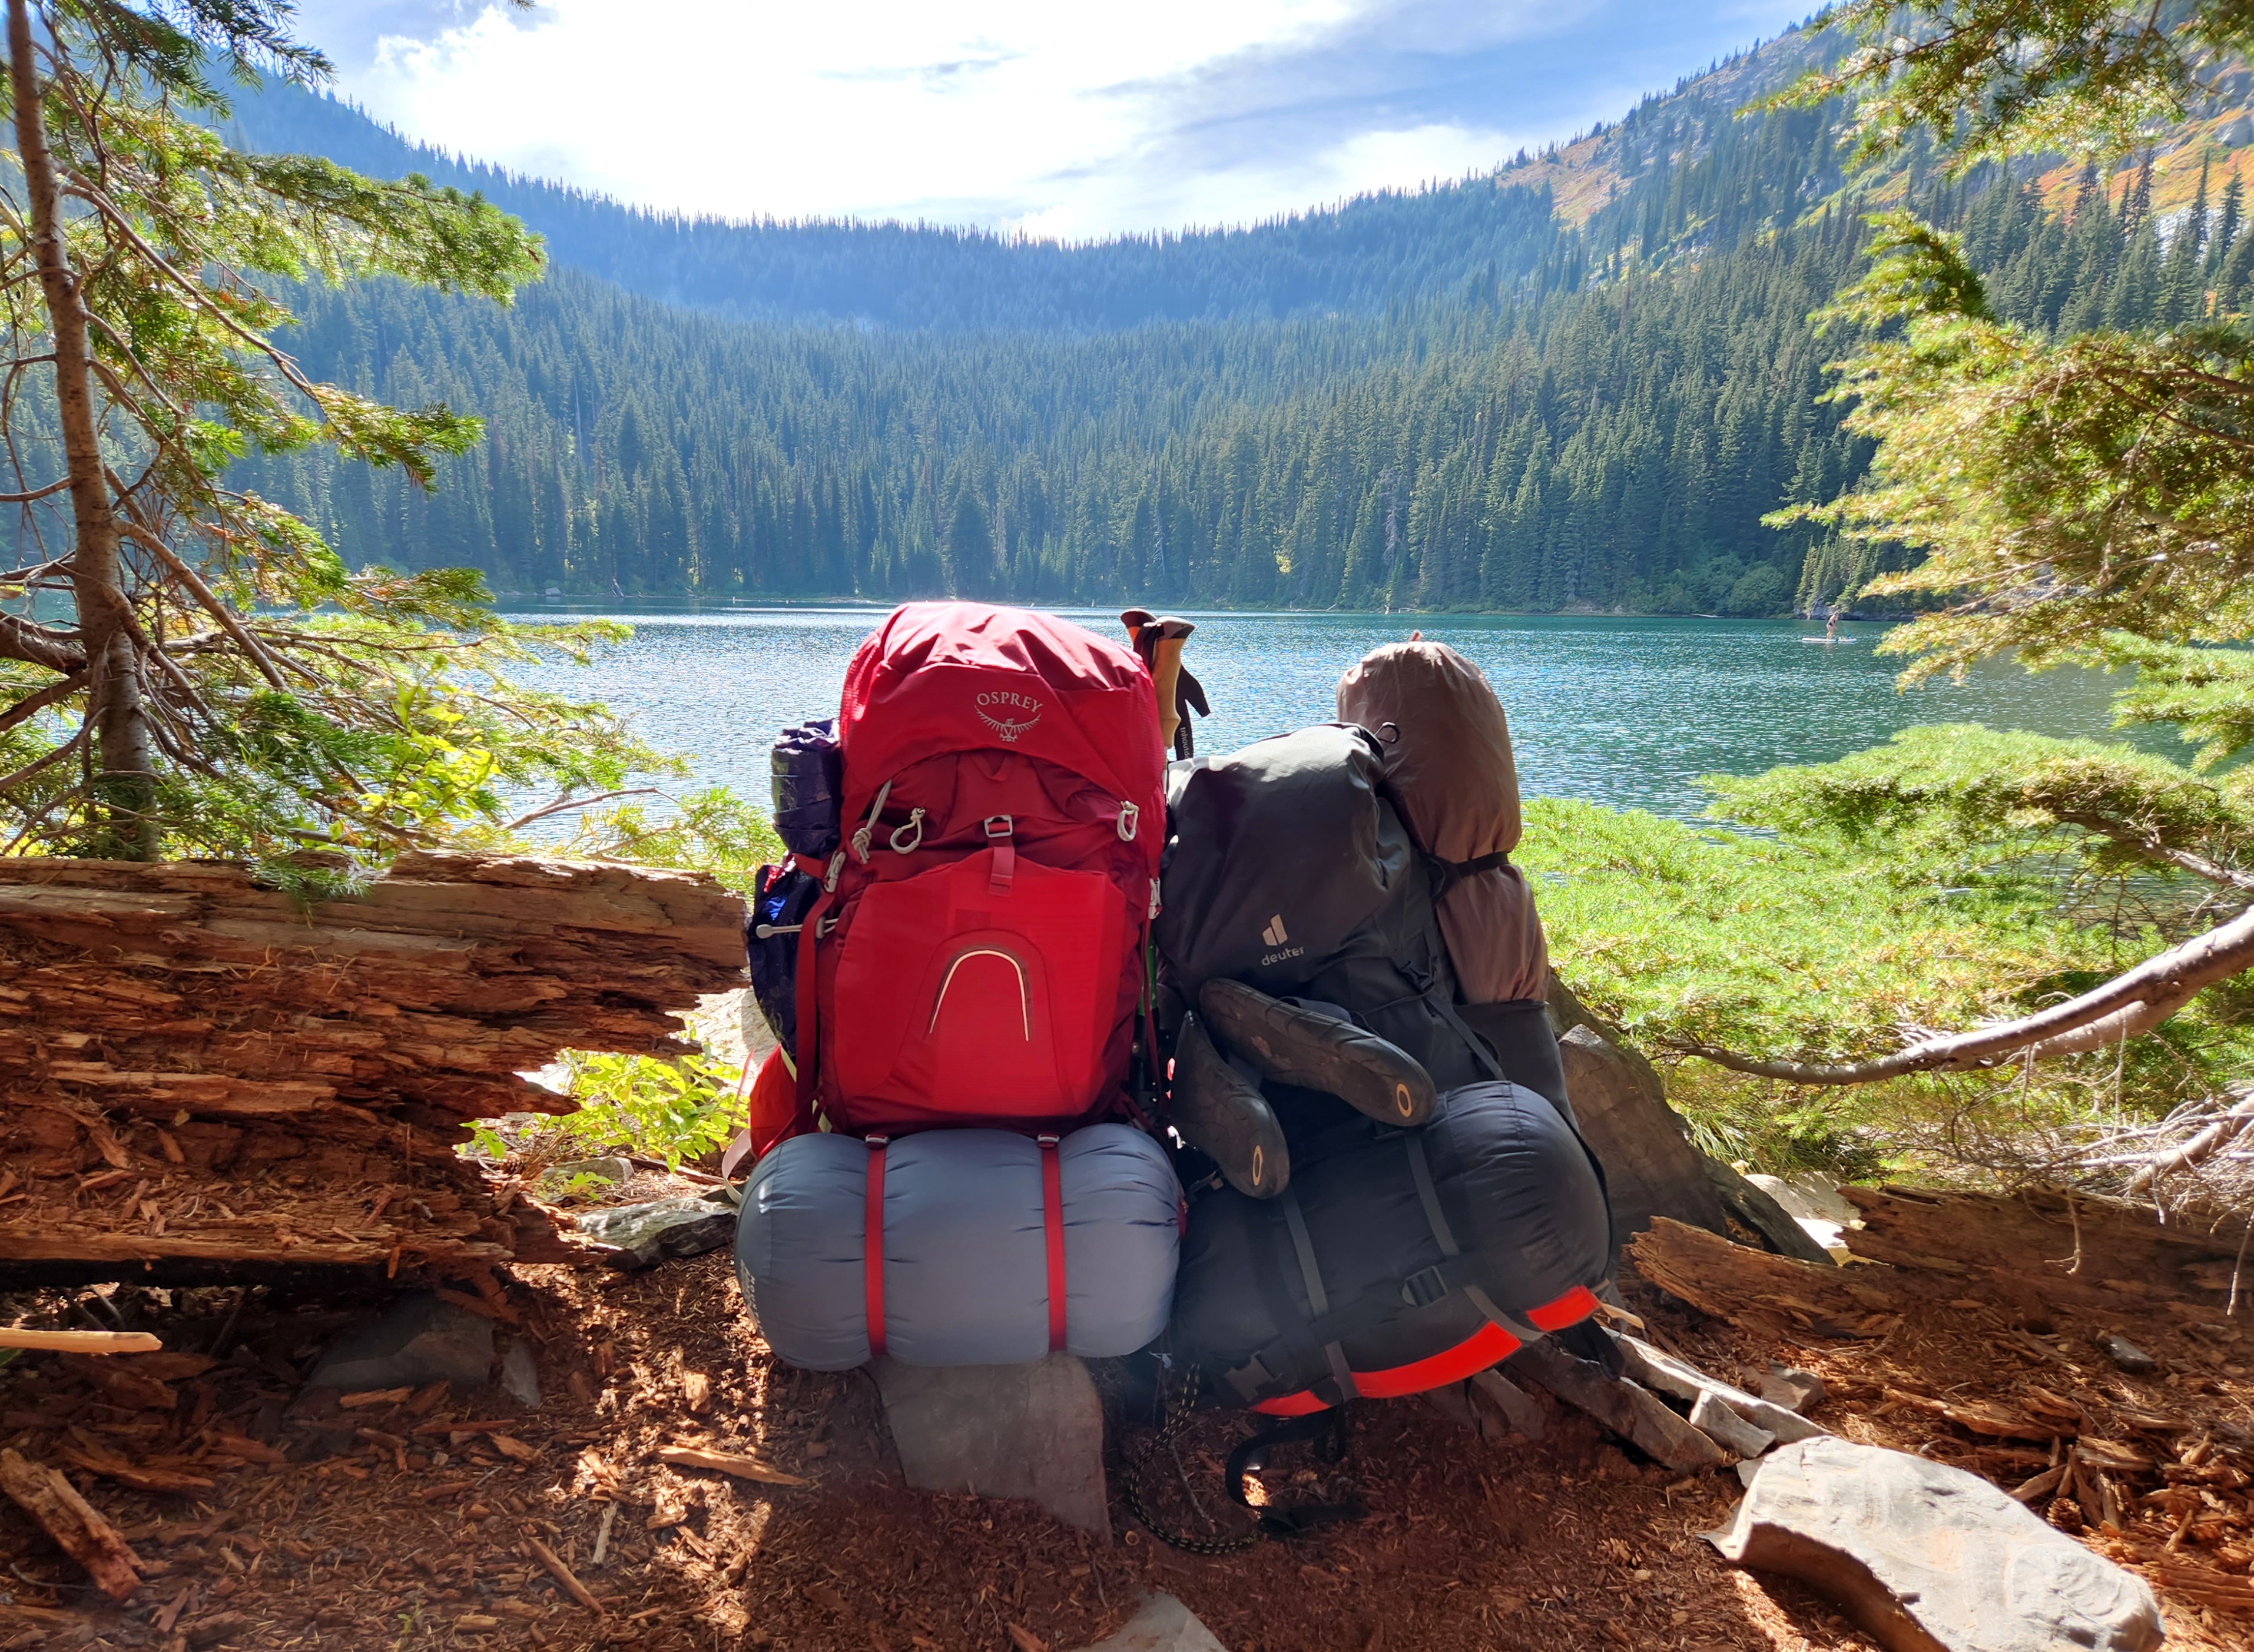
- My backpack: Women’s Osprey Aura AG 65 Pack, gear capacity of 65 liters. Ideally, I try to keep my pack between 35-45lbs and Paul’s pack around 45-55lbs.
- Paul’s backpack: Men’s Deuter Aircontact Lite 65 + 10 Pack, gear compacity of 75 liters.
- Rain covers for packs: I use this ultralight Osprey cover.
3. Shelter:
What I’ve Learned: don’t wait until the tent poles break to buy a new one!
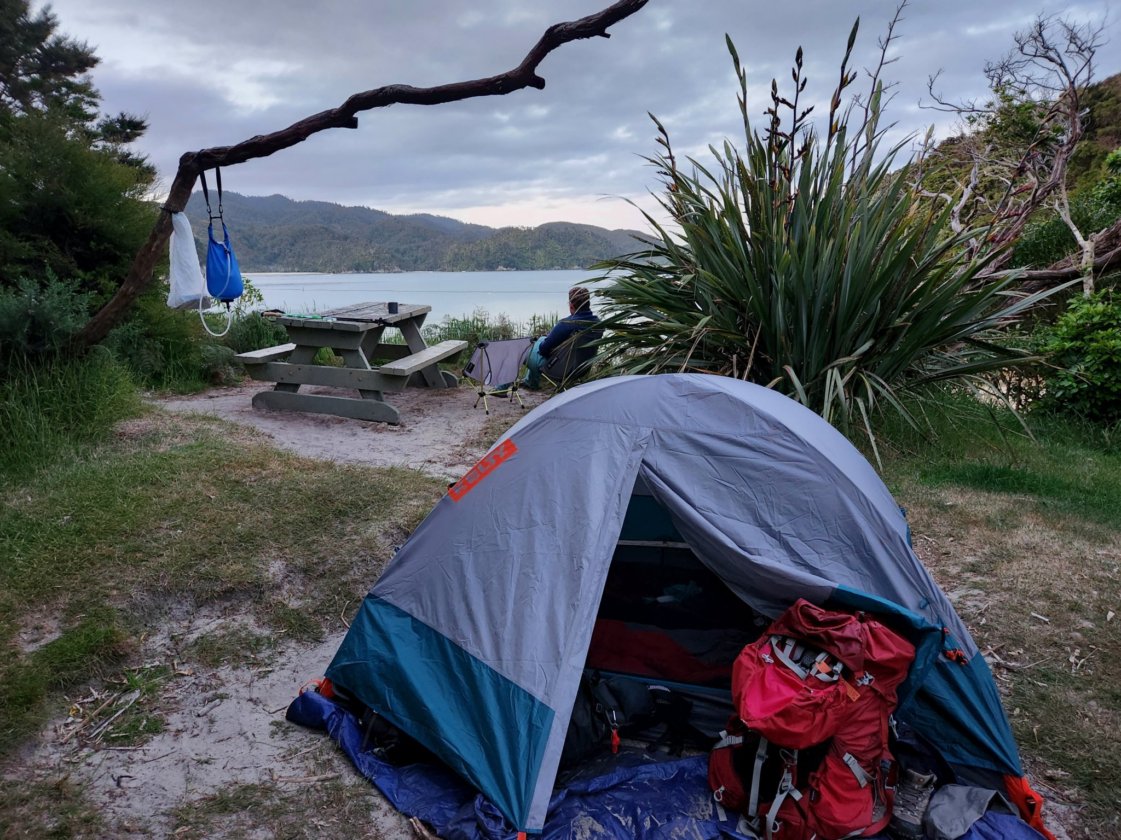
- Tent: we use this Kelty 4lb 8oz 2-person tent which is resistant to wind, snow, hail, and rain! It packs down to 16x7x7 in. and includes a rain fly, poles, and convenient carry bag.
- Tent poles
- Rainfly
- Stakes
- Tarp (optional: helps with ground coverage and is especially useful in damp or uneven terrain).
4. Sleep System:
What I’ve Learned: if there isn’t guaranteed warm weather, spend the extra money on a sleeping bag well-rated to handle colder temperatures! We backpacked in the Snoqualmie National Forest near Seattle WA at the end of sunny May. We were both using ultralight sleeping bags with temperature ratings of +32°F. During the night, it reached just below 30°F. I have never felt so chilly in my life! I am shivering now just thinking about those sleepless nights! After upgrading to a sleeping bag rated to +0°F, I have never had the problem of being too cold again!
- My sleeping bag rated to +0°F – Women’s Mountain Hardwear Bishop Pass 0 Sleep Bag
- Paul’s sleeping bag rated to +5°F- Men’s TETON Sports Tracker 5 Lightweight Mummy Sleeping Bag
- Sleeping pads (optional) – while these are slightly bulky at 24oz, the KLYMIT Insulated Static V sleeping pads provide a noticeable amount of comfort and additional warmth from the cold ground! I sleep much better with a sleeping pad!
- Camping pillows (optional) – I couldn’t imagine not using the KLYMIT Pillow X Large! They only weigh 3.2oz, are packable to about the size of a wallet, and are super easy to inflate! They provide much-needed comfort!
5. Water Filtration and Hydration:
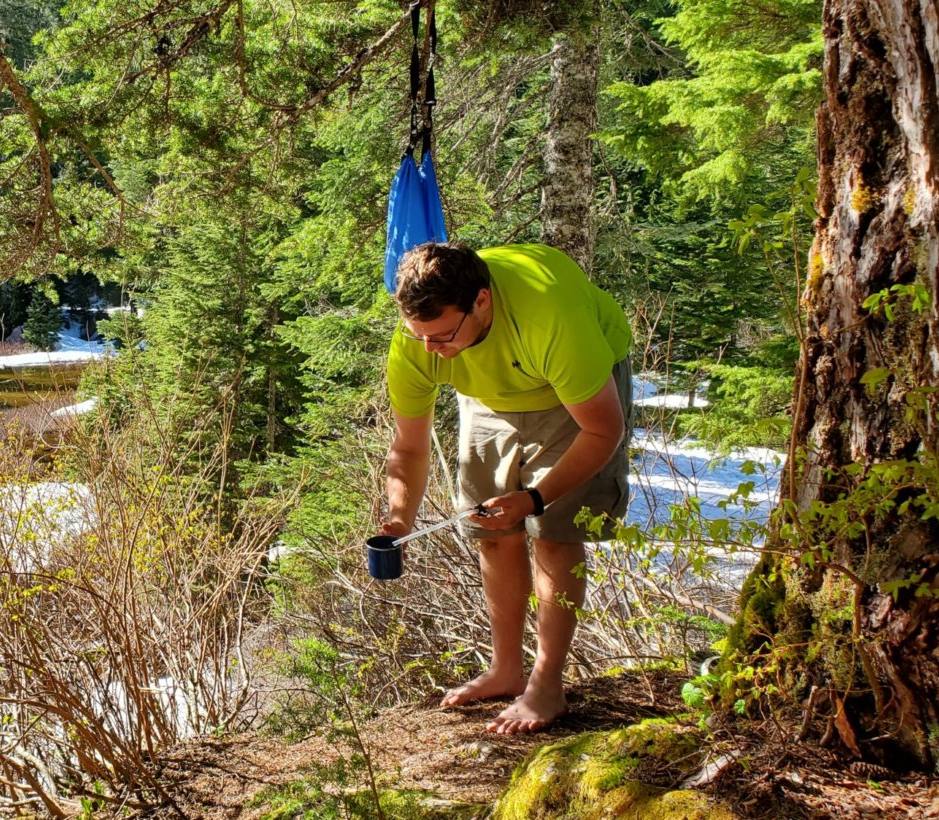
What I’ve Learned: ALWAYS bring some sort of water filter and/or purification system! When we went backpacking in New Zealand, we carefully researched if the running water at the camping huts was potable or not. All the latest updates informed us the water was safe to drink. However, after arriving at the first hut during a multi-day trek, there were signs posted everywhere from the Department of Conservation warning against drinking the water. To save on weight, we left our water filter behind. Ultimately, we found some of the camping huts had potable water while others did not. It was incredibly time-consuming boiling water in our small cooking pot then allowing it to cool enough to slowly fill two 3-liter water packs. Oh, how we wish we would’ve just packed a water filter or at least our extremely lightweight UV purifier! Safe drinking water is of utmost importance!
- Water filter – we found the Katadyn BeFree Gravity 10L water filter to work effectively.
- UV purifier – optional but encouraged! We use the hand-held SteriPEN Quantum UV water purifier in combination with the Katadyn BeFree Gravity water filter referenced above. When used properly, the UV light eliminates bacteria and viruses providing safe drinking water.
- Water packs – the CamelBak Crux 3L Reservoir – 3 Liters provides more than enough water and fits nicely into both a day hiking pack and overnight backpacking pack.
6. Camping Cookware:
What I’ve Learned: find lightweight, easy to clean, and compact cookware!
- Stove – AOTU Portable Camping Stove is pocket-sized and works well. Always test a new stove prior to leaving!
- Fuel – propane canisters
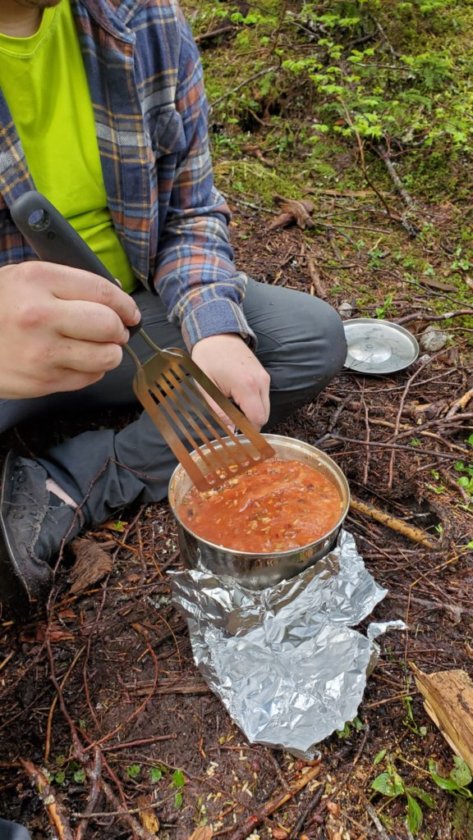
- Cooking pot / kettle – überleben Kessel Bushcraft Pot with Canvas Bag
- Utensils – this 0.5oz Humangear GoBites Uno Spork works well.
- Bowls or plates – (optional: we typically bring freeze dried food that allows us to eat straight from the package…more on food later). We’ve enjoyed utilizing this convenient UCO Ware 4-Piece Mess Kit.
- Lighter or matches
- Sponge or cleaning rag
- Biodegradable soap
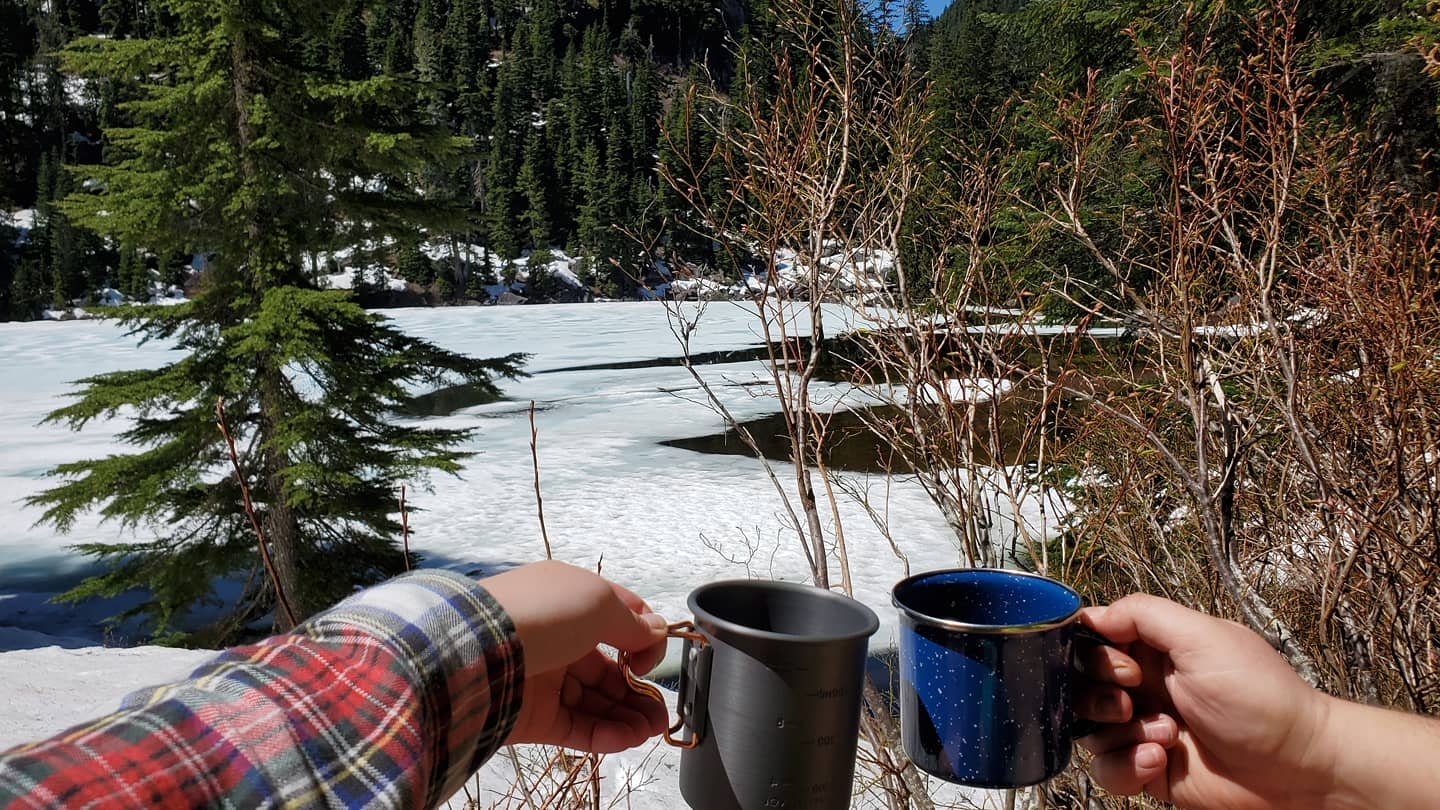
- Camping Cups (optional: we love our morning camping coffee or tea!)
- Measuring cup (optional: many camping cups provide dual purpose as a measuring cup).
- Camping spatula (optional)
7. First Aid Kit:

What I’ve Learned: do not skimp on first aid kit items! It is better to be overprepared!
- Assorted band-aids and larger bandages
- Gauze pads
- Medical tape
- Elastic compression bandage
- Butterfly Closure Adhesive Strips
- Sunscreen lotion pouches
- Wound dressing gel
- First Aid and Burn Cream
- PROTEKX Poison Ivy Oak and Sumac Cleanser Towelette
- Antibiotic ointment
- Anti-itch cream
- Antiseptic wipes
- Latex gloves
- Tweezers
- Antihistamines
- Q-tips
- Ibuprofen (or other pain relievers)
- Safety pins
- Glucose tablets
- Aspirin
- Blister dressings
- Hand sanitizer
- Biodegradable soap
- Emergency blankets
Where to buy pre-made backpacking first aid kits: https://www.backpacker.com/gear-reviews/the-best-first-aid-kit-for-every-adventure/
8. Food:
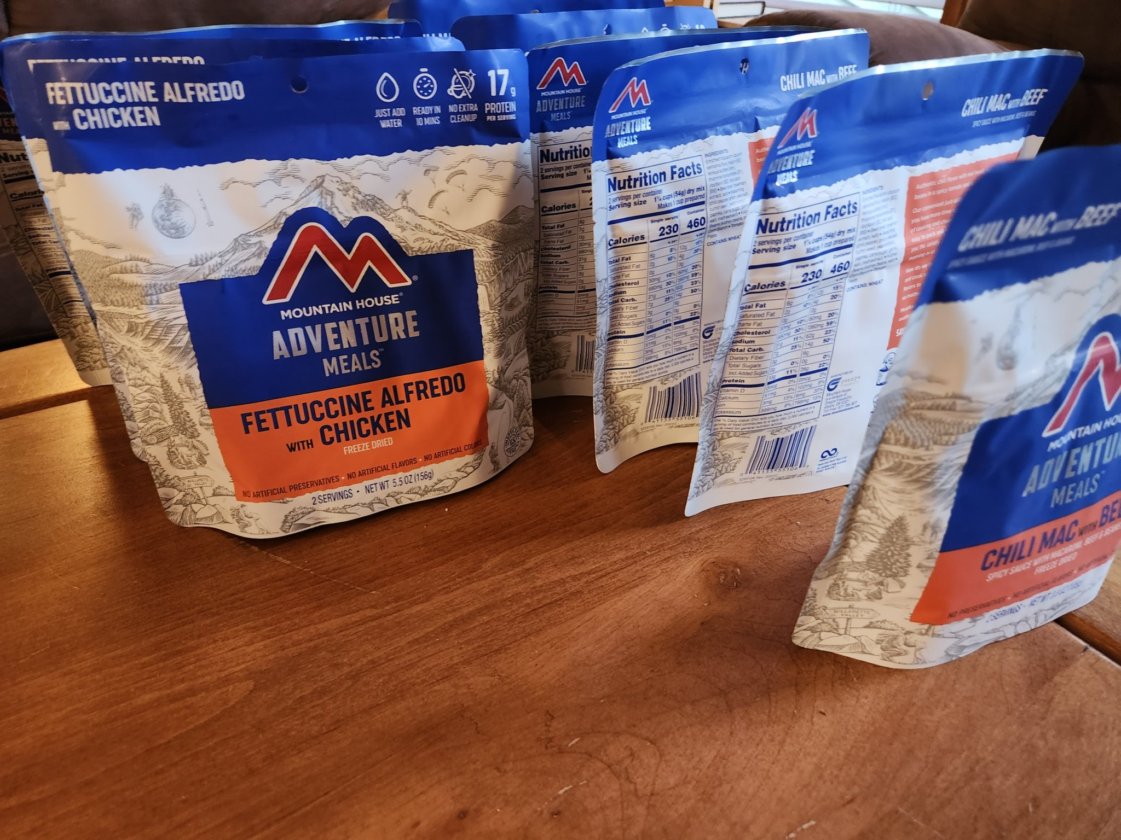
What I’ve Learned: try out several brands of backpacking food/freeze dried meal options until you find what you like! We really enjoy Mountain House Adventure Meals! They are packed with protein, nutrients, and are exceptionally filling! They come in easy-to-prepare pouches with limited packaging waste. However, we’ve hiked with folks who prefer Top Ramen and gummy worms. There are a lot of food choices out there! Do what works for you!
- Pack enough food to meet your caloric needs. Here is an example of how we plan our daily backpacking meals:
- Morning: instant coffee and protein bar at camp for breakfast. We tend to buy a bulk variety box of Clif Bars and pack them as needed. Sometimes we might bring a couple extra Mountain House breakfast meals such as the granola option if feeling hungrier or in the mood for a bigger breakfast.
- Mid-day: Mountain House freeze dried meals for lunch (usually 500+ calories per pouch) and/or protein bars. My favorite flavor of the Mountain House meals is the Buffalo Style Chicken Mac and Cheese!
- Afternoon or evening: 1 or 2 Mountain House freeze dried meals per person for the afternoon and/or dinnertime. If the hike was longer and challenging, we might opt to eat more than one meal in the afternoon at camp.
- Snacks: we usually pack protein bars, trail mix, granola bars, and/or beef jerky. Depends on how far we hike and how much food we felt like packing.
- Shorter and easier trips: if we aren’t hiking too far or plan to stay at a single campsite for the trip duration, we have brought a variety of food items such as wine in a plastic bottle, bourbon in a flask, beers in cans, cheeses, crackers, and olives! Why not assemble a charcuterie board after a hard day of hiking?😊
- Instant coffee – optional: if time permits, we enjoy relaxing at camp and having coffee in the morning. We’ve enjoyed Starbucks VIA Instant French Roast coffee. There is nothing better than relaxing with my favorite person surrounded by nature enjoying a warm cup of coffee!
- Pack an extra day’s worth of food per person in case of an emergency.
- Appropriate food storage bags/canisters if in bear country.
9. Clothing:
What I’ve Learned: clothing can add a lot of extra weight and bulk if packed or selected incorrectly! Be choosy about what clothing items to pack. Wear moisture-wicking and lightweight fabrics. Avoid cotton! Cotton materials absorb moisture and provide poor insulation. Quick-drying moisture-wicking clothing is easier to wear again allowing you to pack less and reduce overall pack weight. Check out this super helpful article from REI to learn more about the benefits of moisture-wicking outdoor clothing.
- Socks- a pair for each hiking day. Personally, it is worth it to me to pack enough socks for each hiking day since they do not consume a ton of space nor add too much weight. I enjoy putting on a fresh pair of socks prior to a long day of hiking! REI has a wide assortment of high-quality hiking socks which have been fantastic for preventing blisters! Although, I know some backpackers survive off only a couple pairs of socks!
- Underwear- a pair for each day. Like socks, it is also worth it to me to pack enough pairs of underwear for each day.
- Hiking pants- a quality pair of pants. I enjoy Mountain Hardwear’s selection. They do well in both cold and warm weather.
- Hiking shorts
- Under Armour ColdGear leggings or another brand of durable lightweight leggings rated for cold temperatures. My pair of quality Under Armour leggings have persisted for over a decade!
- Long-sleeve Under Armour top or another brand of cold resistant moisture-wicking long sleeve top.
- Sports bras – 2 or more sweat wicking sports bras. I am a fan of Lululemon’s sports bras!
- Wicking t-shirt(s) and/or tank top(s)
- Fleece jacket – useful as an insulating mid-layer or as a stand-alone for more moderate temperatures. REI has a great selection of fleece jackets.
- Hardshell or down jacket that is waterproof and protective against wind and harsher weather. Click here to learn more about hardshell options.
- Rain jacket – This North Face Venture 2 rain jacket has lasted years and is incredibly lightweight! It has worked well as a mid-layer, windbreaker, and stand-alone when it is raining but too warm for a hardshell.
- Gloves
- Sunglasses
- Fleece ear warmer and/or beanie
- Hiking boots – it is important to invest in high-quality waterproof hiking boots or footwear! I currently use these Merrell mid-height boots, and Paul uses Salomon boots. Many hikers recommend high-cut boots for extra ankle support.
Optional clothing items:
- Flannel
- Comfy pair of pajamas for camp
- A pair yoga pants
- A comfy hoodie or pullover sweater for camp
- Fuzzy socks for camp
- Sun hat
- Flip-flops or sandals (great for beachside campsites!) – I highly encourage bringing some flip-flops or sandals! It is nice changing out of hiking boots and giving your feet a break!
- Swimsuit
- Gaiters
- Rain pants (can be worth it when backpacking in the rainy Pacific Northwest!)
- Water shoes (helpful for river crossings!)
- Osprey UL Packing Cube set – I highly recommend this! These packing cubes put more into less and keep clothing well-organized! I use them for all kinds of travel!
10. Toiletries and Personal Hygiene:

What I’ve learned: use environmentally friendly and biodegradable products. When in doubt use unscented products to keep insects and animals afar.
- Toothbrush, toothpaste, and floss
- Sunscreen
- SPF lip balm
- Biodegradable wet wipes
- Brush/comb
- Rubber bands (optional)
- Hand sanitizer and/or hand sanitizing wipes
- Unscented deodorant – may not be allowed in bear country, research trail guidelines in advance.
- Prescription medications
- OTC medications
- Nail clipper
- Toilet paper – if no restroom facilities, use unscented biodegradable toilet paper and a trowel or shovel to bury it appropriately and/or sealable plastic pack-out bags. For more information about proper backpacking bathroom etiquette, check out this article.
- Washcloth or bandana
For more tips about personal hygiene while backpacking, this article from Backpacker is super helpful!
11. Tools and Other Necessities:

What I’ve Learned: provide an itinerary of your backpacking trip to family and/or friends ahead of time! My partner and I have been guilty of leaving on extensive backpacking trips without letting any loved ones know.
- Towels – we use these lightweight and fast-drying camping towels from REI.
- Headlamp and/or flashlight per person – we use the OLIGHT Perun rechargeable headlamp, the mini OLIGHT I3T EOS 180 Lumens Dual-Output Slim EDC Flashlight needing AAA batteries, and the OLIGHT Obulb 55 Lumens 4-Mode Orb Light Night Lights MCC Rechargeable Bedside Lamp with Magnetic Bottom. Paul is a fan of OLIGHT!
- Extra batteries for any flashlights and electronics
- Whistle
- Leatherman or pocketknife
- Compass and trail map
- Folding saw – (optional) a saw is helpful for campfires, but we do not bring it on overseas backpacking trips. We use this portable Sven-Saw.
- Collapsible shovel – We don’t bring this shovel on overseas backpacking trips. We use the Gerber Gear 22-41578N Gorge Folding Shovel.
- Hatchet- (optional) helpful for campfires, but we do not bring a hatchet on overseas backpacking trips. We use this Fiskars X7 Hatchet (14″).
- Insect repellant
- Rope
- Garbage bag(s)
- Bear spray if advised
- Fire starter – Zippo Tinder Shreds has worked well.
12. Optional Items
What I’ve Learned: even when trying to pack as light as possible, some non-essential items really add to the experience! We absolutely LOVE bringing ultra-lightweight folding camping chairs! The Helinox Chair Zero, sold at REI and on Amazon, only weighs 1lb, supports up to 265lbs, and folds into a sack that is about the size of a 32oz water bottle. They provide a ton of comfort for just hanging out at camp, especially with sore legs and a tired back! These chairs also come in handy at concerts and on day hikes. We can’t recommend them enough!
- Trekking poles – I am a huge fan of my trekking poles! I use these TNH Outdoors Trekking Poles
- Lightweight folding camping chairs weighing 1lb and folded to 13.8 x 3.9 x 3.9 inches – I highly recommend the Helinox Chair Zero!
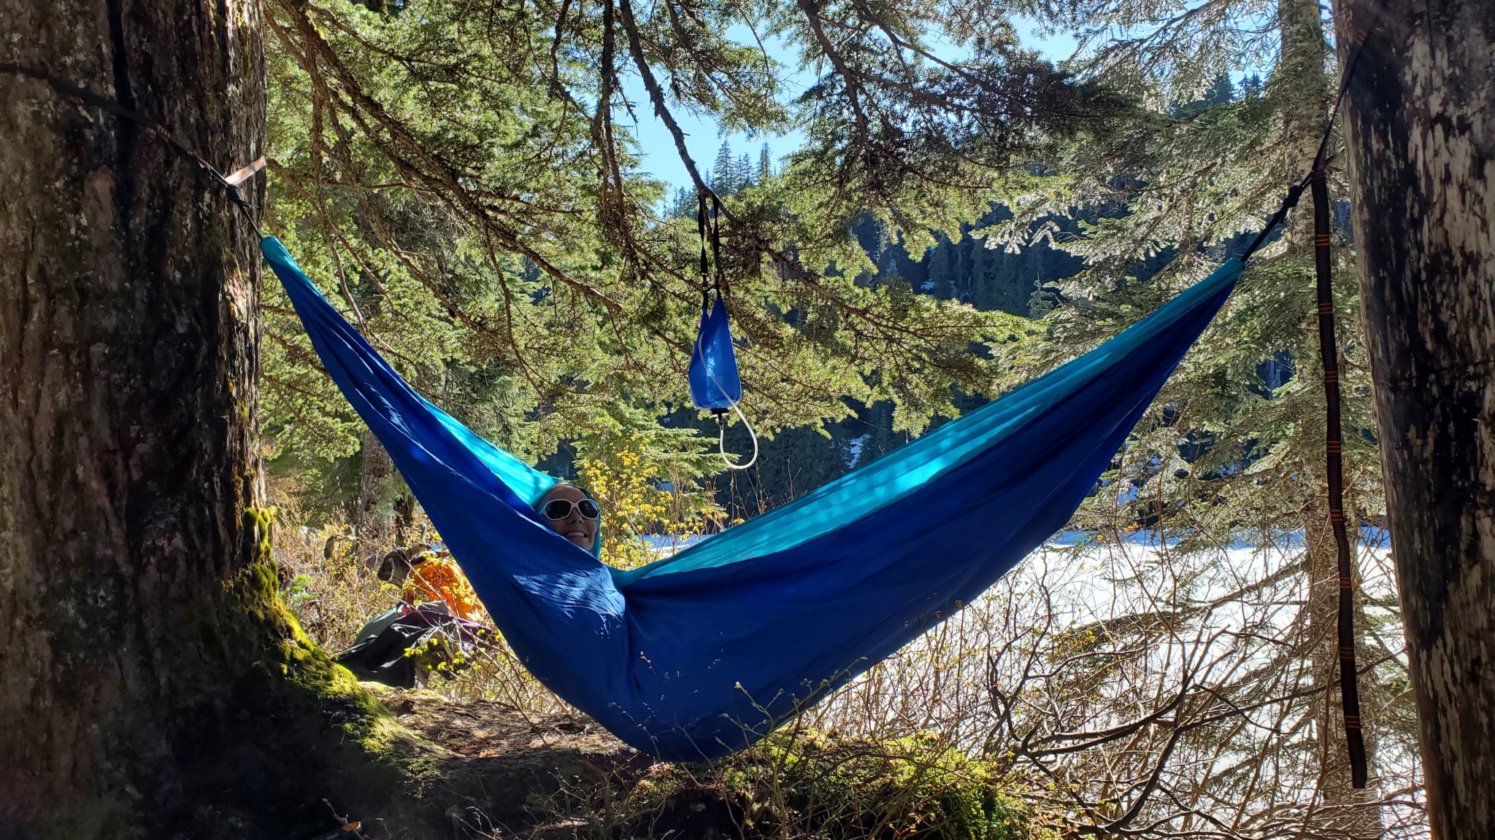
- Camping hammock – it helps create a cozy campsite to hang our packable hammock! However, this can add an inconvenient amount of extra weight. We use this ENO DoubleNest Hammock.
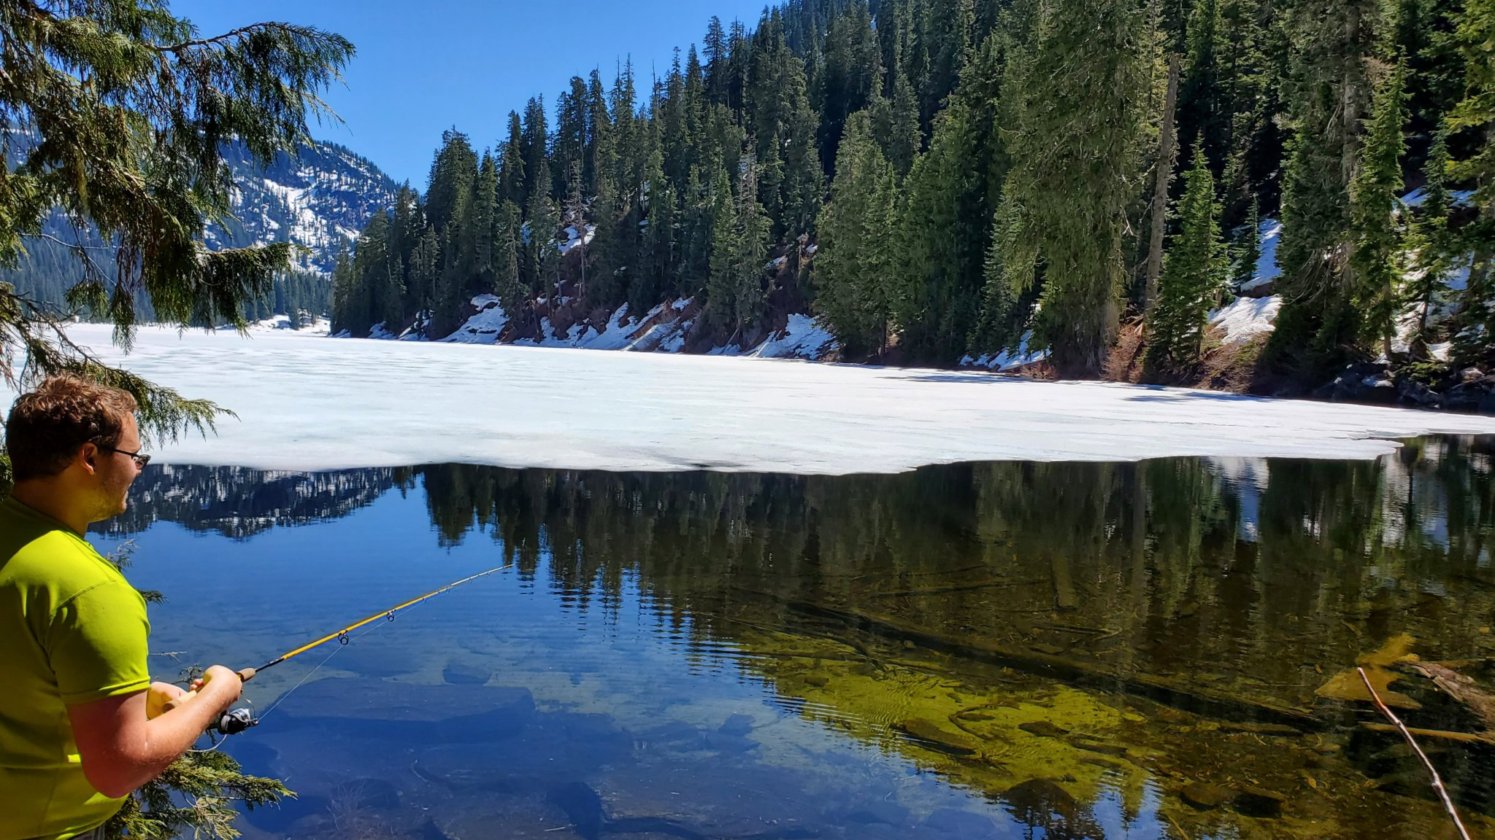
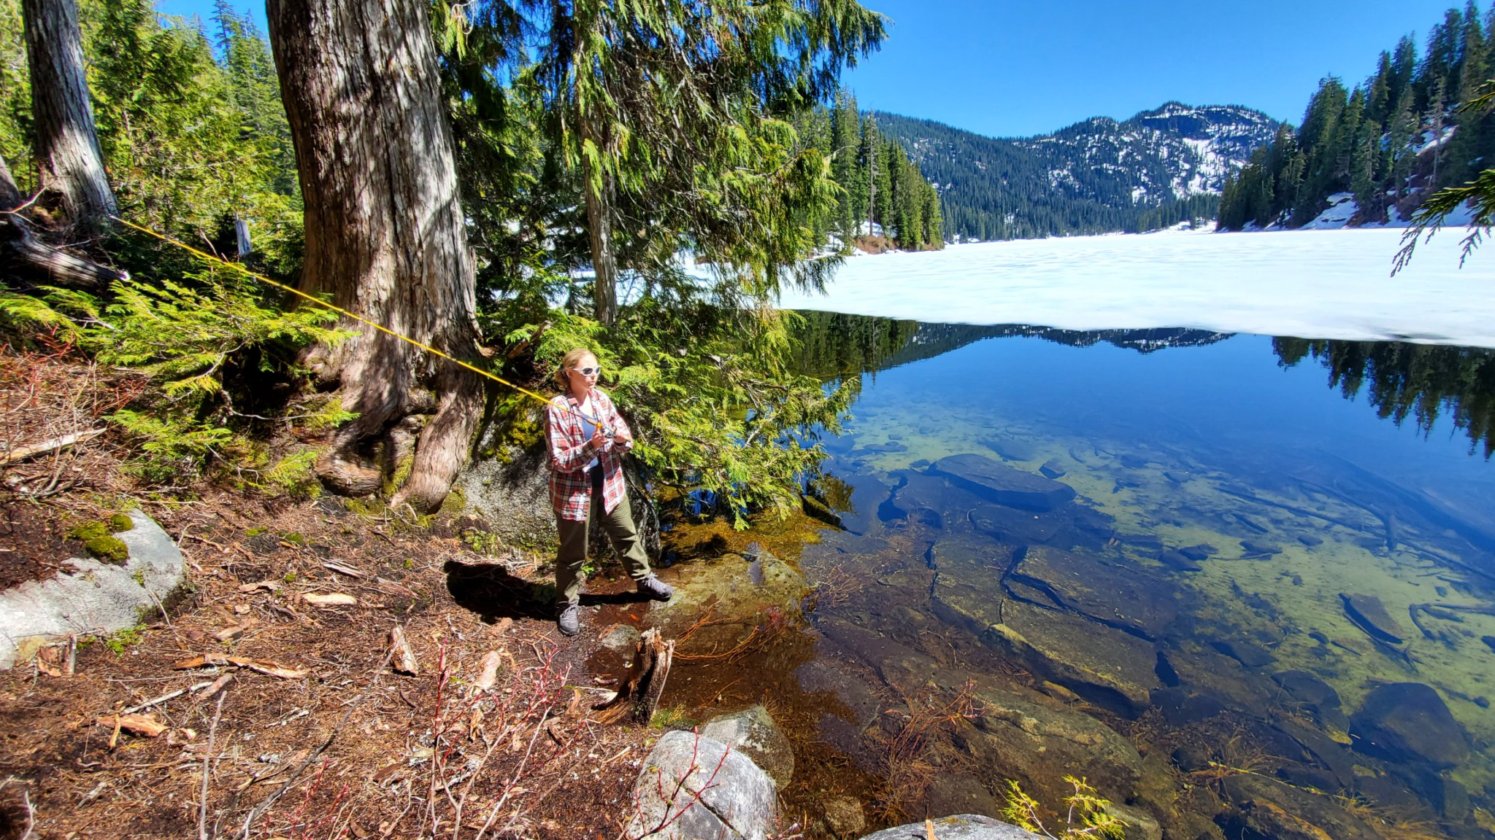
- Collapsible fishing pole – we love backpacking to a good fishing spot! We like to use the Eagle Claw Trailmaster Spin/Fly Rods fishing pole. It is lightweight and easily packs into a small travel container.
- Tin foil
- Lantern – Olantern Mini Camp Lantern
- Crampons for icy and snowy conditions
- Ziplock bags
- Duct tape
- Hiking daypacks – it has been helpful to bring lightweight daypacks when situated at a main camp for a couple days and planning to go out for day hikes. REI has a great selection of daypacks.
- Power brick charger and phone charging cord – I disconnect from the world when backpacking, however, this works great for keeping my phone available to take pictures!
- Hand warmers – these Grabber Warmers work well.
- Toe warmers – Grabber warmers
- Playing cards and/or small card games
- Lightweight book or Kindle
- Hand-held travel journal
Final thoughts:
It has taken time honing our backpacking gear to optimize preparedness and comfort. Be patient with the process and don’t be afraid to upgrade gear and try new things!
For additional resources, check out this in-depth backpacking checklist from REI.
Backpacker with Outside has endless resources, check out their website: www.backpacker.com
Have any tips and/or backpacking gear recommendations? Add a comment below!
Want more backpacking and travel content? Add your email to the subscribe box below. Happy travel planning!
Pin for later!
One response to “What to Pack for a Backpacking Trip: Learn from My Mistakes”
-

[…] to learn more about backpacking gear and what to pack? Check out What to Pack for a Backpacking Trip: Learn from My Mistakes for my comprehensive backpacking […]
LikeLike
Subscribe
Sign up for a bi-monthly newsletter with the latest blog posts and exclusive content!

Leave a comment